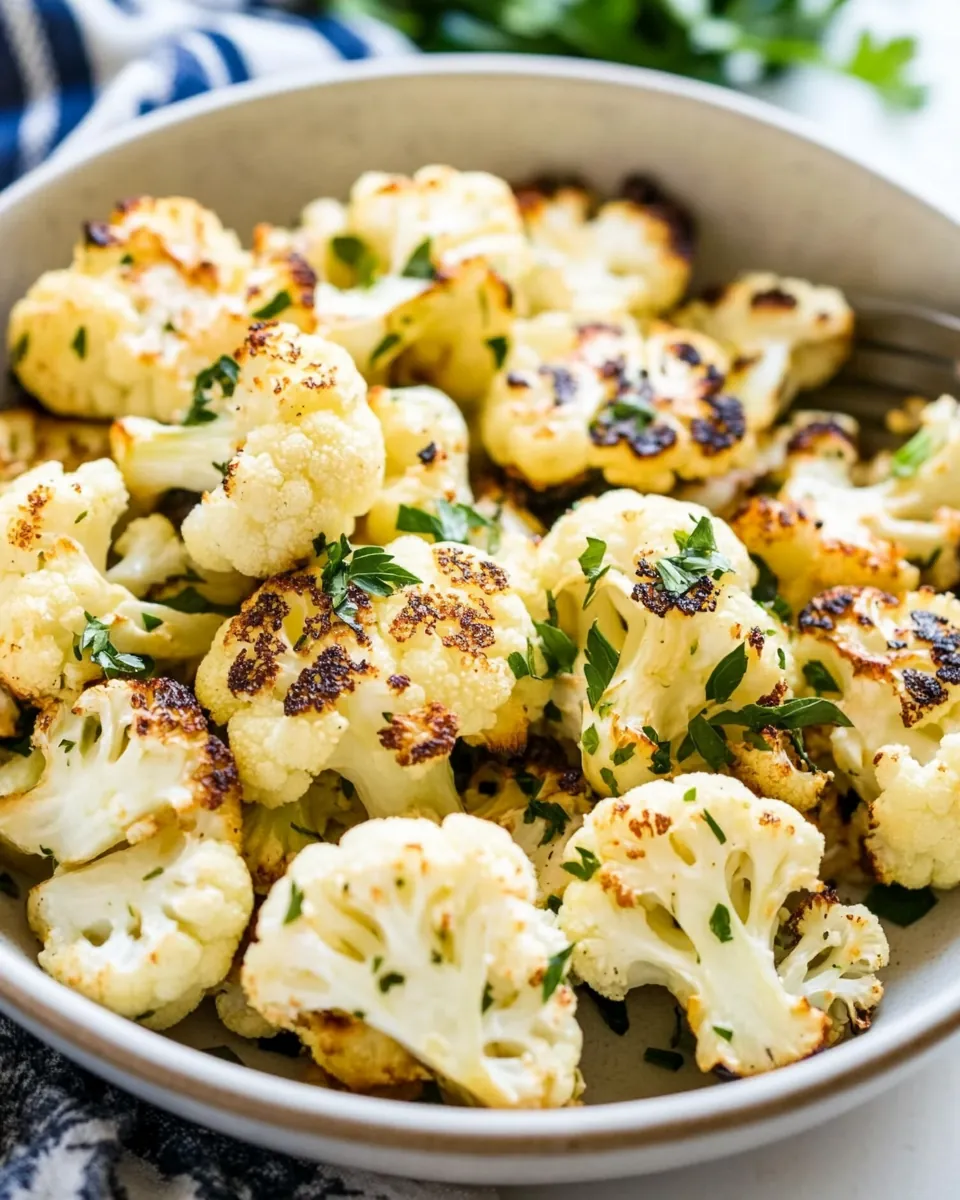
Roasted Cauliflower
Whenever I’m in need of something that feels both comforting and healthy, I turn to Roasted Cauliflower. This dish has a special place in my heart, not just because it’s incredibly simple, but also because it captures the essence of autumn flavors. The first time I made it, I was experimenting with a new cooking method, and I was pleasantly surprised by how delicious a humble vegetable could become. As the oven worked its magic, I could smell the nutty aroma filling my kitchen, making me eager to dig in. It quickly became a family favorite, and I love making it as a side dish for gatherings or just for a cozy weeknight dinner.
Recipe Snapshot
40 mins
5 mins
35 mins
Medium
70 kcal
3 g
Keto, Paleo, Whole30
3 g
Baking Sheet, Oven
Why You’ll Love This Roasted Cauliflower
It’s Incredibly Versatile
One of the things I love about Roasted Cauliflower is its versatility. This dish can serve as a side, a main, or even a snack. You can dress it up with different spices or serve it alongside various dips. Whether you’re having a casual dinner or a festive gathering, it fits right in.
Health Benefits
Cauliflower is a powerhouse of nutrients. It’s low in calories but high in vitamins C and K, fiber, and antioxidants. This makes Roasted Cauliflower a guilt-free option that satisfies without weighing you down. I love that I can indulge in this dish while knowing I’m nourishing my body.
The Perfect Texture
There’s something magical about roasting vegetables. The high heat transforms cauliflower into something crispy on the outside while remaining tender on the inside. When I bite into a piece, the satisfying crunch followed by the soft interior is a lovely contrast that keeps me coming back for more.
Easy Preparation
In just a few simple steps, you can have Roasted Cauliflower on your table. You don’t need any fancy equipment or hard-to-find ingredients. Just a few staple items and your oven will do the work for you. It’s perfect for those busy weeknights when you want something quick and delicious.
Great for Meal Prep
If you’re someone who loves meal prepping, Roasted Cauliflower is ideal. It stores well in the fridge and can be used in salads, wraps, or grain bowls throughout the week. I often make a larger batch to enjoy throughout the week, making healthy eating a breeze.
Appealing to Everyone
Even those who claim they don’t like vegetables often find themselves loving Roasted Cauliflower. Its rich flavor and crispy texture can win over even the pickiest of eaters. Plus, it’s a fantastic way to introduce more vegetables into your diet without sacrificing taste.
What to Gather for Roasted Cauliflower
When it comes to the ingredients for Roasted Cauliflower, simplicity is key. Using fresh, high-quality ingredients ensures that the dish brings out the best flavors. The core players here are cauliflower, olive oil, and a touch of seasoning, allowing the natural taste of the vegetable to shine. Each ingredient plays an important role in creating a delightful harmony of flavors.
- 1 head cauliflower: The star of the dish! Look for a firm, fresh head of cauliflower with bright green leaves. This vegetable is packed with nutrients and adds a wonderful texture when roasted.
- 1 tablespoon olive oil: This adds richness and helps to achieve that crispy texture. I prefer a good quality extra virgin olive oil for its flavor.
- 1 teaspoon kosher salt: A must for enhancing the natural flavors of the vegetables.
- ¼ teaspoon black pepper: Freshly cracked black pepper adds a hint of warmth and depth to the dish.
Directions for Roasted Cauliflower
Cooking Roasted Cauliflower is as easy as it gets! Follow these simple steps to create a dish that’s sure to impress. Trust me, once you take the time to prepare this, you’ll want to make it again and again.
- Preheat your oven to 450°F. While it’s heating, grab a large metal baking sheet and coat it lightly with a small amount of olive oil. This step is crucial for preventing the cauliflower from sticking.
- Next, wash and dry your cauliflower. Cutting it into florets will help it cook evenly. The smaller you cut the florets, the more toasted and crispy edges you’ll have, which is my favorite part!
- Once cut, place the cauliflower in a pile on the baking sheet. Now, drizzle with about a tablespoon of olive oil and sprinkle generously with kosher salt and black pepper.
- Gently toss everything together until the cauliflower is well coated. It’s important to spread it into a single layer on the baking sheet so each piece can get that beautiful roast.
- Cover the baking sheet tightly with aluminum foil. This helps to steam the cauliflower during the first part of cooking, which will keep it tender.
- Pop the baking sheet into your preheated oven and bake for 20 minutes. The time is crucial here, as we want to make sure the cauliflower is tender but not mushy.
- After 20 minutes, remove the baking sheet from the oven. Using a metal spatula, gently flip the cauliflower to ensure even roasting. This is where the magic happens!
- Return the baking sheet to the oven uncovered. Roast for an additional 10 to 15 minutes. Keep an eye on it and flip again after about 10 minutes to get that perfect golden brown color.
- Once you see a nice golden brown on the edges and the cauliflower is tender, take it out of the oven. Let it cool slightly before serving – if you can resist!
Things Worth Knowing
- Choose the Right Cauliflower: Look for heads that are firm and heavy for their size. Avoid those with brown spots or wilted leaves.
- Even Cooking: Make sure the florets are of similar size for even cooking. This will help them all roast at the same rate.
- Skip the Foil if Desired: If you prefer a crunchier texture, you can skip covering with foil for the first part of cooking.
- Tossing is Key: Don’t be shy with your tossing! Make sure each piece is well coated and evenly spaced on the baking sheet.
Recipe Notes about Roasted Cauliflower
When making Roasted Cauliflower, having a few tips up your sleeve can elevate your cooking experience. Here’s what you need to know:
- Storage: Store leftovers in an airtight container in the fridge for up to 4 days. They reheat beautifully in the oven!
- Freezing: You can freeze roasted cauliflower, but it’s best enjoyed fresh. If freezing, spread it in a single layer on a baking sheet and freeze before transferring to a bag.
- Pairing: This dish goes wonderfully with a variety of mains like grilled chicken or fish. Consider serving it with a fresh salad for a complete meal.
- Fun Variations: Experiment with spices like paprika or cumin for a different flavor profile. You can also add a squeeze of lemon for brightness.
- Meal Prep: Make a big batch for meal prep! It’s perfect for quick lunches throughout the week.
Serving Suggestions
Serving Roasted Cauliflower opens up a world of possibilities! Here are some ideas to get you started:
- As a Side Dish: Pair it with your favorite protein for a hearty dinner. It complements dishes like grilled chicken or fish perfectly.
- In Grain Bowls: Use it as a base for a nourishing grain bowl topped with your choice of greens, nuts, and a drizzle of tahini or your favorite dressing.
- With Dips: Serve it as a crunchy snack! A garlic yogurt dip or hummus can make for a delightful pairing.
- In Salads: Toss roasted cauliflower into your salads for added texture and flavor. It works well with leafy greens and roasted nuts.
- On a Charcuterie Board: Include it on a charcuterie board alongside cheeses and olives for an appealing and healthy option.
- For Celebrations: Make Roasted Cauliflower a part of your holiday table. It adds a festive touch and is a great way to include veggies.
FAQ
Conclusion
The magic of Roasted Cauliflower lies in its simplicity and flavor. With just a few ingredients, you can transform this humble vegetable into a dish that’s both satisfying and nutritious. I encourage you to give it a try; it may just become a new favorite at your table!
Roasted Cauliflower
Ingredients
Equipment
Method
- Preheat your oven to 450°F. While it’s heating, grab a large metal baking sheet and coat it lightly with a small amount of olive oil.
- Next, wash and dry your cauliflower. Cutting it into florets will help it cook evenly.
- Once cut, place the cauliflower in a pile on the baking sheet. Drizzle with about a tablespoon of olive oil and sprinkle generously with kosher salt and black pepper.
- Gently toss everything together until the cauliflower is well coated. Spread it into a single layer on the baking sheet.
- Cover the baking sheet tightly with aluminum foil. This helps to steam the cauliflower during the first part of cooking. Bake for 20 minutes.
- After 20 minutes, remove the baking sheet from the oven. Using a metal spatula, gently flip the cauliflower.
- Return the baking sheet to the oven uncovered. Roast for an additional 10 to 15 minutes. Keep an eye on it and flip again after about 10 minutes.
- Once you see a nice golden brown on the edges and the cauliflower is tender, take it out of the oven. Let it cool slightly before serving.
Notes
- Tip 1: Store leftovers in an airtight container in the fridge for up to 4 days.
- Tip 2: You can freeze roasted cauliflower, but it’s best enjoyed fresh.
- Tip 3: This dish goes wonderfully with a variety of mains like grilled chicken or fish.
- Tip 4: Experiment with spices like paprika or cumin for a different flavor profile.
- Tip 5: Make a big batch for meal prep! It’s perfect for quick lunches throughout the week.