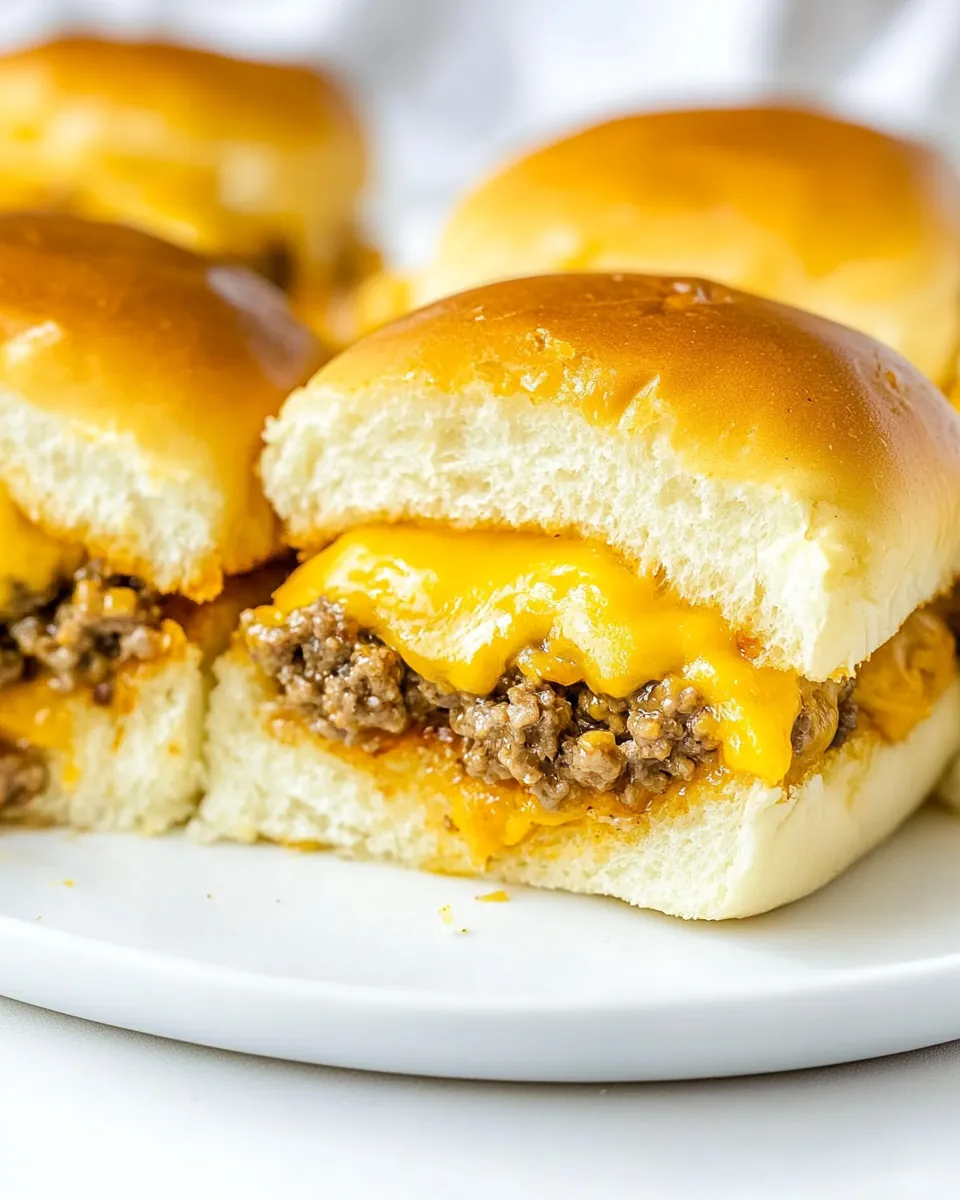
Cheeseburger Sliders
There’s nothing quite like the joy of serving up a platter of Cheeseburger Sliders at a gathering. I remember the first time I made these for a weekend barbecue with friends. The aroma of sizzling beef filled the air, and my friends eagerly awaited the first bite. As I pulled them from the oven, the melted cheese glistened under the warm lights, and I could practically hear the collective sigh of delight from everyone around the table. These sliders are more than just a meal; they’re a way to bring people together, to create memories that linger far past the last bite. Trust me, once you try these Cheeseburger Sliders, you’ll understand why they’re a staple at every party and gathering.
Recipe Snapshot
30 mins
10 mins
20 mins
Medium
350 kcal
20 g
Keto, Gluten-Free, Low FODMAP
18 g
Oven, Baking Sheet, Skillet, Mixing Bowl, Chef’s Knife, Cutting Board, Wooden Spoon
Why This Cheeseburger Sliders Is So Good
Simple Yet Delicious
The beauty of these Cheeseburger Sliders lies in their simplicity. With just a few key ingredients, you can create a dish that feels indulgent yet is easy to prepare. The combination of ground beef, cheese, and soft rolls makes for a classic flavor that appeals to everyone. You won’t have to slave away in the kitchen for hours; these sliders come together quickly and effortlessly.
Perfect for Any Occasion
Whether it’s game day, a family gathering, or a casual weeknight dinner, Cheeseburger Sliders fit the bill perfectly. They’re the ultimate crowd-pleaser and can be made in large batches, ensuring that there’s enough for everyone. Plus, they’re easy to eat, making them a fantastic choice for parties where guests can mingle and chat.
Customizable to Your Taste
One of the best parts of making Cheeseburger Sliders is the opportunity to customize them to your liking. Want to add some jalapeños for a kick? Go for it! Prefer a vegetarian version? Swap the beef for a veggie patty. The possibilities are endless, allowing you to tailor the sliders to your guests’ preferences.
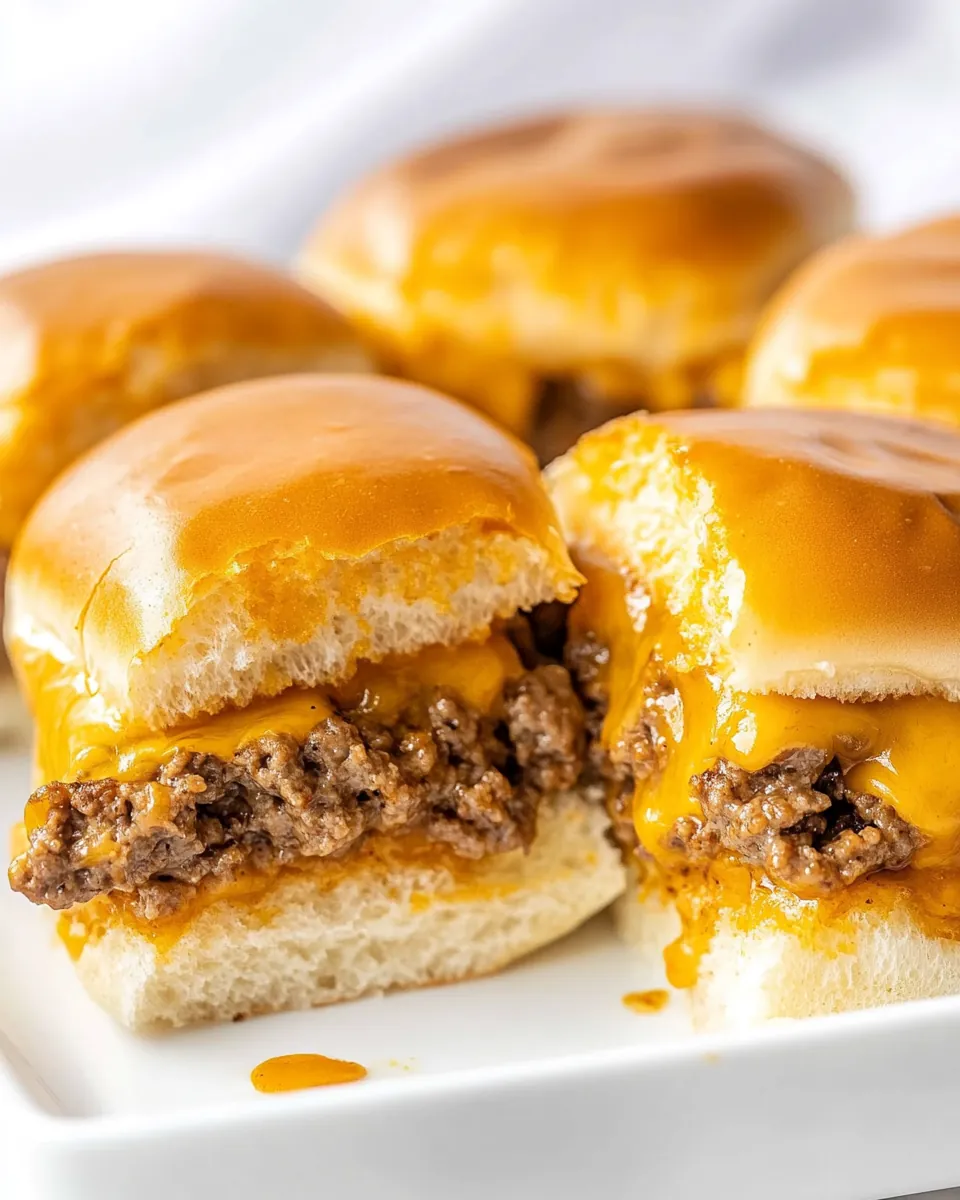
Melted Cheese Goodness
There’s something undeniably satisfying about biting into a slider and getting that gooey, melted cheese stretching as you pull away. By using quality cheese, you elevate the flavor of the entire dish. Plus, the cheese melds beautifully with the juicy beef, creating a heavenly combination that will have everyone coming back for more.
Easy Cleanup
Let’s face it, nobody enjoys spending hours cleaning up after a meal. The great thing about Cheeseburger Sliders is that they can be baked in a single dish, which means less hassle and more time enjoying your guests’ company. Just one baking dish means quick cleanup so you can focus on what really matters—making memories.
Family-Friendly Fun
These sliders are perfect for getting the whole family involved in dinner. Kids can help assemble the sliders, making it a fun activity that encourages teamwork. Plus, it’s hard to resist a dish that’s as fun to make as it is to eat. You’ll be creating a family tradition with Cheeseburger Sliders that everyone will look forward to.
What You Need for Cheeseburger Sliders
When it comes to the ingredients for Cheeseburger Sliders, each one plays a crucial role in creating that mouthwatering flavor profile. The combination of freshly ground beef with creamy cheese and soft rolls creates a symphony of textures and tastes. Let’s take a closer look at these key players that make this dish a hit every time.
- 1 pound ground beef – The star of the show! This should be fresh, high-quality beef for the best flavor.
- 2 teaspoons favorite beef seasoning – This adds depth and enhances the natural flavors of the beef.
- ½ large yellow onion, finely diced – For a little crunch and sweetness that complements the beef.
- ¼ cup mayonnaise – This brings creaminess and helps keep the sliders moist.
- 8 slices medium cheddar cheese – The gooey, melty goodness that pulls everything together.
- 12 count Hawaiian sweet rolls – These soft, slightly sweet rolls are perfect for sliders.
- 3 tablespoons unsalted butter, melted – For brushing on top to add a rich flavor.
- 1 tablespoon sesame seeds – A sprinkle on top for a nice crunch and flavor.
Cooking Method for Cheeseburger Sliders
Making Cheeseburger Sliders is not only straightforward, but it’s also a delightful process. The aroma filling your kitchen will have everyone eager to dive in. Let’s walk through the steps to create these delectable sliders that will surely be a hit with family and friends.
- Preheat your oven to 350 degrees Fahrenheit. Start by spraying a 9×13 baking dish with nonstick spray to ensure the sliders come out easily after baking.
- In a large skillet over medium-high heat, add your finely diced onion and ground beef. Use a spatula to break up the meat as it cooks. Season it with your favorite beef seasoning. The smell will be mouthwatering!
- Cook the beef until it’s browned and cooked through, about 7 to 10 minutes, then remove it from the heat. Make sure to drain any excess grease, as you want your sliders to be savory, not greasy.
- Once drained, stir in the mayonnaise until well combined. This adds a creamy texture that perfectly complements the beef.
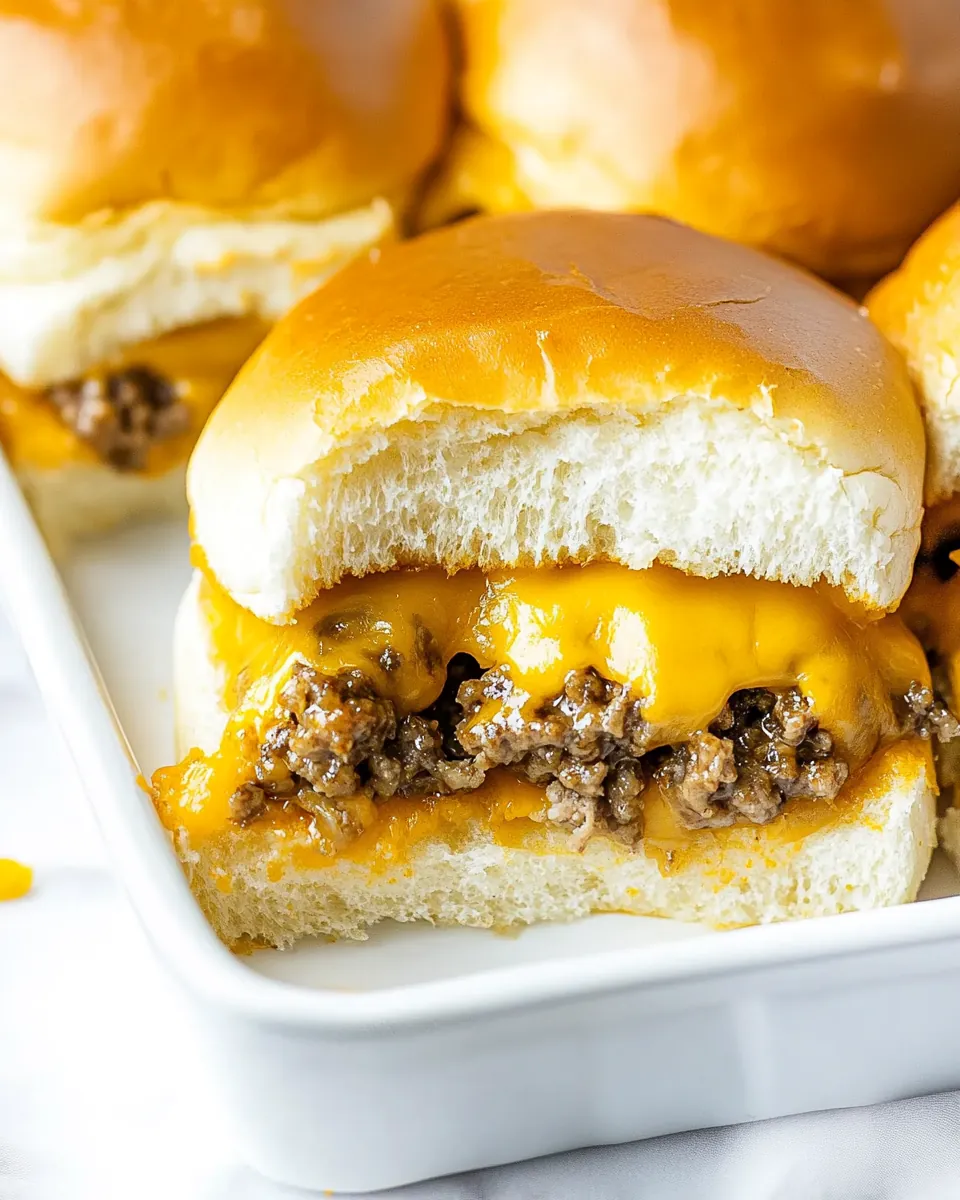
- Now, cut the Hawaiian sweet rolls in half. Place the bottom halves of the rolls into the prepared baking dish, creating a perfect base for your sliders.
- Spread the beef mixture evenly over the rolls, making sure every bite is packed with flavor.
- Top the beef generously with cheddar cheese slices, letting the cheese overlap slightly for maximum cheesiness.
- Place the top halves of the buns, cut-side down, over the cheese. This will create the perfect burger-like experience.
- Brush the tops of the buns with melted butter, and sprinkle with sesame seeds for that extra touch of flavor.
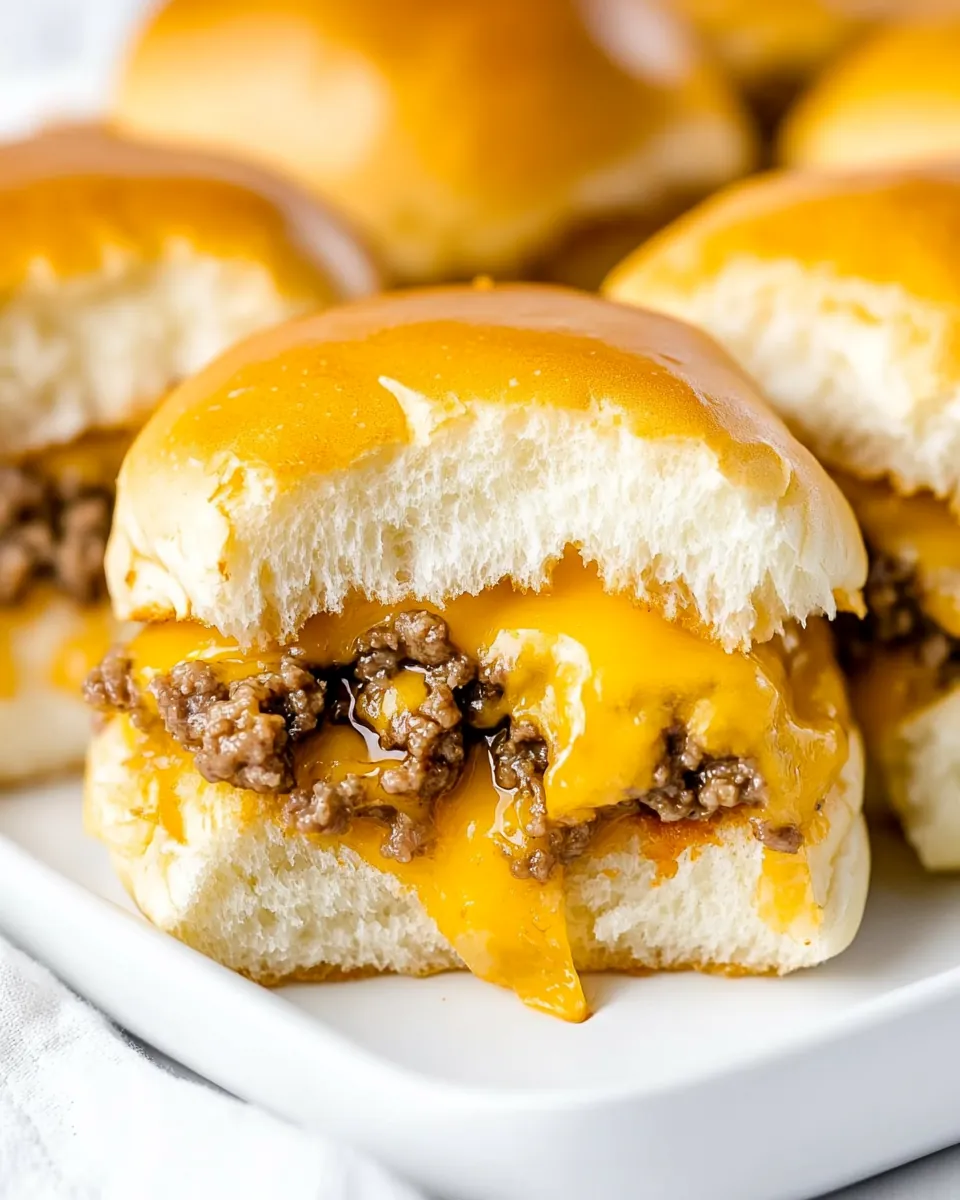
- Bake in your preheated oven for 12 to 15 minutes. Keep an eye on them until the cheese is melted and the tops are golden brown, creating a beautiful contrast.
- Once done, remove the sliders from the oven, let them cool slightly, and then cut them into individual sliders. Serve immediately and watch them disappear!
Things Worth Knowing
- Use Fresh Ingredients: Always opt for fresh ground beef and produce for the best flavor. Freshness makes a significant difference.
- Monitor Cooking Time: Keep an eye on the sliders while baking to ensure you don’t overcook them. You want that perfect cheesy melt!
- Customize Your Sliders: Feel free to add toppings like pickles, ketchup, or mustard while serving to let guests personalize their sliders.
- Let Them Rest: After baking, allow the sliders to rest for a few minutes. This helps the flavors meld together and makes them easier to cut.
Make It Your Own
Personalizing your Cheeseburger Sliders can take them to the next level. Here are some creative tips to make these sliders uniquely yours.
- Experiment with Cheese: While cheddar is classic, try using pepper jack for a spicy kick or Swiss for a nutty flavor.
- Add Veggies: Include toppings like lettuce, tomatoes, or even avocados for added freshness and crunch.
- Spice Up the Beef: Mix in some diced jalapeños or spicy seasonings into the beef for a flavor boost.
- Try Different Rolls: Switch up the bread by using pretzel buns or mini bagels for a fun twist.
- Serve with Dips: Pair your sliders with a variety of dips like ranch, barbecue sauce, or a spicy aioli to enhance the flavor.
What to Serve Alongside Cheeseburger Sliders
- Classic Potato Chips: A side of crunchy potato chips complements the softness of the sliders perfectly.
- Fresh Salad: A light garden salad can cut through the richness of the sliders and offers a refreshing balance.
- Coleslaw: The crunch and tanginess of coleslaw make it a great pairing with Cheeseburger Sliders.
- Fruit Salad: A sweet fruit salad can provide a burst of freshness and contrast against the savory sliders.
- Pickles: A side of pickles can add a nice crunch and acidity that complements the rich flavors of the sliders.
- Occasions: These sliders are perfect for game day, picnics, parties, or casual family dinners.
- Make Ahead: You can prepare the beef mixture ahead of time and assemble the sliders just before baking.
FAQ
Conclusion
The Cheeseburger Sliders are a delicious and easy recipe that brings joy to any gathering. With their juicy beef, melted cheese, and soft rolls, these sliders are sure to satisfy your cravings. I encourage you to try making them for your next event, as they will undoubtedly be a hit with friends and family. Enjoy creating your own slider memories!
Cheeseburger Sliders
Ingredients
Equipment
Method
- Preheat your oven to 350 degrees Fahrenheit. Start by spraying a 9×13 baking dish with nonstick spray to ensure the sliders come out easily after baking.
- In a large skillet over medium-high heat, add your finely diced onion and ground beef. Use a spatula to break up the meat as it cooks. Season it with your favorite beef seasoning. The smell will be mouthwatering!
- Cook the beef until it’s browned and cooked through, about 7 to 10 minutes, then remove it from the heat. Make sure to drain any excess grease, as you want your sliders to be savory, not greasy.
- Once drained, stir in the mayonnaise until well combined. This adds a creamy texture that perfectly complements the beef.
- Now, cut the Hawaiian sweet rolls in half. Place the bottom halves of the rolls into the prepared baking dish, creating a perfect base for your sliders.
- Spread the beef mixture evenly over the rolls, making sure every bite is packed with flavor.
- Top the beef generously with cheddar cheese slices, letting the cheese overlap slightly for maximum cheesiness.
- Place the top halves of the buns, cut-side down, over the cheese. This will create the perfect burger-like experience.
- Brush the tops of the buns with melted butter, and sprinkle with sesame seeds for that extra touch of flavor.
- Bake in your preheated oven for 12 to 15 minutes. Keep an eye on them until the cheese is melted and the tops are golden brown, creating a beautiful contrast.
- Once done, remove the sliders from the oven, let them cool slightly, and then cut them into individual sliders. Serve immediately and watch them disappear!