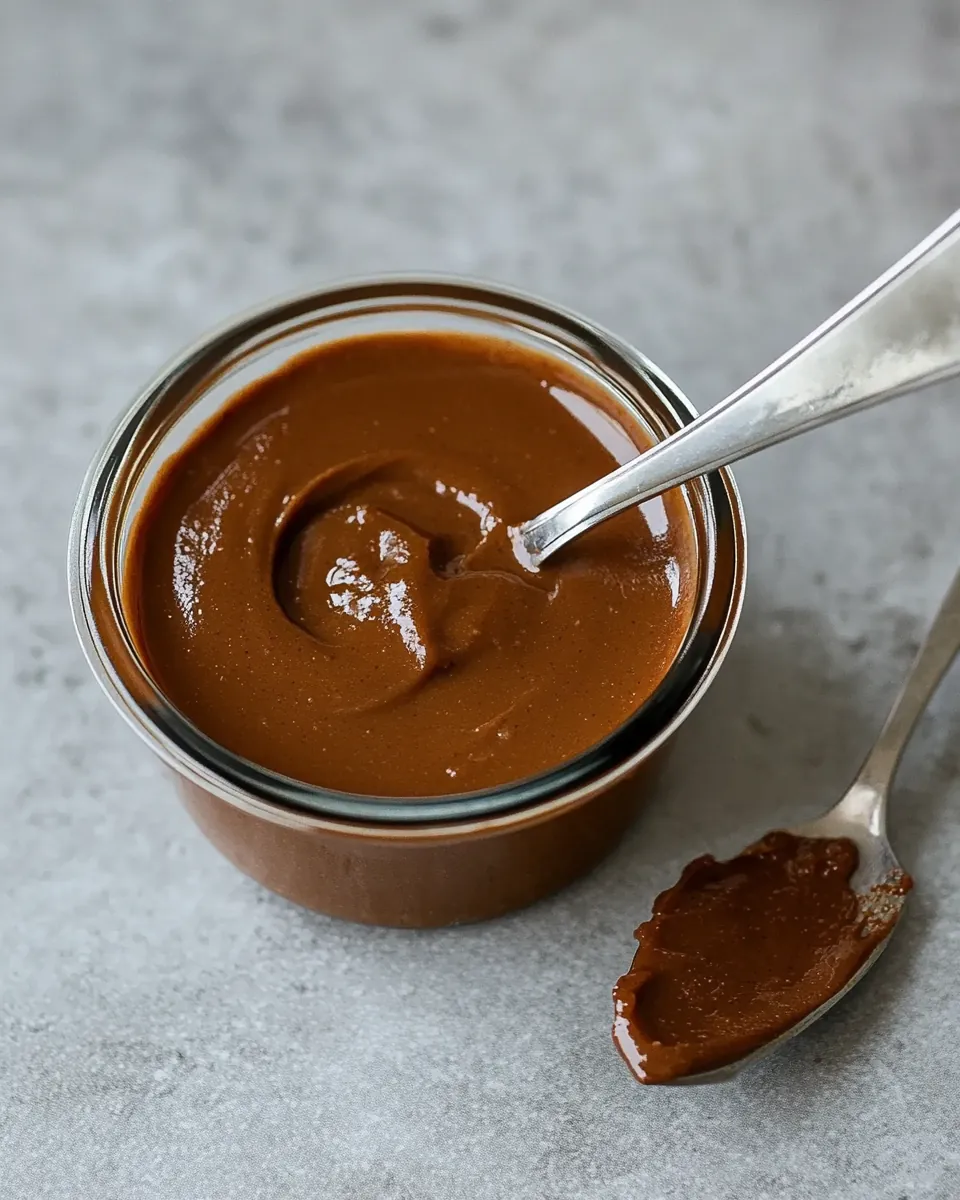
Homemade Dulce De Leche
Have you ever tasted the heavenly sweetness of Homemade Dulce De Leche? It’s a treat that brings back memories of lazy afternoons spent in the kitchen, experimenting with milk and sugar. The aroma wafting through the air is simply irresistible. This recipe is so simple yet delivers an indulgent, creamy delight that can elevate any dessert or serve as a delicious topping. Every stirring moment as the mixture transforms from a milky concoction to a luscious golden sauce feels like magic. Each batch brings a sense of accomplishment, like discovering treasure in my very own kitchen. Whether drizzled over pancakes, used in cakes, or enjoyed straight from the jar, Homemade Dulce De Leche is a flavor journey worth taking!
Recipe Snapshot
2 hr 5 mins
5 mins
120 mins
Hard
100 kcal
2 g
Gluten-Free, Low FODMAP
2 g
Frying Pan, Blender, Saucepan, Mixing Bowl, Wooden Spoon
Why This Homemade Dulce De Leche Is So Good
It’s Surprisingly Easy
One of the best things about this recipe is how accessible it is. You don’t need to be a professional chef to whip up this treat. Just a few ingredients, a pot, and some patience are all you need. It’s an excellent way to impress guests at a dinner party or to treat yourself on a cozy night in.
Perfect for Any Occasion
Whether it’s a holiday gathering or a simple family dinner, Homemade Dulce De Leche fits right in. Use it to elevate your desserts or as a decadent topping for your morning coffee. There’s no wrong time to enjoy this creamy delicacy.
Endless Versatility
Another reason I love this recipe is its versatility. You can use Homemade Dulce De Leche in various ways – from topping ice cream to filling pastries or even drizzling over fruits. It can effortlessly transform a simple dessert into something extraordinary!
It’s an Experience
Making this dulce de leche is not just about the finished product, but the journey. Every bubble that forms in the pot feels like a step closer to something delicious. The anticipation builds as the mixture thickens and transforms. It’s a sensory delight as you stir and watch the color deepen.
Gift it to Someone Special
This treat also makes a wonderful homemade gift. Imagine gifting a jar of Homemade Dulce De Leche to a friend, complete with a lovely ribbon and a note detailing how to enjoy it. It’s a heartfelt gesture that everyone can appreciate.
Homemade Dulce De Leche Ingredients
To create the rich and creamy goodness of Homemade Dulce De Leche, you’ll only need a few simple ingredients. The magic lies in the combination of these elements, which work perfectly together to achieve the desired flavor and texture. Each ingredient plays a vital role in developing the sweetness and creamy consistency we all love.
- Fresh Whole Milk: 1 liter – The base of our dulce de leche, providing creaminess and the ability to transform into a caramel-like texture.
- Muscovado or Turbinado Sugar: 200 grams – This sugar adds a depth of flavor and a hint of molasses, enhancing the overall taste.
- Baking Soda: ½ teaspoon – This little helper helps to control the pH level, ensuring that the milk caramelizes evenly and develops that beautiful color.
How to Make Homemade Dulce De Leche
Making Homemade Dulce De Leche is a delightful process that you’ll find both rewarding and enjoyable. Let’s get started on this sweet journey together!
- Combine the Ingredients: Begin by pouring the fresh whole milk and muscovado sugar into a large saucepan. Stir the mixture gently over medium-low heat just below a simmer. It’s important to keep the heat low to prevent burning.
- Dissolve the Sugar: As the mixture heats, stir until the sugar is fully dissolved. This step is crucial, as undissolved sugar can lead to a grainy texture in your finished dulce de leche.
- Add Baking Soda: Once dissolved, add the baking soda to the pot. You’ll notice it bubbling slightly; this reaction helps in achieving that rich caramel color.
- Simmer Gently: Maintain the mixture just below a simmer. Stir it every 10 minutes for about 2 hours. You’ll see it start to thicken and turn a light brown hue. Patience is key!
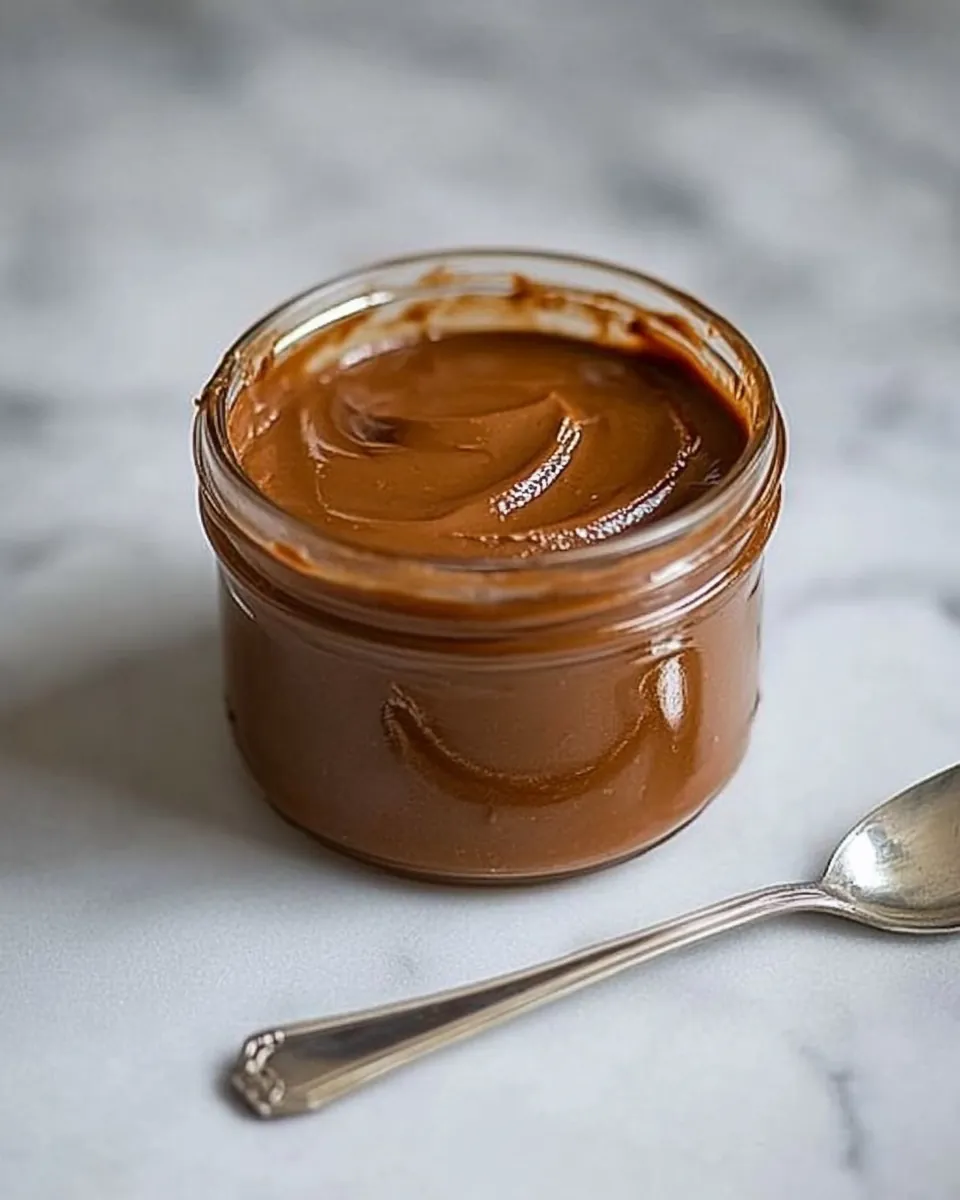
- Continuous Stirring: As the color deepens, start stirring continuously. Lower the heat to the minimum setting. This is where the magic really happens. The mixture should reach a deep, caramel color and a thick but gooey texture.
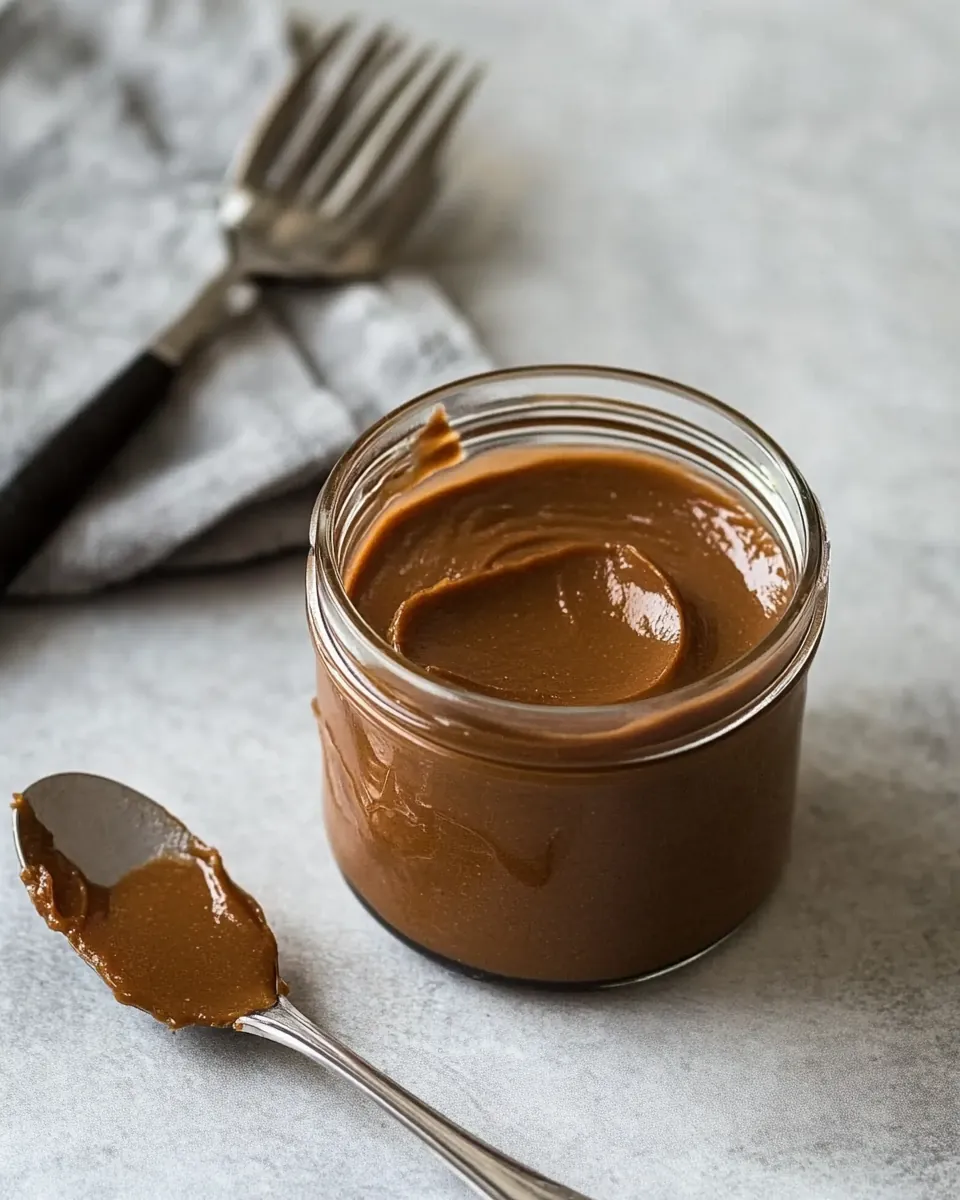
- Check the Texture: Once you’re satisfied with the color, check the texture. If it’s not perfectly smooth, you can strain it through a fine mesh strainer or blend it with an immersion blender.
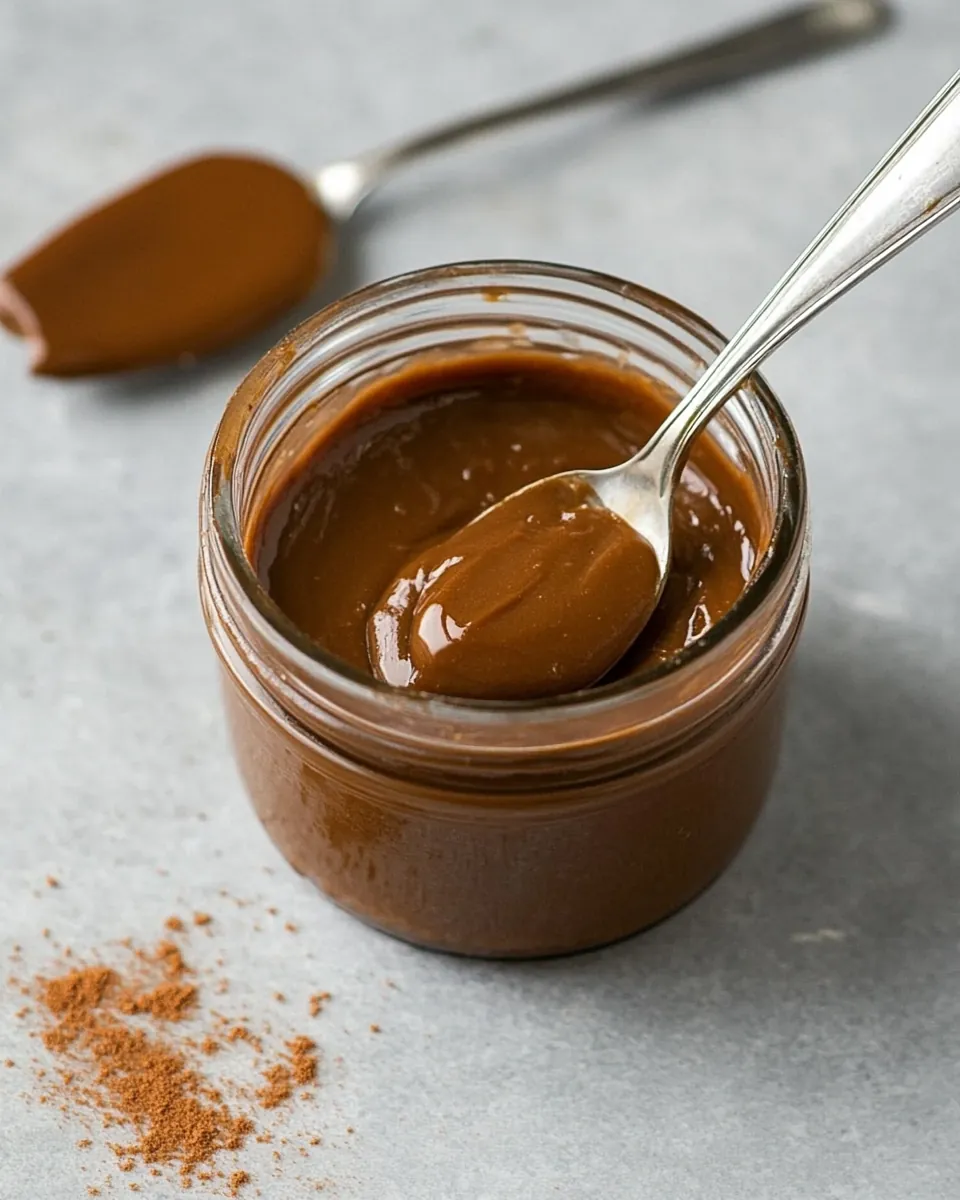
- Cool Down: Let your Homemade Dulce De Leche cool down slightly before transferring it to a jar. It will thicken more as it cools.
Things Worth Knowing
- Stir Frequently: It’s essential to stir the mixture frequently to prevent it from sticking to the bottom of the pot and burning.
- Low and Slow: Cooking on low heat might take longer, but it ensures that the milk caramelizes evenly, resulting in a smooth texture.
- Watch the Color Change: The transition from a light yellow to a deep caramel color is crucial—it signifies the sweetness and depth of flavor developing.
- Storage: Store the finished dulce de leche in an airtight container in the fridge to maintain its freshness.
Make It Your Own
There are so many ways to personalize your Homemade Dulce De Leche. Here are some tips to guide you in making this recipe uniquely yours!
- Storage: Store your dulce de leche in an airtight container in the fridge for up to two weeks. It’s perfect for quick dessert fixes!
- Freezing: Yes, you can freeze Homemade Dulce De Leche! Just make sure to use a freezer-safe container, and it will keep for up to three months.
- Pairing: This dulce de leche pairs beautifully with fresh fruits like bananas or apples to balance the sweetness.
- Gift Giving: Pour your dulce de leche into decorative jars, and gift them to friends and family—it’s a lovely homemade treat!
- Flavor Variations: Consider adding a pinch of sea salt for salted caramel dulce de leche, or infuse the milk with spices like cinnamon for a warm touch.
Serve This Homemade Dulce De Leche With
When it comes to serving your delicious Homemade Dulce De Leche, the possibilities are endless! Here are some fantastic ideas to consider:
- Pancakes: Drizzle warm dulce de leche over pancakes for a breakfast that feels indulgent.
- Ice Cream: Use it as a topping for vanilla ice cream—it adds a rich, caramel touch that complements the creaminess perfectly.
- Cakes: Incorporate it into layer cakes or use it as a filling for cupcakes to add a sweet surprise.
- Fruit: Serve with fresh fruit for a delightful and refreshing dessert option.
- Toast: Spread on warm toast or bagels, topped with nuts for a simple yet decadent treat.
- Gift it: Jar it up as a thoughtful gift for friends and family, coupled with a note on how to enjoy it.
FAQ
Conclusion
In conclusion, Homemade Dulce De Leche is a beautifully rich and creamy treat that elevates any dessert. The joy of making it lies in the simple process and the delightful outcome. I encourage you to try making it yourself; it’s a rewarding experience that leads to delicious results. Perfect for sharing or indulging solo, this dulce de leche will quickly become a staple in your kitchen!
Homemade Dulce De Leche
Ingredients
Equipment
Method
- Combine the ingredients by pouring the fresh whole milk and muscovado sugar into a large saucepan. Stir the mixture gently over medium-low heat just below a simmer. It’s important to keep the heat low to prevent burning.
- Dissolve the sugar as the mixture heats, stirring until the sugar is fully dissolved. This step is crucial, as undissolved sugar can lead to a grainy texture in your finished dulce de leche.
- Add baking soda, which will cause a slight bubbling reaction that helps achieve a rich caramel color.
- Simmer gently, maintaining the mixture just below a simmer. Stir every 10 minutes for about 2 hours. You’ll see it start to thicken and turn a light brown hue.
- Continuous stirring is essential as the color deepens. Lower the heat to the minimum setting until you reach a deep, caramel color and a thick, gooey texture.
- Check the texture; if it’s not perfectly smooth, you can strain it through a fine mesh strainer or blend it with an immersion blender.
- Allow it to cool down slightly before transferring to a jar, where it will thicken further.
Notes
- Storage: Store prepared dulce de leche in an airtight container in the fridge for up to 2 weeks.