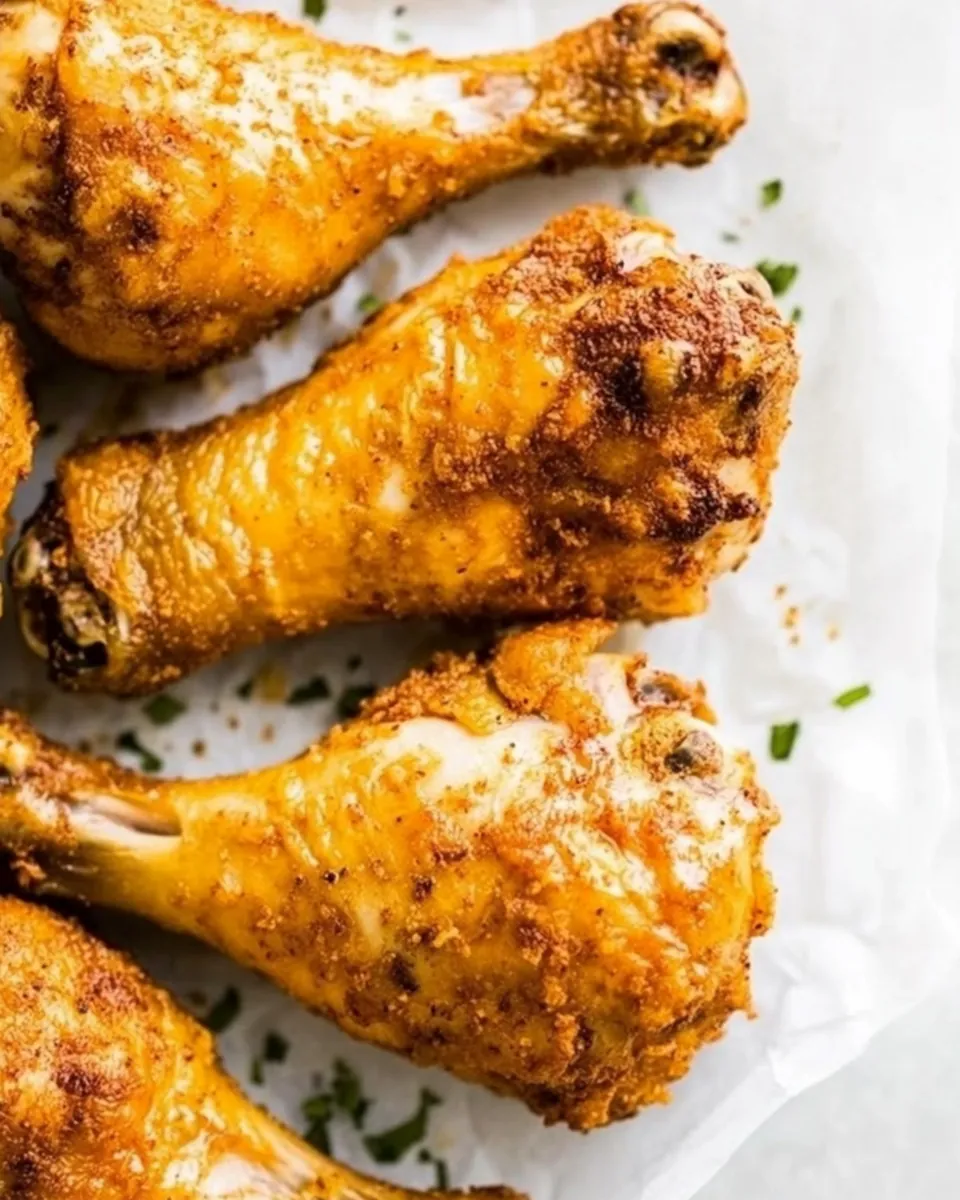
Oven Fried Chicken Legs
There’s something incredibly satisfying about the smell of Oven Fried Chicken Legs wafting through your kitchen. It takes me back to my childhood when my mother would prepare this dish for Sunday dinners. The crispy skin and juicy meat were always a highlight, bringing the family together around the table. As I grew older, this recipe became a staple in my own home, a comforting dish that never fails to impress friends and family alike. The beauty of these chicken legs is in their simplicity. Using just a handful of ingredients, you can create a flavorful meal that feels like a special occasion. Whether it’s a weeknight dinner or a gathering with loved ones, these Oven Fried Chicken Legs are sure to be a hit.
Recipe Snapshot
45 mins
10 mins
35 mins
Medium
370 kcal
26 g
Gluten-Free, Low FODMAP
18 g
Baking Sheet, Wire Cooling Rack
Why This Oven Fried Chicken Legs Is So Good
1. Crispy Texture
What sets Oven Fried Chicken Legs apart is the irresistible crispy exterior. It’s achieved without deep frying, making it a healthier option that doesn’t skimp on flavor. The coating of flour mixed with paprika adds a delightful crunch, while the butter drizzled on top enhances both taste and texture.
2. Juicy and Tender
Marinating the chicken in yogurt and salt infuses it with moisture, ensuring that each bite remains juicy and tender. This step is crucial as it breaks down the proteins, resulting in a melt-in-your-mouth experience.
3. Versatility
These Oven Fried Chicken Legs are incredibly versatile. Serve them with a side of mashed potatoes for a comforting meal or toss them in a salad for a lighter option. They can easily adapt to your preferred side dishes, making them perfect for any occasion.
4. Easy to Make
If you’re looking for an easy meal that doesn’t require hours in the kitchen, this is the one. The prep is straightforward, and the cooking is hands-off. You can set a timer and focus on other things while they bake to perfection.
5. Family-Friendly
Kids love these Oven Fried Chicken Legs! The crispy skin and flavorful meat are sure to please even the pickiest eaters. It’s a dish that brings everyone to the table, creating moments of joy and laughter.
6. Perfect for Meal Prep
These chicken legs are fantastic leftovers. They can be refrigerated and enjoyed the next day, making them perfect for meal prep. Just reheat and enjoy!
FAQ
Conclusion
In summary, Oven Fried Chicken Legs offer a delightful combination of crispy texture and juicy flavor that is hard to resist. They are simple to make and perfect for any occasion. I encourage you to try this recipe tonight and enjoy a meal that brings comfort and satisfaction to your table.
Oven Fried Chicken Legs
Ingredients
Equipment
Method
- Add the Greek yogurt and kosher salt to a large bowl and mix well with a spoon.
- Add the chicken drumsticks and turn to coat.
- Cover the bowl tightly with plastic wrap, and marinate for 2 to 4 hours in the refrigerator.
- Preheat your oven to 350°F. Line a rimmed baking sheet with parchment paper and place a cooling rack on top. Spray the rack with nonstick cooking spray and set aside.
- In a separate large bowl, combine the flour, paprika, onion powder, and garlic powder. Mix well.
- Remove a drumstick from the marinade. Pat lightly with paper towels to remove excess marinade.
- Place the drumstick into the bowl with the flour, and coat it thoroughly with the flour mixture, then place on the prepared rack.
- Repeat the process with the remaining drumsticks.
- Drizzle the melted butter over the prepared drumsticks.
- Bake for 35 minutes, or until golden brown and fully cooked through to 165°F.
Notes
- Use a rimmed baking sheet: There will be butter in the pan and chicken fat that renders out during cooking.
- Spice it up: Try adding smoked paprika or cayenne to the flour mix for a subtle smoky or spicy twist.
- Wait for the oven: You can coat the chicken and let it sit on a baking sheet while you’re waiting for the oven to preheat.
- Use a pastry brush: Apply the butter for more even coverage.
- Cover if browning: If the drumsticks brown a bit too much, cover them with aluminum foil and continue baking.
- For extra crisp: Crank up the heat to 425°F for the last 5 to 7 minutes of baking.