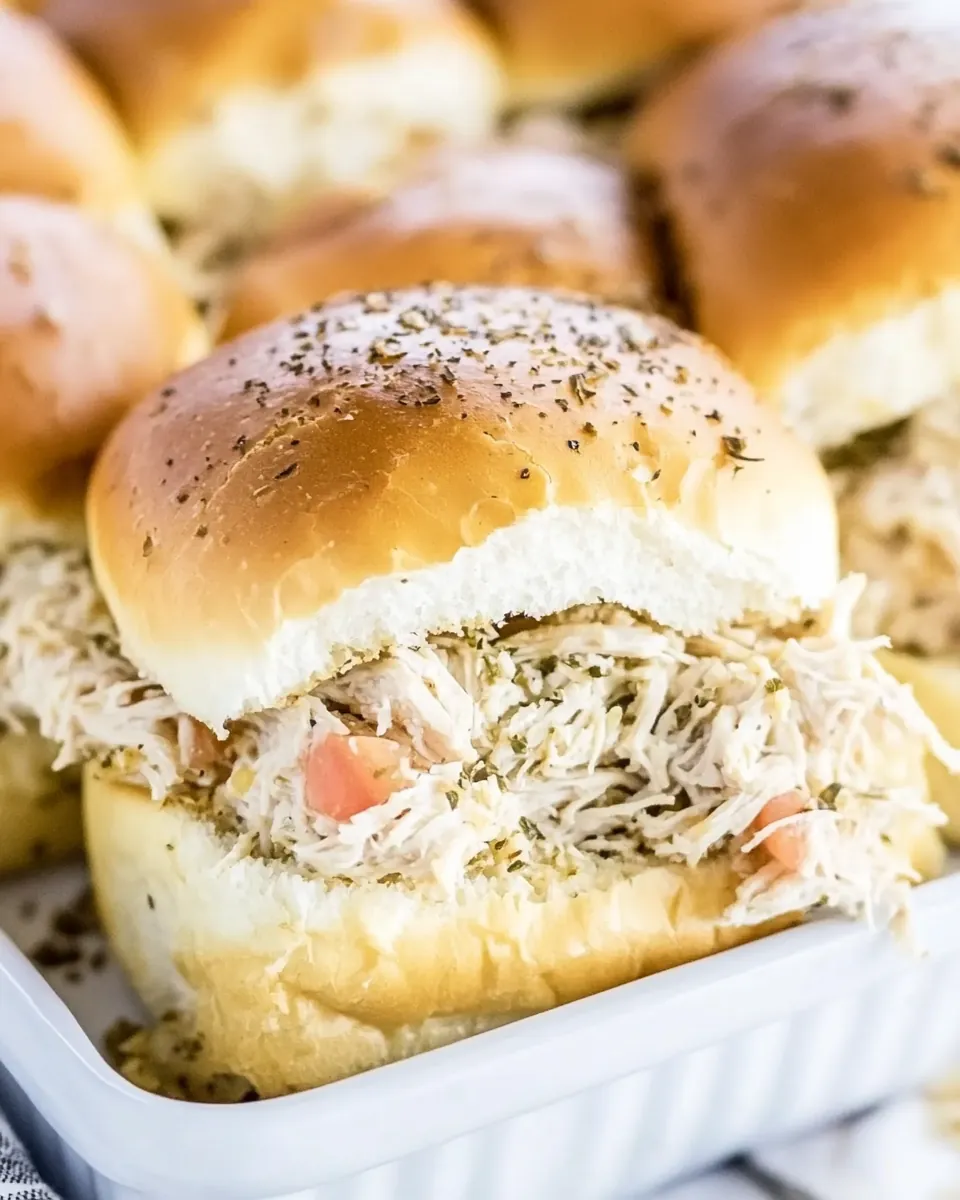
Shredded Chicken Sliders
There’s something incredibly comforting about Shredded Chicken Sliders. Whenever I think of hosting friends or family, these delicious little sandwiches always come to mind. They remind me of summer barbecues where laughter fills the air and delicious aromas drift from the kitchen. I remember the first time I made them; it was a spontaneous decision on a weekend when I wanted to create something fun yet satisfying. I had some leftover rotisserie chicken in the fridge, and before I knew it, I was assembling these sliders. The combination of warm, soft rolls with savory chicken and melted cheese is nothing short of perfection!
The beauty of Shredded Chicken Sliders is how easily they can be customized to suit any occasion. Whether you’re preparing a casual lunch for family or a crowd-pleasing appetizer for a party, these sliders never disappoint. I often make them for game nights, and they disappear faster than I can keep track of! Each bite is a delightful explosion of flavors, enhanced by a drizzle of honey mustard and poppy seed butter that takes them to the next level. Plus, they’re incredibly easy to prepare, making them the perfect solution for busy weeknights.
As I slice through the warm Hawaiian rolls, I can already envision the smiles on everyone’s faces as they take the first bite. If you haven’t tried making Shredded Chicken Sliders at home yet, now’s the time! Gather your ingredients, and let’s create some unforgettable sandwich memories together. It’s a dish that feels like a warm hug on a plate, and trust me, you’ll be coming back for seconds!
Recipe Snapshot
25 mins
5 mins
20 mins
Medium
250 kcal
15 g
Keto, Gluten-Free, Low FODMAP
12 g
Chef’s Knife, Whisk, Baking Sheet, Oven
The Appeal of This Shredded Chicken Sliders
They’re Incredibly Versatile
One of the best things about Shredded Chicken Sliders is how customizable they are. You can easily switch up the flavors by adding different sauces or toppings. Want something spicy? Add jalapeños or a dash of hot sauce. Prefer a tangy twist? A bit of barbecue sauce can work wonders!
Perfect for Any Occasion
These sliders are suitable for any gathering, whether it’s a casual weeknight dinner or a big game day party. They’re finger food, which makes them easy to serve and eat. Just set them out on a platter, and let your guests dig in!
Family-Friendly
If you’re looking for a meal that the whole family will love, Shredded Chicken Sliders are a winner. Even kids who are picky eaters find them irresistible. The soft rolls and savory chicken are appealing to everyone, making mealtime a breeze.
Quick and Easy to Prepare
With just a few simple ingredients, you can whip up these sliders in no time. They’re perfect for those busy evenings when you don’t want to spend hours in the kitchen. Just throw everything together, bake, and enjoy!
Comfort Food Done Right
There’s something inherently comforting about a warm sandwich filled with tender chicken and gooey cheese. It’s the kind of food that wraps around you like a warm blanket on a chilly day. You can’t help but feel cozy and satisfied after indulging in a slider (or two!).
Great for Leftovers
Not only are these sliders fantastic fresh out of the oven, but they also make for excellent leftovers. You can enjoy them the next day, either warmed up or cold! They stay flavorful and delicious, making them perfect for meal prep.
What to Gather for Shredded Chicken Sliders
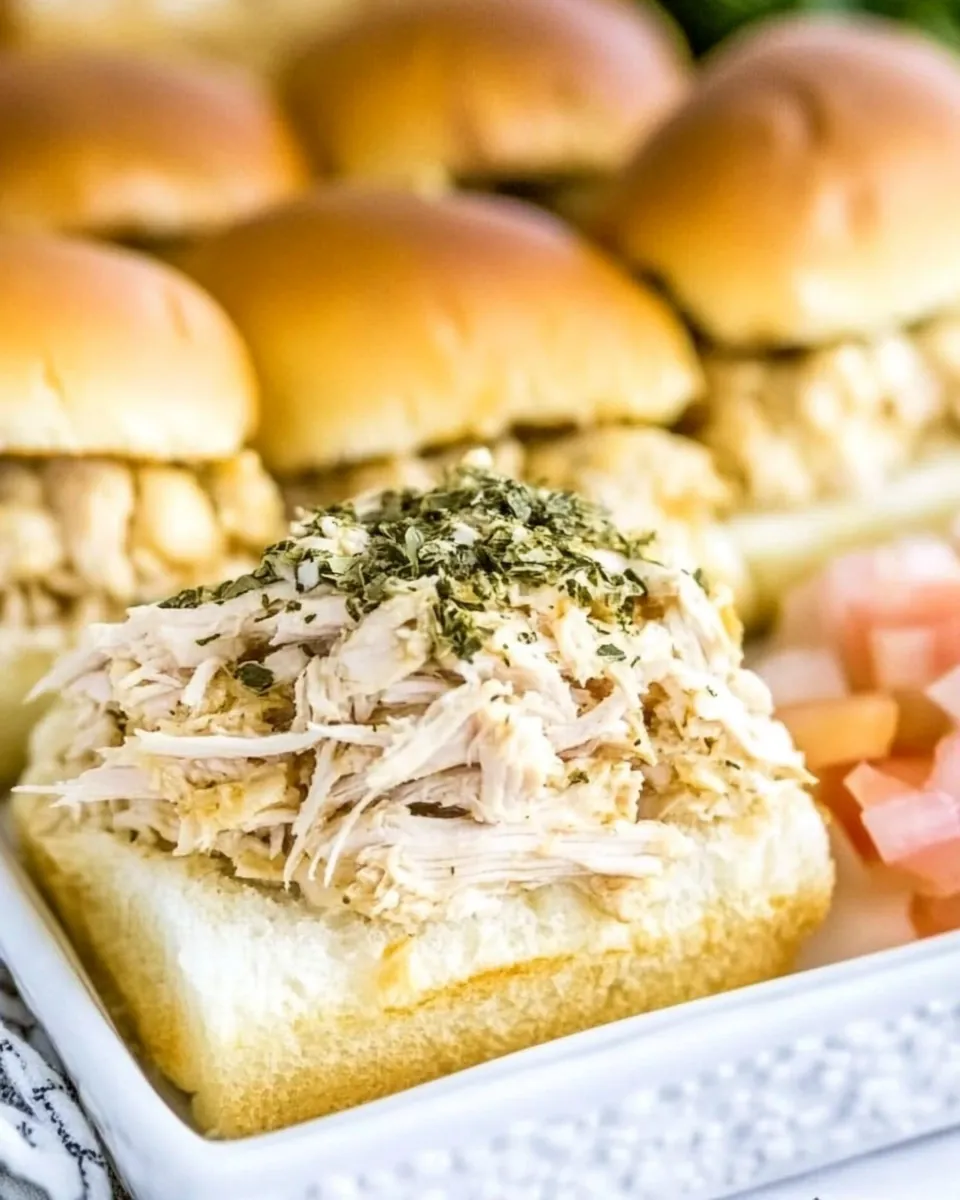
Gathering the right ingredients is key to making scrumptious Shredded Chicken Sliders. Each ingredient plays a significant role in building flavor and texture. From the soft, sweet Hawaiian rolls to the savory shredded chicken, each component is essential for crafting the perfect bite. Let’s take a look at what you’ll need!
- 12 Hawaiian Rolls – These sweet rolls are soft and fluffy, providing the perfect base for your sliders.
- 2 heaping cups of shredded chicken – I recommend using rotisserie chicken for ease and flavor. It’s juicy and tender, making the sliders delicious.
- 4 ounces provolone cheese, sliced – This cheese melts beautifully and adds a rich, creamy element.
- 2 tablespoons butter, melted (salted or unsalted) – The melted butter will help achieve a golden brown top.
- 1 tablespoon dijon mustard – Adds a lovely tangy flavor that complements the chicken.
- 1 tablespoon honey – A touch of sweetness balances the savory elements perfectly.
- 1 teaspoon poppy seeds – These add a slight crunch and visual appeal.
- 1/4 teaspoon salt – Enhances the overall flavors of the sliders.
Cooking Method for Shredded Chicken Sliders
The cooking process for Shredded Chicken Sliders is straightforward and rewarding. You’ll enjoy the delightful aroma wafting through your kitchen as they bake. Let’s dive into the steps to create these mouthwatering sliders!
- Preheat your oven to 350˚F. This temperature is perfect for achieving a nice golden brown on the rolls.
- Cut the Hawaiian rolls in half horizontally and lay the bottoms in a baking dish. Make sure they fit snugly but don’t overcrowd; you want them to bake evenly.
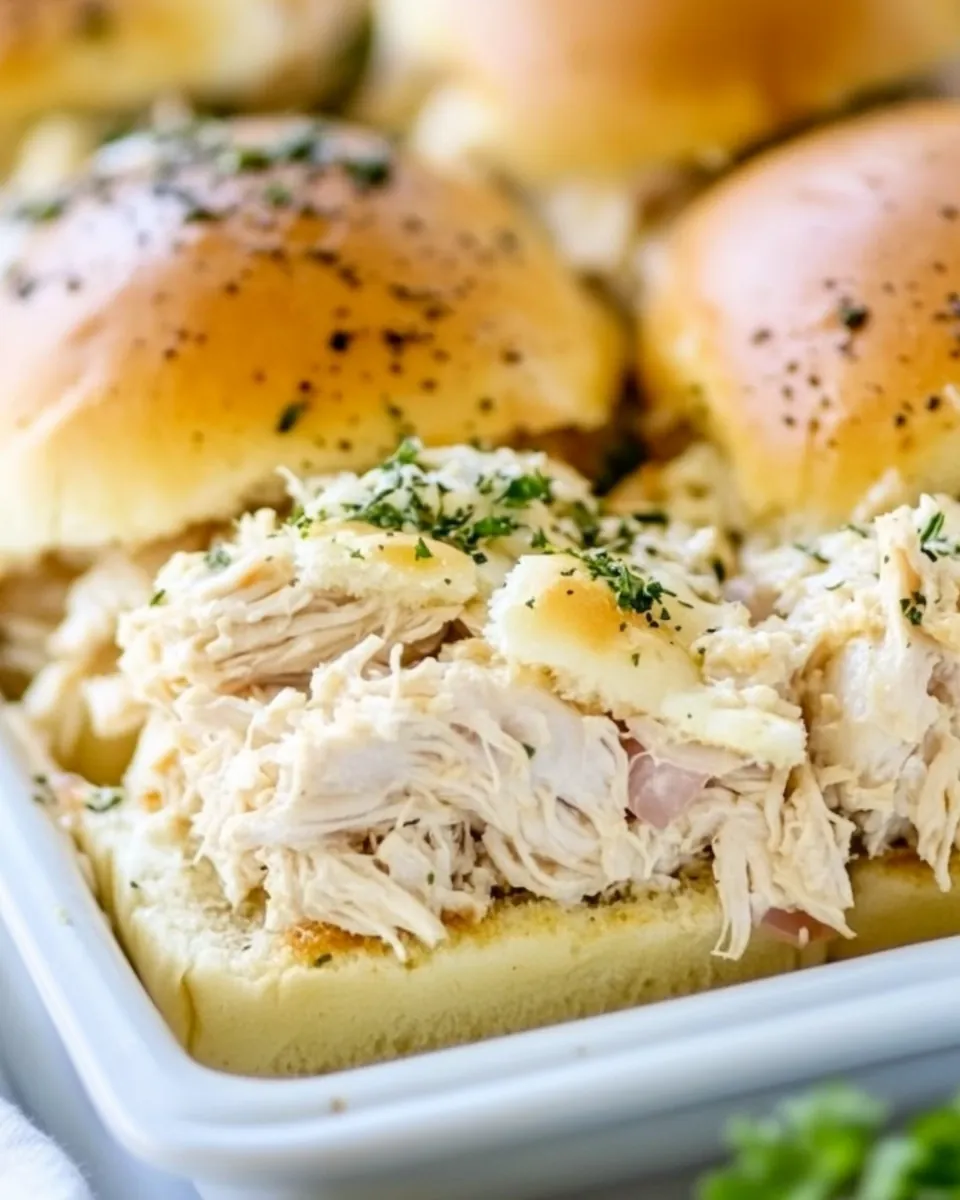
- Spread the shredded chicken evenly over the bottom of the rolls. Use a spatula to make sure every bite has that delicious chicken!
- Add the provolone cheese slices on top of the chicken. Feel free to layer the cheese for extra cheesiness!
- Lay the top halves of the rolls over the cheese layer. Don’t forget to align them nicely—they’ll be easier to cut later!
- Use a serrated knife to gently cut between all the rolls so they’re easy to pull apart after baking.
- In a small bowl, make the glaze by combining the melted butter, honey, dijon mustard, poppy seeds, and salt. Whisk until completely combined for a smooth consistency.
- Spread the glaze generously over the tops and in between the rolls. This will give them a gorgeous shine and flavor!
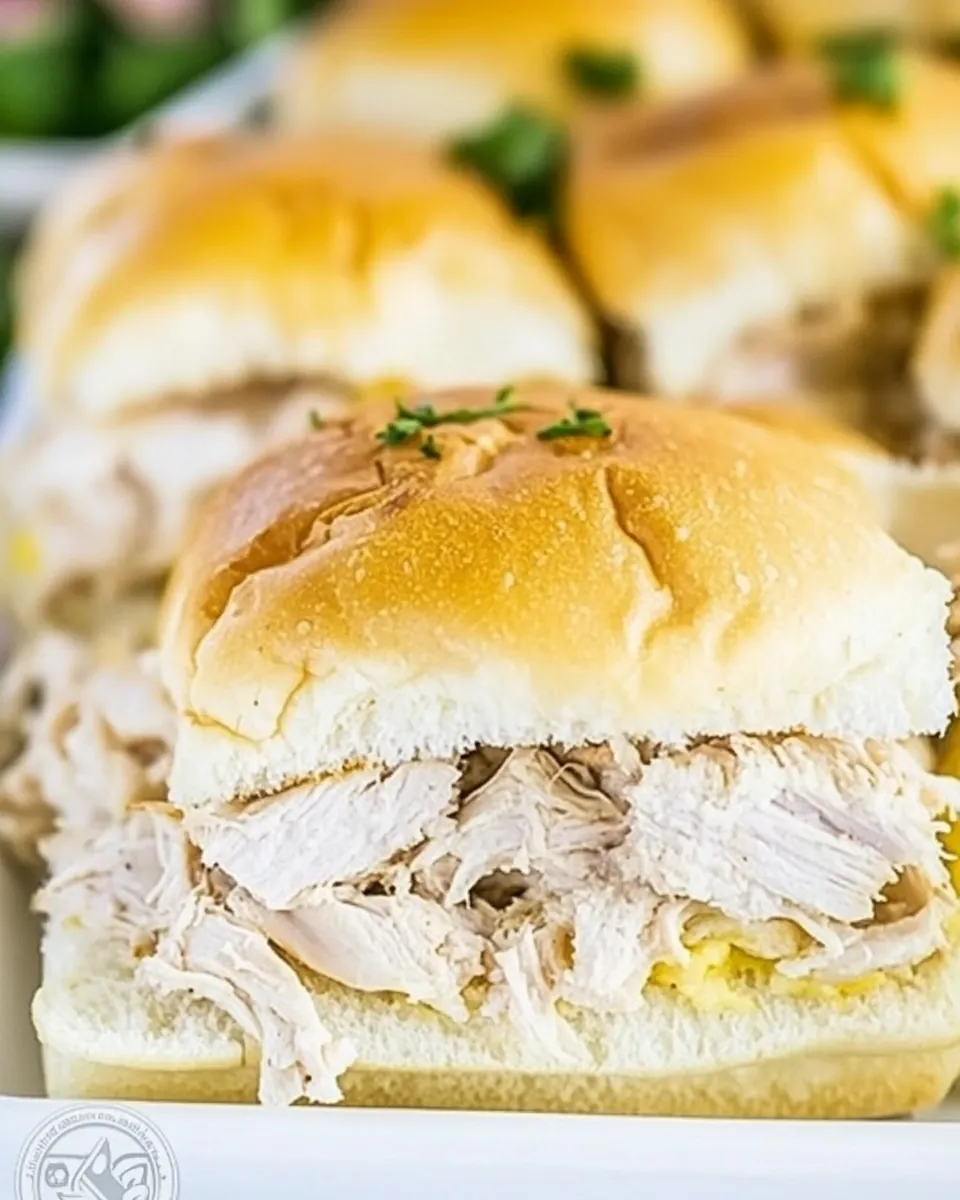
- Place the baking dish in the preheated oven and bake for 20 to 25 minutes, or until the cheese is melted and the tops are golden brown. Keep an eye on them to prevent burning!
- Once done, remove them from the oven and allow them to cool for a few minutes before serving. This will help the cheese set a bit, making them easier to handle.
Things Worth Knowing
- Watch the cheese: Keep an eye on the cheese to ensure it melts perfectly without burning. You want it gooey and delicious.
- Don’t crowd the rolls: Make sure to space the rolls adequately in the baking dish for even cooking.
- Customize your chicken: Feel free to add spices or herbs to the chicken for extra flavor.
- Let them cool slightly: Allowing the sliders to cool for a few minutes will make them easier to serve and enjoy.
Tips and Variations
When it comes to Shredded Chicken Sliders, the possibilities are endless! Here are some tips and variations to enhance your sliders further.
- Storage: Store any leftovers in an airtight container in the fridge. They can be enjoyed cold or warmed up!
- Freezing: You can freeze uncooked sliders before baking them. Just wrap them well and bake from frozen, adding a few extra minutes to the cooking time.
- Pairing: Serve these sliders with a fresh salad or crispy fries for a complete meal.
- Make it spicy: Add some sliced jalapeños or a drizzle of hot sauce for an extra kick.
- Double the recipe: You can easily double this recipe for larger gatherings; just use a 9×13 inch baking dish for 24 sliders.
- Ingredient swaps: Feel free to use different types of cheese or sauces to create your favorite combination!
Accompaniments for Shredded Chicken Sliders
When serving Shredded Chicken Sliders, it’s essential to consider the perfect accompaniments to elevate your meal. Here’s what I recommend:
- Fresh Salad: A crisp garden salad provides a refreshing contrast to the rich sliders. Consider a simple vinaigrette to enhance the flavors.
- Potato Chips: Crunchy chips or homemade fries are an excellent side for some extra texture.
- Coleslaw: A tangy coleslaw works perfectly alongside the sliders, adding crunch and flavor.
- Perfect for Game Day: These sliders are a hit during sports events—serve them during halftime for a crowd-pleaser!
- Seasonal Pairings: In the summer, serve them with fresh corn on the cob or a fruit salad for a light meal.
- Storage Tips: If you have leftovers, store them in an airtight container. They can last a few days in the fridge and make for a quick meal!
FAQ
Conclusion
The magic of Shredded Chicken Sliders lies in their simplicity and satisfying flavors. They’re perfect for any gathering or cozy night in. I encourage you to try making them for your family; I promise they’ll love every bite! It’s a recipe that brings comfort and joy to every occasion, making it a must-try in your kitchen.
Shredded Chicken Sliders
Ingredients
Equipment
Method
- Preheat your oven to 350˚F. This temperature is perfect for achieving a nice golden brown on the rolls.
- Cut the Hawaiian rolls in half horizontally and lay the bottoms in a baking dish. Make sure they fit snugly but don’t overcrowd; you want them to bake evenly.
- Spread the shredded chicken evenly over the bottom of the rolls. Use a spatula to make sure every bite has that delicious chicken!
- Add the provolone cheese slices on top of the chicken. Feel free to layer the cheese for extra cheesiness!
- Lay the top halves of the rolls over the cheese layer. Don’t forget to align them nicely—they’ll be easier to cut later!
- Use a serrated knife to gently cut between all the rolls so they’re easy to pull apart after baking.
- In a small bowl, make the glaze by combining the melted butter, honey, dijon mustard, poppy seeds, and salt. Whisk until completely combined for a smooth consistency.
- Spread the glaze generously over the tops and in between the rolls. This will give them a gorgeous shine and flavor!
- Place the baking dish in the preheated oven and bake for 20 to 25 minutes, or until the cheese is melted and the tops are golden brown. Keep an eye on them to prevent burning!
- Once done, remove them from the oven and allow them to cool for a few minutes before serving. This will help the cheese set a bit, making them easier to handle.
Notes
- Tip 1: Store any leftovers in an airtight container in the fridge. They can be enjoyed cold or warmed up!
- Tip 2: You can freeze uncooked sliders before baking them. Just wrap them well and bake from frozen, adding a few extra minutes to the cooking time.
- Tip 3: Serve these sliders with a fresh salad or crispy fries for a complete meal.
- Tip 4: Add some sliced jalapeños or a drizzle of hot sauce for an extra kick.
- Tip 5: You can easily double this recipe for larger gatherings; just use a 9×13 inch baking dish for 24 sliders.
- Tip 6: Feel free to use different types of cheese or sauces to create your favorite combination!