Preserving Chicken Stock Recipe
Making Preserving Chicken Stock Recipe is one of my favorite kitchen activities. There’s something deeply satisfying about transforming leftover chicken bones and aromatic vegetables into a rich, flavorful stock that can elevate my dishes. Whenever I have a busy week ahead, I make a big batch and freeze it in portions, ensuring that I always have a taste of home at my fingertips. The warmth and depth of flavor that a good stock brings to soups, sauces, and stews is irreplaceable. Plus, it’s a fantastic way to reduce waste in the kitchen, making every part of the chicken count. I often find myself reminiscing about the first time I made stock, learning the delicate balance of simmering and skimming. It became a ritual, one that transformed my cooking routine into something much more mindful. When you make your own stock, you’re not just following a recipe; you’re crafting a base for countless meals, each bite filled with love and care.
Recipe Snapshot
45 mins
20 mins
25 mins
Medium
50 kcal
8 g
Keto, Paleo, Whole30
1 g
Large Pot, Food Processor
Why This Preserving Chicken Stock Recipe Is a Winner
It’s the Ultimate Flavor Booster
There’s no denying that homemade stock is superior to store-bought versions. When you make Preserving Chicken Stock Recipe, you have complete control over the flavor profile. You can include various herbs and spices that resonate with your palate, creating a unique taste with every batch. This is something you simply can’t replicate with boxed stocks, which often lack depth.
Perfect for Meal Prep
In our busy lives, preparing meals ahead of time can save you a lot of stress. By making Preserving Chicken Stock Recipe, you can have a flavorful base ready for soups, risottos, and sauces. It’s a fantastic time-saver, allowing you to whip up a delicious meal in no time. You can simply pull a jar from the freezer, and you’re well on your way to a hearty dinner.
Health Benefits Galore
Homemade stock is not just delicious; it’s also incredibly nutritious. It’s packed with vitamins and minerals that are released from the bones and vegetables during the cooking process. Making your own stock allows you to choose wholesome ingredients, ensuring that it’s free from preservatives and artificial flavorings.
A Beautifully Aromatic Kitchen
There’s nothing quite like the comforting aroma of simmering stock wafting through your home. As the Preserving Chicken Stock Recipe simmers on the stovetop, you’ll be enveloped in a warm, savory scent that’s sure to make anyone feel at home. It’s a sensory experience that adds to the joy of cooking.
Cost-Effective Cooking
Making stock at home is an excellent way to save money. Instead of tossing out chicken bones and vegetable scraps, you can turn them into something delicious. In essence, it’s recycling food, allowing you to stretch your grocery budget further while still enjoying rich flavors.
Customizable to Your Taste
One of the best aspects of making your own stock is the ability to tailor it to your liking. Whether you prefer a more robust flavor or something lighter, you can adjust the ingredients and simmering times accordingly. This flexibility means every batch of Preserving Chicken Stock Recipe can be a little different, reflecting the season or whatever you happen to have on hand.
Preserving Chicken Stock Recipe Ingredients
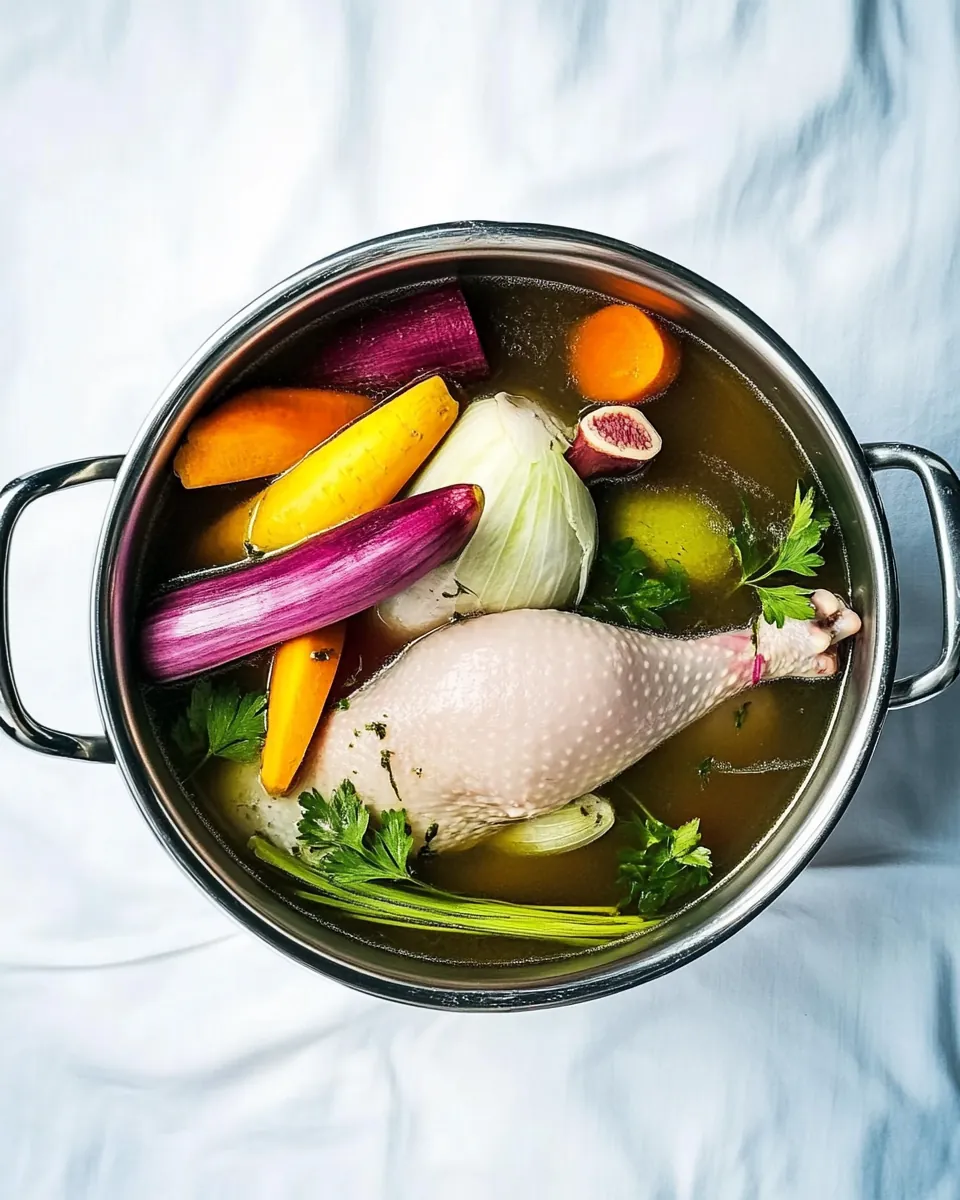
When it comes to creating a rich and flavorful stock, the choice of ingredients is paramount. The core elements work together harmoniously, bringing out the best flavors through slow simmering. Each ingredient contributes its unique essence, resulting in a complex and satisfying broth that serves as a perfect base for countless dishes.
- 2 gallons of Chicken stock: You can use your own homemade recipe or store-bought stock as a base. The quality of the stock will significantly impact the final flavor of your dishes.
- Quart or Pint sized canning jars: These are essential for storing your prepared stock. They allow for convenient portioning and easy access when you need to whip up a quick meal.
- Lids: To ensure your stock stays fresh, you’ll need proper lids that create an airtight seal.
- Rings: These are necessary for securing the lids on your jars during the canning process. They help maintain the vacuum seal essential for long-term storage.
Directions for Preserving Chicken Stock Recipe
The process of making Preserving Chicken Stock Recipe is both rewarding and straightforward. As you follow these steps, you’ll find it easy to create a robust stock that can elevate your meals. Let’s dive into the details!
Start by preparing your weighted gauge pressure canner, jars, and lids. It’s crucial to do this for at least 30 minutes before the stock is ready to ensure everything is sterilized and ready for the hot stock.
Once your stock is ready, ladle the hot stock into the prepared hot jars, leaving about 1 inch of headspace at the top. This space is essential for proper sealing. As you fill each jar, be careful not to overfill.
Now, take a wet paper towel and wipe the rim of each jar. This step is vital as it removes any residue that could prevent a proper seal.
Center the lid on the jar and screw the band on tightly, but not excessively; fingertip tight is perfect. This allows steam to escape during the canning process while still securing the lid in place.
Next, place the jars in the canner. Ensure they are spaced properly to allow for even heat distribution.
Adjust the water level in the canner as needed, lock the lid, and bring everything to a boil over medium-high heat. Feel the excitement as the canner begins to do its job!
Once boiling, vent the steam for about 10 minutes. This is an essential step to ensure that all air is removed from the canner.
After venting, close the vent and continue heating until you reach 10 lbs of pressure. You’ll hear the canner working, and it’s a comforting sound, knowing your stock is being preserved.
Process pint jars for about 20 minutes and quart jars for 25 minutes. During this time, stay close by and monitor the pressure gauge.
Once the timer goes off, turn off the heat and let the pressure return to zero. It’s crucial to wait about 2 minutes before opening the vent to avoid a rapid release of steam.
Finally, carefully remove the canner lid and wait for about 10 minutes before taking out the jars. Let them cool completely before storing them away. You’ve done it!
Things Worth Knowing
- Pressure Control: Always monitor the pressure gauge during canning to ensure it stays at the recommended level.
- Headspace Matters: Leaving the right headspace in jars is crucial for ensuring a proper seal and preventing spoilage.
- Storage Conditions: Store sealed jars in a cool, dark place to maintain the quality of the stock.
- Reprocessing Seals: If a jar doesn’t seal, you can reprocess it with a new lid, ensuring it’s still safe to consume.
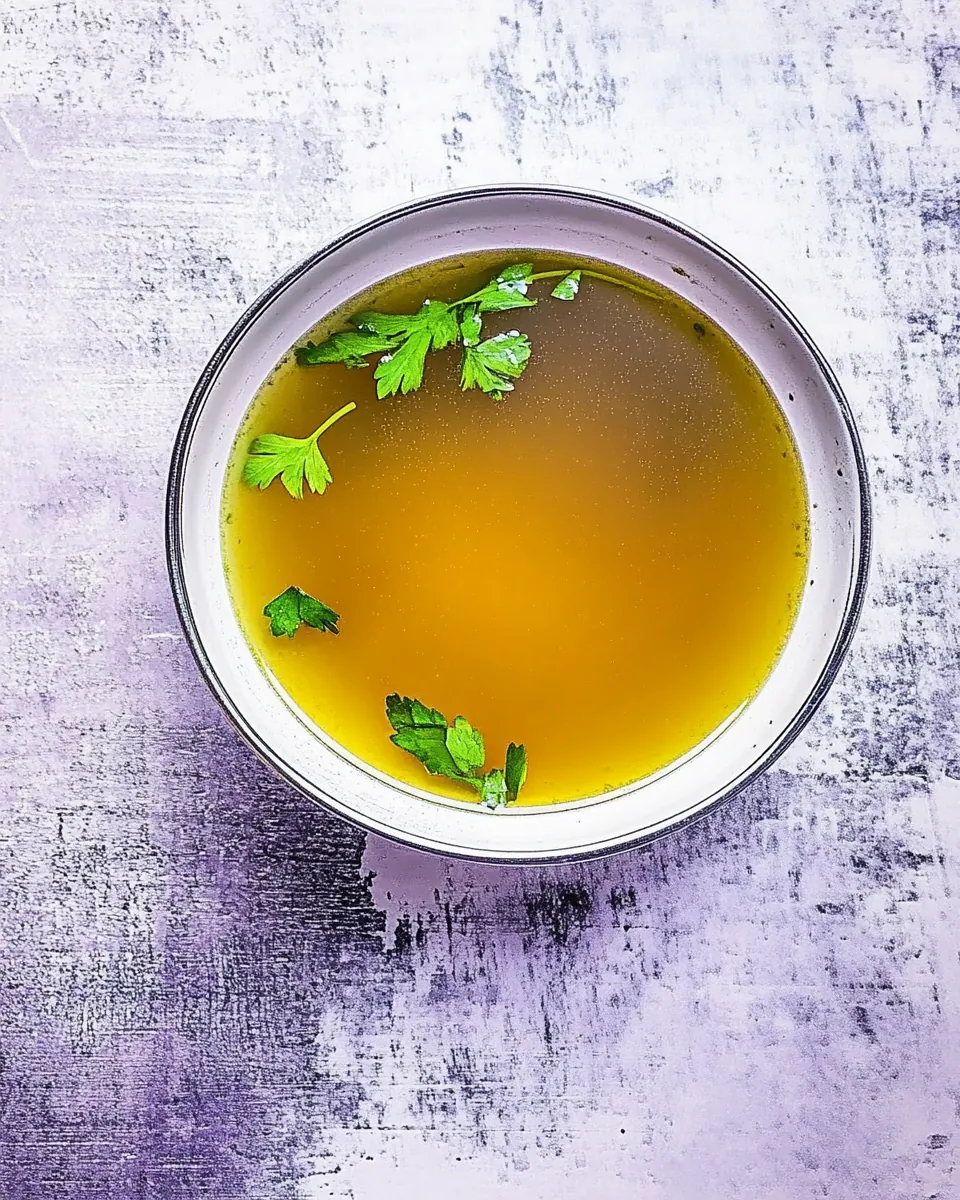
- Skimming Fat: For a clearer stock, skim off any fat that rises to the top after the stock cools.
Recipe Variations about Preserving Chicken Stock Recipe
If you’re looking to mix things up a bit, there are plenty of variations you can try with your Preserving Chicken Stock Recipe. Here are some ideas to inspire your creativity!
- Add herbs: Experiment with different herbs like thyme, rosemary, or bay leaves to customize the flavor of your stock.
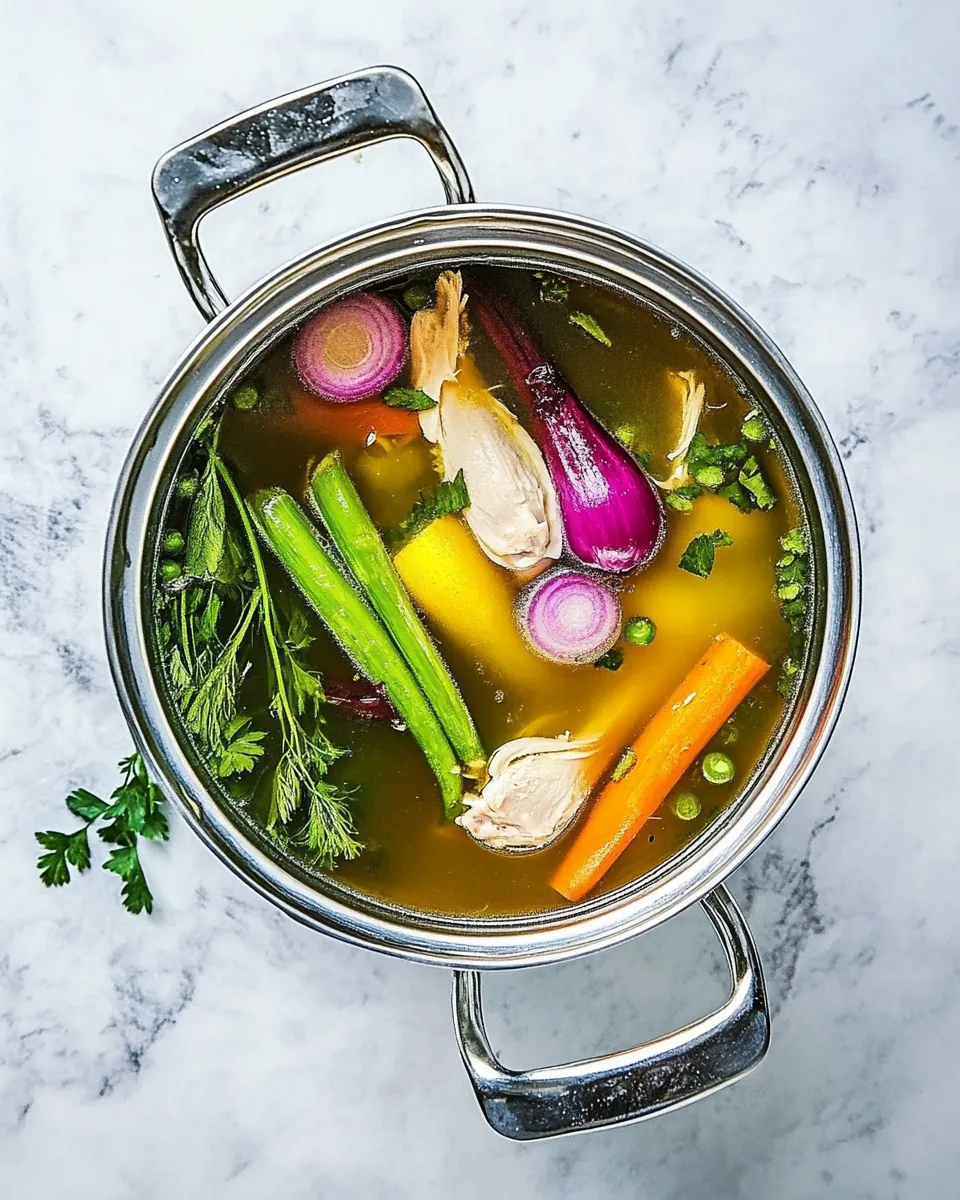
- Vegetable variations: Include a variety of vegetables such as celery, carrots, or even mushrooms to add depth and richness.
- Spices: Consider adding whole spices like peppercorns or star anise for additional warmth and aromatic qualities.
- Roasting bones: For a deeper flavor, roast your chicken bones before adding them to your stock pot.
- Freezing portions: Remember to freeze your stock in smaller portions for easy use in future recipes.
- Using different meats: You can also use other types of poultry or even beef bones for a different stock flavor.
- Infusion: After the stock is made, try infusing it with flavors like lemon or ginger for a fresh twist.
Great Combinations for Preserving Chicken Stock Recipe
When it comes to serving your Preserving Chicken Stock Recipe, the possibilities are endless. Here are some great ways to enjoy your delicious homemade stock:
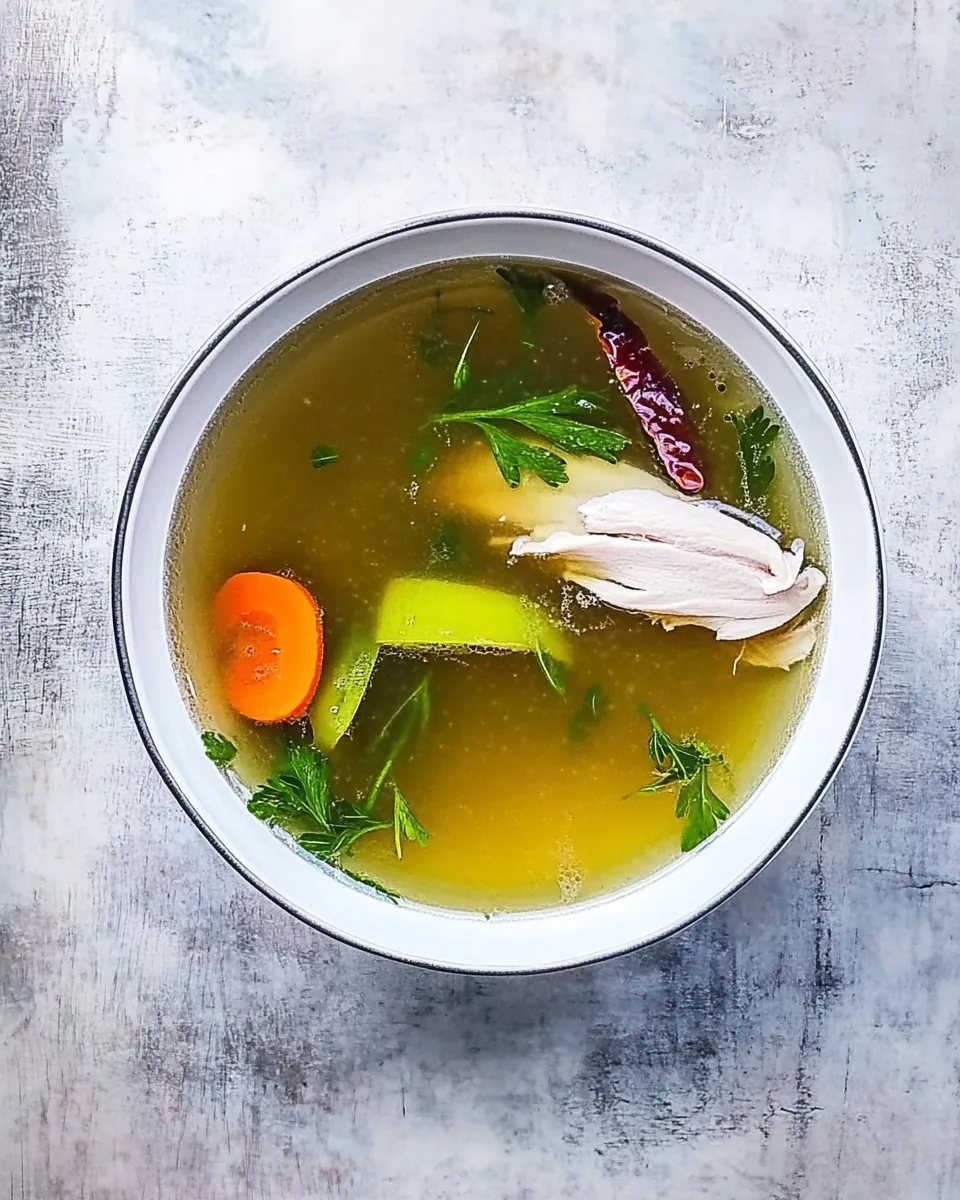
- Hearty soups: Use your stock as a base for comforting chicken noodle or vegetable soup.
- Risottos: The rich flavor of your stock can elevate any risotto, making it creamy and delicious.
- Grains: Cook grains like rice, quinoa, or couscous in your stock for added flavor.
- Sauces: Reduce your stock to create savory sauces that will enhance your main dishes.
- Stews: Use your stock as a base for hearty stews, adding meat and vegetables for a complete meal.
- Flavorful braises: Incorporate your stock into braising liquid for meats like chicken or lamb.
- Storing tips: Always keep a few jars in the freezer for quick weeknight dinners or last-minute meal preparations.
- Special occasions: Homemade stock shines during holidays, adding that touch of home cooking to festive meals.
FAQ
Conclusion
In conclusion, the Preserving Chicken Stock Recipe is a wonderful way to utilize leftover ingredients while creating a delicious foundation for future meals. Whether you’re making soup, sauces, or braising, this stock can elevate your dishes to new heights. I encourage you to try making your own at home; it’s not only rewarding but also a fantastic way to bring a taste of comfort to your kitchen. So roll up your sleeves, and let’s get cooking!
Preserving Chicken Stock Recipe
Ingredients
Equipment
Method
- Start by preparing your weighted gauge pressure canner, jars, and lids. It's crucial to do this for at least 30 minutes before the stock is ready to ensure everything is sterilized and ready for the hot stock.
- Once your stock is ready, ladle the hot stock into the prepared hot jars, leaving about 1 inch of headspace at the top. This space is essential for proper sealing. As you fill each jar, be careful not to overfill.
- Now, take a wet paper towel and wipe the rim of each jar. This step is vital as it removes any residue that could prevent a proper seal.
- Center the lid on the jar and screw the band on tightly, but not excessively; fingertip tight is perfect. This allows steam to escape during the canning process while still securing the lid in place.
- Next, place the jars in the canner. Ensure they are spaced properly to allow for even heat distribution.
- Adjust the water level in the canner as needed, lock the lid, and bring everything to a boil over medium-high heat. Feel the excitement as the canner begins to do its job!
- Once boiling, vent the steam for about 10 minutes. This is an essential step to ensure that all air is removed from the canner.
- After venting, close the vent and continue heating until you reach 10 lbs of pressure. You’ll hear the canner working, and it’s a comforting sound, knowing your stock is being preserved.
- Process pint jars for about 20 minutes and quart jars for 25 minutes. During this time, stay close by and monitor the pressure gauge.
- Once the timer goes off, turn off the heat and let the pressure return to zero. It’s crucial to wait about 2 minutes before opening the vent to avoid a rapid release of steam.
- Finally, carefully remove the canner lid and wait for about 10 minutes before taking out the jars. Let them cool completely before storing them away. You’ve done it!
Notes
- Tip 1: You'll find that sometimes there is sediment in your stock; this won't hurt anything; it's just pieces of veggies and meat that didn't get strained out.
- Tip 2: To get a cleaner stock, barely simmer while making, ladle off the top and strain as well as you can.
- Tip 3: If a jar doesn't seal, keep the stock refrigerated and use within 3 days.
- Tip 4: It is fine to reprocess the jar with a new lid if it doesn't seal.
- Tip 5: Always wipe the jar lid well to help seal the jar well.