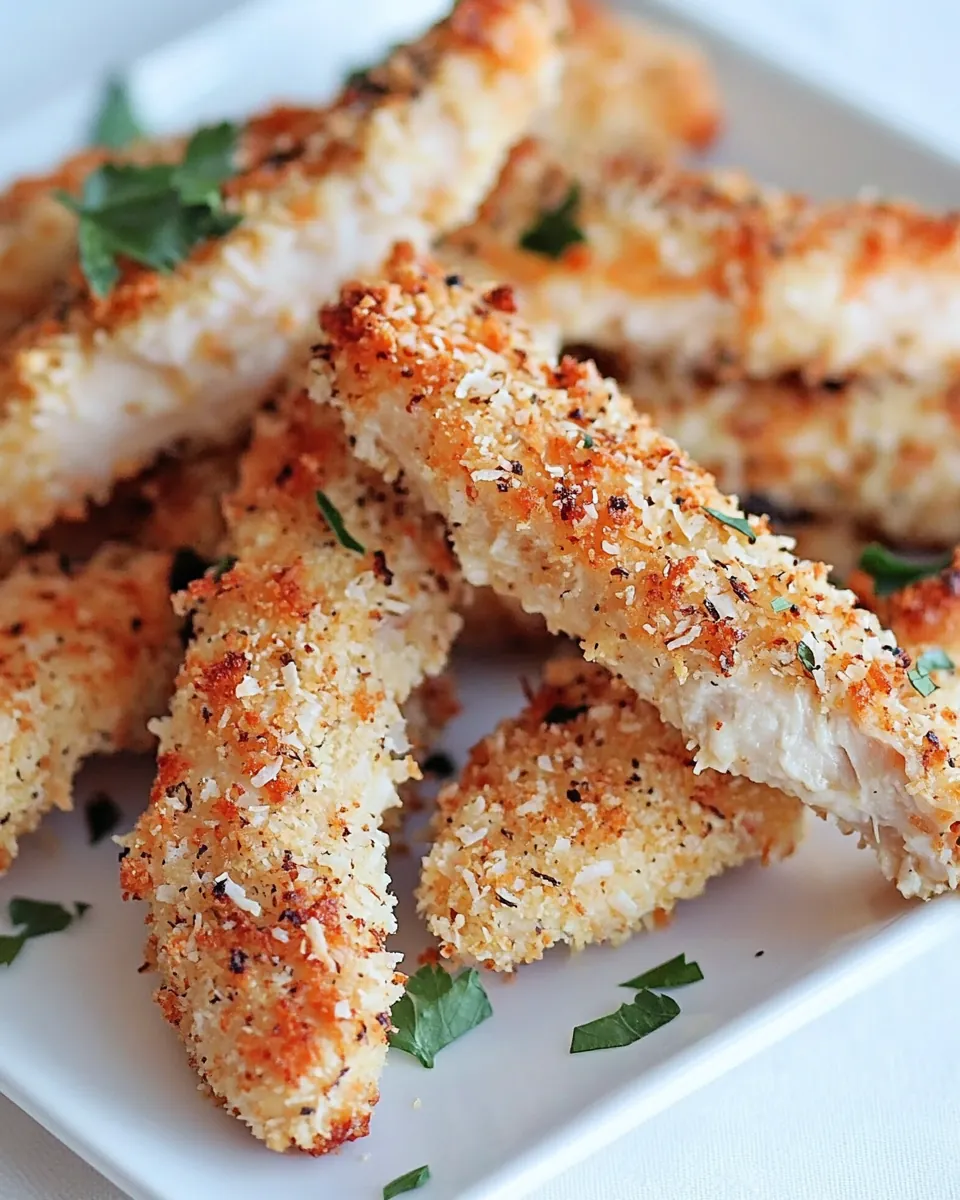
Oven Baked Coconut Chicken Strips
There’s something incredibly comforting about the crispy texture and delightful flavor of Oven Baked Coconut Chicken Strips. As a busy parent, I often find myself searching for easy yet satisfying meals that please the whole family. One evening, after a long day, I decided to whip up these delicious chicken strips. The aroma of toasted coconut filled my kitchen, instantly making my family’s mouths water. As we gathered around the table, I felt the anticipation building. The golden, crunchy exterior promised a delightful bite, while the tender chicken inside assured a hearty meal. They were a hit! Whether served with a sweet dipping sauce or alongside a fresh salad, these strips have become a staple in our household.
Recipe Snapshot
35 mins
15 mins
20 mins
Medium
265 kcal
25 g
Standard
7 g
Oven, Mixing Bowl, Frying Pan, Baking Sheet, Food Processor
Why You’ll Love This Oven Baked Coconut Chicken Strips
Perfectly Crispy Texture
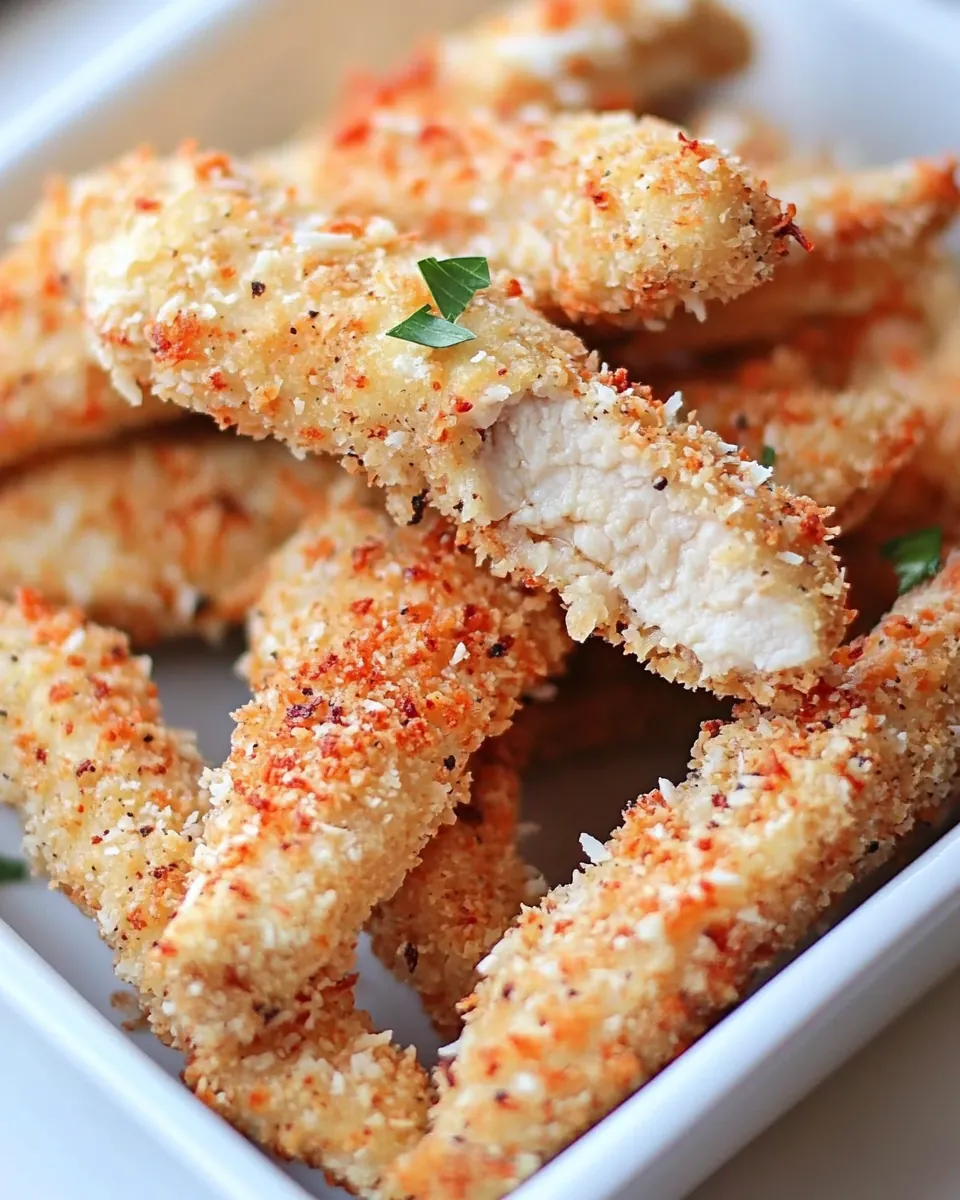
The Oven Baked Coconut Chicken Strips are baked, not fried, yet they achieve that crispy texture we all crave. The combination of whole-wheat panko and shredded coconut creates a satisfying crunch that’s hard to resist. I love that they’re healthier than traditional fried chicken strips, but still deliver on flavor and texture.
Kid-Friendly and Fun
These chicken strips are not just for adults; they’re a hit with kids too! I often involve my children in the cooking process, letting them help dip the chicken tenders in the various coatings. It’s a fun activity that brings us together, and they love the hands-on experience. Plus, who can resist a meal that’s not only delicious but also entertaining to prepare?
Versatile Serving Options
You can serve Oven Baked Coconut Chicken Strips in countless ways. Whether you pair them with a tangy dipping sauce, toss them in a salad, or serve them alongside some steamed veggies, they fit perfectly into any meal. I often make a big batch and store some in the fridge for quick lunches throughout the week.
Healthier Ingredients
By using ingredients like whole-wheat flour and shredded coconut, these strips are not only delicious but also nutritious. I appreciate that I can serve my family a meal that is lower in fat and high in flavor. The use of egg whites instead of whole eggs helps keep the calorie count down while still providing a perfect coating base.
Quick and Easy Preparation
With a preparation time of just 15 minutes, these chicken strips are a lifesaver on busy weeknights. I love that I can quickly get everything ready, pop them in the oven, and carry on with my evening activities while they bake. It’s a no-fuss solution that still feels indulgent.
Great for Meal Prep
These chicken strips hold up well in the refrigerator, making them perfect for meal prep. I often bake a double batch to have on hand for quick lunches or dinners. Just reheat in the oven for a few minutes to restore that crispy goodness, and you have a satisfying meal ready to go!
What You Need for Oven Baked Coconut Chicken Strips
Cooking is an art that thrives on the quality of ingredients, and the Oven Baked Coconut Chicken Strips are no exception. The combination of chicken tenders, whole-wheat flour, and unsweetened shredded coconut creates a harmonious balance of flavors and textures. Each ingredient plays a vital role, contributing to the crispy exterior and juicy interior that makes these strips irresistible.
- 12 boneless and skinless chicken tenders: The star of the dish, these offer a tender and juicy base for your strips.
- 1/2 cup whole-wheat flour: Provides a light coating that helps the other ingredients stick while adding a bit of nuttiness.
- 1 teaspoon kosher salt: Enhances the flavors of the other ingredients.
- 2 teaspoons garlic powder: Adds an aromatic depth that pairs beautifully with the coconut.
- 1 teaspoon onion powder: Offers a subtle sweetness and additional flavor.
- 3 large egg whites: These help the coating adhere to the chicken tenders.
- 1 cup whole-wheat panko bread crumbs: Creates the crispy layer that’s essential for the perfect bite.
- 1/2 cup unsweetened shredded coconut: Provides a unique flavor and texture, making these strips truly special.
- 2 tablespoons coconut oil: Used to enhance flavor and promote browning in the oven.
- 1 tablespoon honey: A finishing touch that adds a hint of sweetness when drizzled over the hot strips.
How to Assemble Oven Baked Coconut Chicken Strips

The process of making Oven Baked Coconut Chicken Strips is straightforward and fun. Let’s get started on these delicious strips that everyone will love!
- Preheat your oven to 400 degrees. This temperature ensures that the strips will cook evenly while developing that perfect golden brown color.
- Rinse the chicken tenders in cool water. Pat them dry with a paper towel and set them aside. It’s essential to have them dry for the coating to adhere properly.
- In a small mixing bowl, combine the whole-wheat flour, kosher salt, garlic powder, and onion powder. Mixing these dry ingredients beforehand ensures even seasoning.
- In another small mixing bowl, place the egg whites and lightly beat them with a fork until they’re slightly frothy. This will help the coating stick to the chicken.
- In a third medium mixing bowl, combine the whole-wheat panko bread crumbs and shredded coconut. This mixture will give your chicken strips that desirable crunchy texture.
- Now, it’s time to dip the chicken tenders. Start by coating each tender in the flour mixture, ensuring it’s completely covered. Shake off any excess flour.
- Next, dip the floured tender into the beaten egg whites, coating it thoroughly. This step is critical for the next layer to adhere.
- Finally, roll the tender in the panko and coconut mixture, pressing lightly to ensure a generous coating. Each tender should be fully covered to achieve the best crispiness.
- Arrange the coated tenders on a nonstick baking pan. Avoid spraying the pan to let the natural oils from the chicken and coconut oil do their work.
- Drizzle 1 tablespoon of the melted coconut oil evenly over the strips. This will help them brown beautifully in the oven.
- Bake the chicken for about 10 minutes before removing the pan from the oven. Carefully turn each tender over, drizzle with the remaining coconut oil, and return to the oven.
- Continue baking for an additional 10 to 15 minutes until the chicken is cooked through. Use a meat thermometer to check that it reads 165 degrees.
- When finished, take the tenders out of the oven and drizzle with honey while they’re still hot. This adds a lovely touch of sweetness that balances the savory flavors.
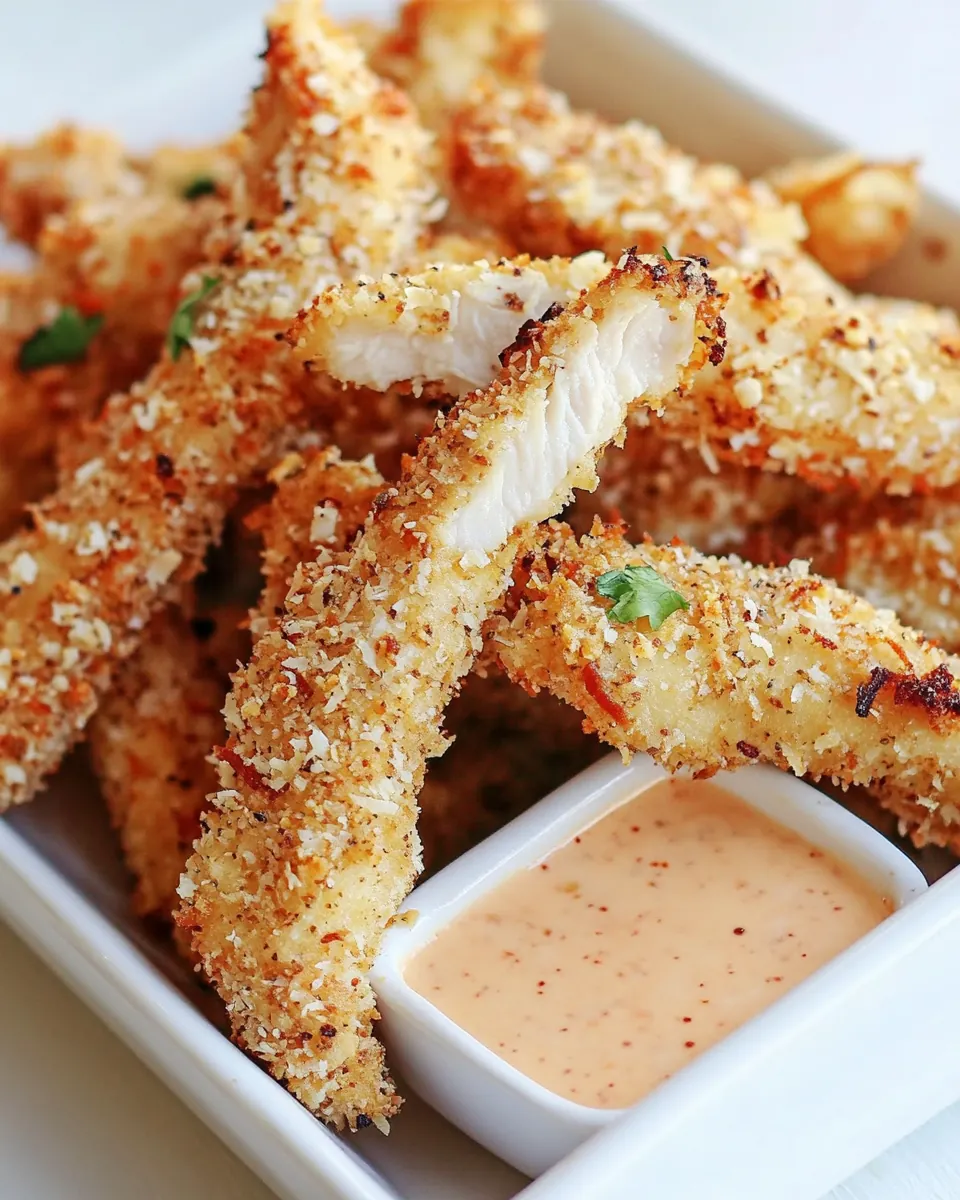
- Serve the strips with your favorite dipping sauce and enjoy!
Things Worth Knowing
- Temperature Check: Use a meat thermometer to ensure your chicken is cooked to a safe 165 degrees. This will guarantee a juicy tender without any risk of undercooking.
- Coating Technique: For even more crunch, double dip the chicken tenders in the flour, egg whites, and then the panko mixture again before baking.
- Customizing Flavors: Feel free to add spices like paprika or cayenne pepper to the flour mix for an extra kick!
- Batch Cooking: These chicken strips store well in the fridge for up to three days, making them perfect for meal prep.
Make It Your Own
There are so many ways to put your spin on Oven Baked Coconut Chicken Strips. Here are some ideas to inspire your creativity!
- Storage: Store leftovers in an airtight container in the refrigerator for up to three days. Reheat in the oven to restore crispiness.
- Freezing: Yes, you can freeze the unbaked chicken strips. Just place them in a single layer on a baking sheet until frozen, then transfer to a ziplock bag for up to two months.
- Pairing: These strips go well with a variety of dips like sweet chili sauce, honey mustard, or a zesty yogurt dip.
- Flavor Variations: Experiment with different herbs and spices in the coating to match your taste preferences, such as Italian seasoning or curry powder.
- Health Boost: Add in some ground flaxseeds to the flour mixture for extra fiber and nutrition.
Serve This Oven Baked Coconut Chicken Strips With
When it comes to enjoying your Oven Baked Coconut Chicken Strips, the possibilities are endless! Here are some ideas to consider:
- Fresh Salads: Pair the chicken strips with a crisp garden salad for a light yet satisfying meal.
- Rice and Quinoa: Serve the strips over a bed of fluffy rice or quinoa to make it a fulfilling dinner.
- Vegetable Sides: Roasted or steamed vegetables are a great accompaniment, providing a colorful and nutritious addition.
- Wraps or Sandwiches: Use the strips to make delicious wraps with lettuce, tomatoes, and your favorite sauce.
- Picnic Treat: These strips are perfect for outdoor gatherings or picnics, served cold or at room temperature with dips.
- Kids’ Lunchboxes: Slice the strips into bite-sized pieces for a fun lunchbox treat that kids will love.
FAQ
Conclusion
These Oven Baked Coconut Chicken Strips are a game-changer for busy weeknights. They bring together crispy texture and succulent chicken, making them a favorite in our home. I encourage you to try making these delicious strips—your family will thank you! Not only are they easy to prepare, but they also serve as a perfect meal prep option. Enjoy them with your favorite sides or sauces and savor every bite.
Oven Baked Coconut Chicken Strips
Ingredients
Equipment
Method
- Preheat your oven to 400 degrees. This temperature ensures that the strips will cook evenly while developing that perfect golden brown color.
- Rinse the chicken tenders in cool water. Pat them dry with a paper towel and set them aside. It’s essential to have them dry for the coating to adhere properly.
- In a small mixing bowl, combine the whole-wheat flour, kosher salt, garlic powder, and onion powder. Mixing these dry ingredients beforehand ensures even seasoning.
- In another small mixing bowl, place the egg whites and lightly beat them with a fork until they're slightly frothy. This will help the coating stick to the chicken.
- In a third medium mixing bowl, combine the whole-wheat panko bread crumbs and shredded coconut. This mixture will give your chicken strips that desirable crunchy texture.
- Now, it’s time to dip the chicken tenders. Start by coating each tender in the flour mixture, ensuring it's completely covered. Shake off any excess flour.
- Next, dip the floured tender into the beaten egg whites, coating it thoroughly. This step is critical for the next layer to adhere.
- Finally, roll the tender in the panko and coconut mixture, pressing lightly to ensure a generous coating. Each tender should be fully covered to achieve the best crispiness.
- Arrange the coated tenders on a nonstick baking pan. Avoid spraying the pan to let the natural oils from the chicken and coconut oil do their work.
- Drizzle 1 tablespoon of the melted coconut oil evenly over the strips. This will help them brown beautifully in the oven.
- Bake the chicken for about 10 minutes before removing the pan from the oven. Carefully turn each tender over, drizzle with the remaining coconut oil, and return to the oven.
- Continue baking for an additional 10 to 15 minutes until the chicken is cooked through. Use a meat thermometer to check that it reads 165 degrees.
- When finished, take the tenders out of the oven and drizzle with honey while they’re still hot. This adds a lovely touch of sweetness that balances the savory flavors.
- Serve the strips with your favorite dipping sauce and enjoy!