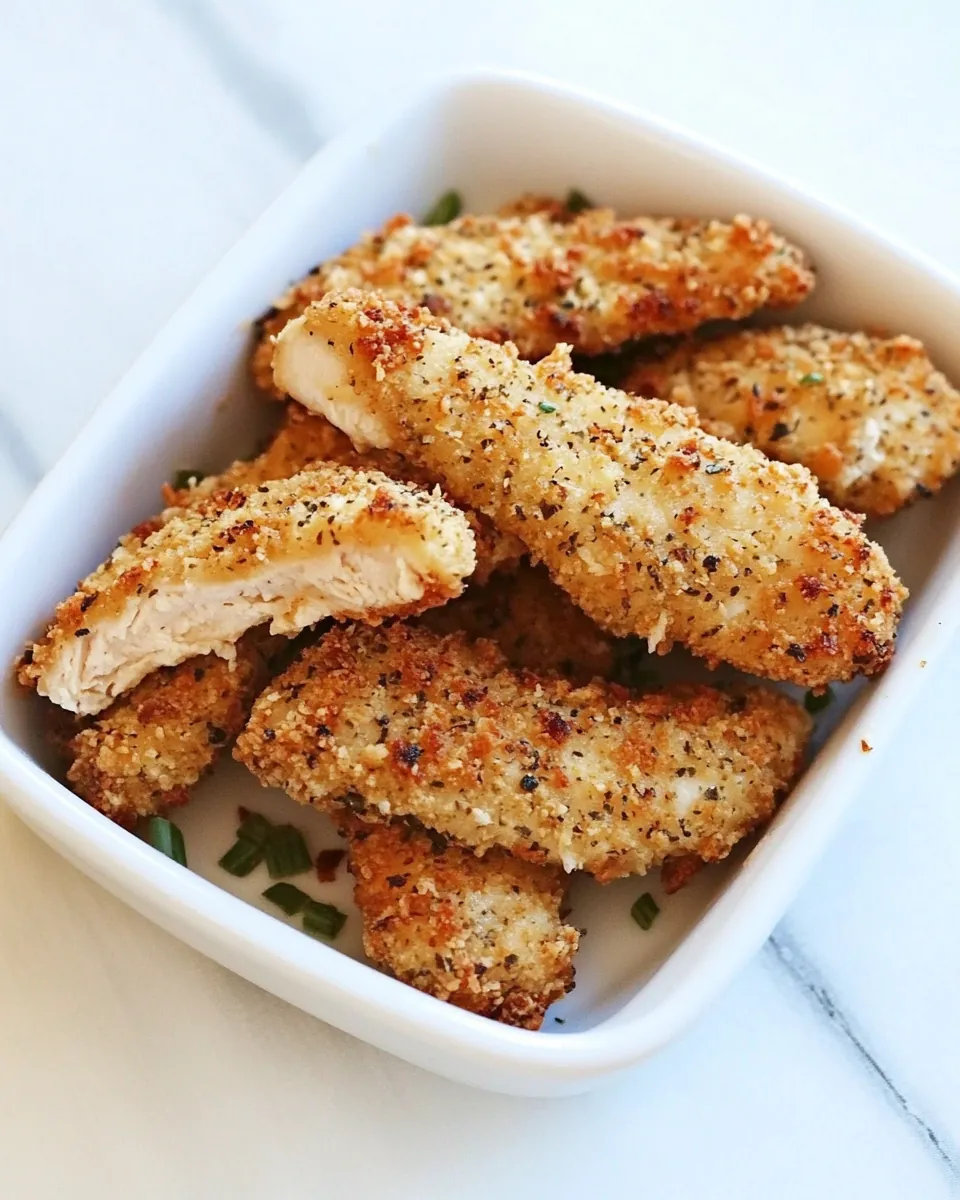
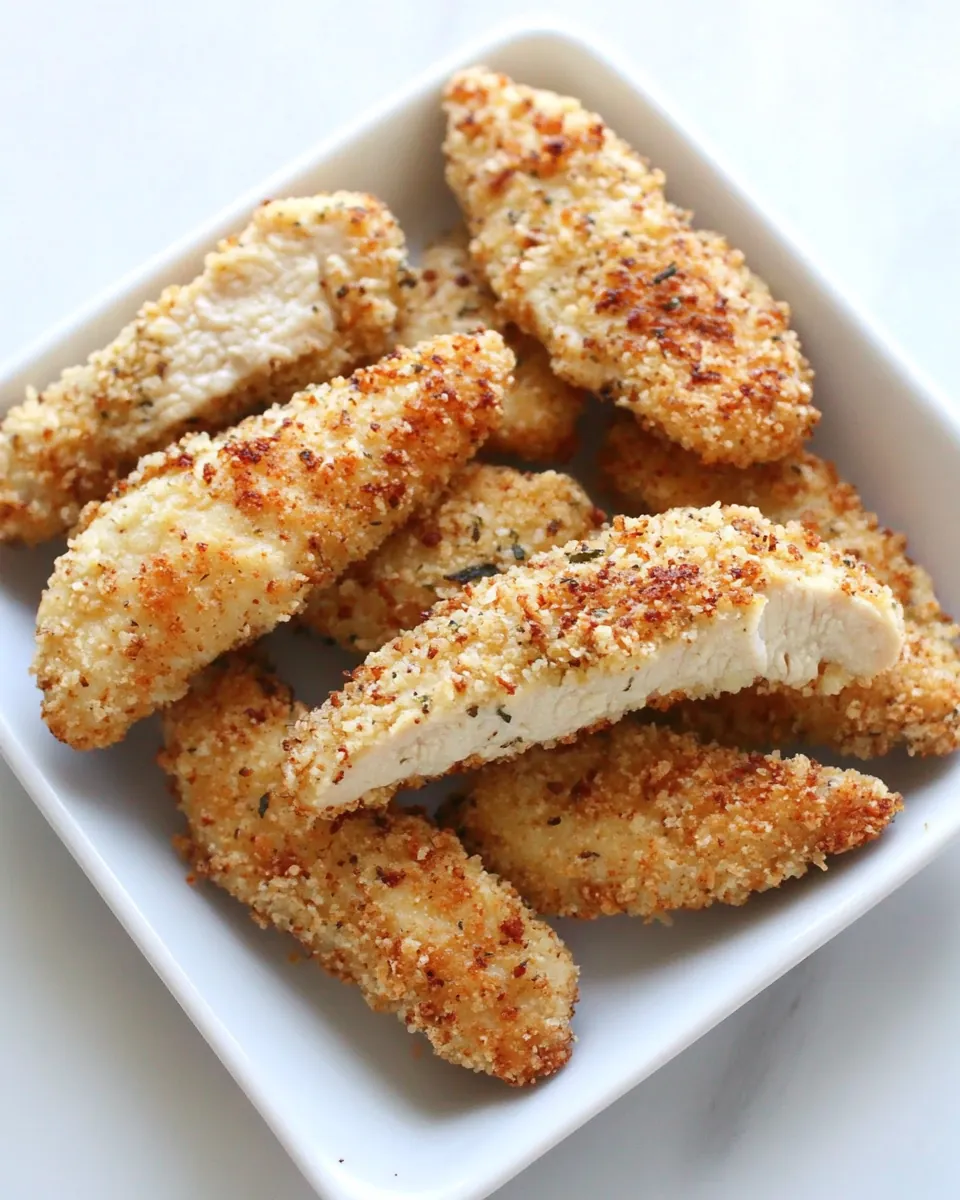
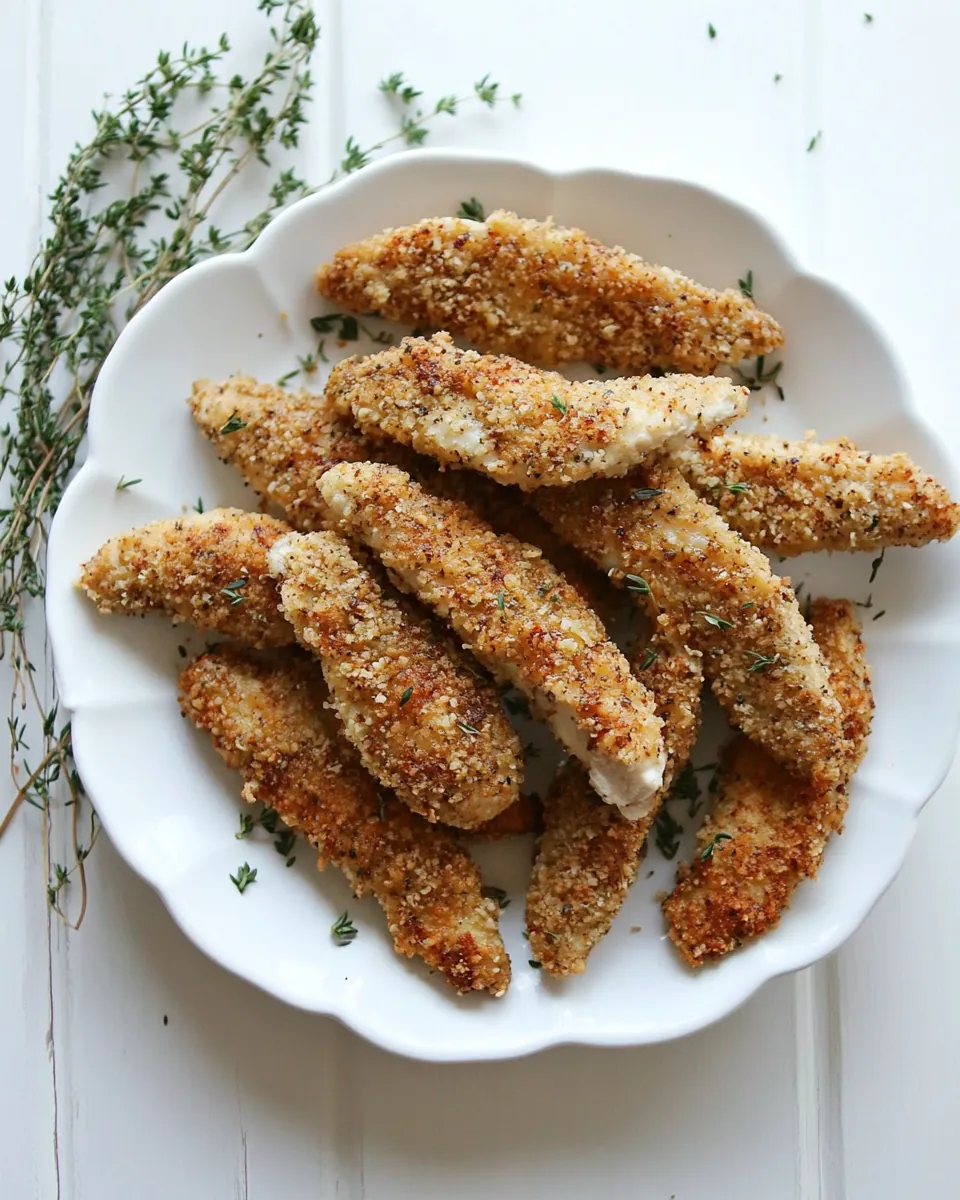
Pickle Brined Chicken Tenders
There’s something special about the way Pickle Brined Chicken Tenders can transform a simple dinner into a flavorful feast. I remember the first time I stumbled upon the concept of pickle brining. It was a warm summer evening, and I had some friends over for an impromptu barbecue. I thought, why not try something different? The tartness of the pickle juice, combined with the savory chicken, created an unforgettable experience that everyone raved about. Since that day, Pickle Brined Chicken Tenders have become a go-to in my kitchen, whether it’s for a cozy family meal or a lively gathering with friends. The secret lies in the brining process, which not only infuses the chicken with moisture but also adds a delightful tang that balances perfectly with the crispy coating. I love serving them with a side of homemade fries or a fresh salad to complement the rich flavors.
Recipe Snapshot
1 hr 18 mins
70 mins
8 mins
Medium
350 kcal
25 g
Whole30, Gluten-Free, AIP
10 g
Deep-Frying Thermometer
Why You’ll Love This Pickle Brined Chicken Tenders
They’re Incredibly Juicy
One of the standout features of Pickle Brined Chicken Tenders is their juiciness. The brining process ensures that the chicken remains moist and tender, even after frying. This means you can enjoy each bite without worrying about dry or overcooked meat.
Unique Flavor Profile
Who would have thought that something as simple as pickle juice could elevate chicken? The combination of acidity from the pickles and the warmth from spices creates a flavor explosion that is both unexpected and thrilling. It’s a flavor that lingers and keeps you coming back for more.
Perfectly Crispy Coating
The crunch of the coating on Pickle Brined Chicken Tenders is something to behold. By coating the chicken in a mixture of flour and cornstarch, you achieve that perfect crunch that contrasts beautifully with the tender meat inside. The crispy exterior not only looks appetizing but also adds a satisfying texture that enhances the overall eating experience.
Simple Yet Impressive
Despite the bold flavors and textures, making Pickle Brined Chicken Tenders is surprisingly easy. With just a few ingredients and some patience for the brining process, you can whip up an impressive dish that will wow your family and friends. It’s perfect for those moments when you want to impress without spending all day in the kitchen.
Versatile Serving Options
These tenders are versatile enough to be served in various ways. Whether you choose to enjoy them on their own, in a sandwich, or as part of a platter at a party, they always hit the mark. Pair them with your favorite dipping sauces, and you have a crowd-pleaser on your hands.
What to Buy for Pickle Brined Chicken Tenders
When it comes to making Pickle Brined Chicken Tenders, the quality of your ingredients matters. Each component plays a crucial role in achieving that perfect balance of flavor and texture. The star of the show, of course, is the chicken, which should be fresh and high-quality. The pickle juice brings the tangy depth, while the buttermilk adds creaminess that keeps the chicken moist. Don’t forget the spices that create the delightful crust; they’re essential for that flavor punch.
- 3 boneless, skinless chicken breasts – The main protein source, tender and perfect for frying.
- 1 cup dill pickle juice – Provides the necessary brining flavor, enhancing the chicken with tanginess.
- 1 cup buttermilk – Adds richness and helps tenderize the chicken further.
- 1 tablespoon hot sauce – For those who like a kick, this adds an extra layer of flavor.
- 1 1/2 cups all-purpose flour – Essential for creating that crispy coating.
- 2 tablespoons cornstarch – Helps achieve an extra crunchy texture when combined with flour.
- 1 teaspoon paprika – Adds a touch of color and a mild flavor.
- 1/2 teaspoon salt – Enhances the overall flavor of the dish.
- 1/2 teaspoon pepper – A must for that slight warmth.
- 1/2 teaspoon garlic powder – Brings a subtle depth to the coating.
- Vegetable oil – For frying, ensuring the chicken gets that delicious golden-brown exterior.
Pickle Brined Chicken Tenders Instructions

Making Pickle Brined Chicken Tenders is not just about following steps; it’s about embracing the process and enjoying the flavors that unfold. This recipe is straightforward but yields incredible results. Let’s dive into the journey of crafting these tasty tenders.
- Start by cutting the chicken into strips. Ensure they are evenly sized for consistent cooking. Place the strips in a large zip-top bag and pour in the pickle juice. This will be the brine that flavors your chicken. Seal the bag tightly, making sure to squeeze out the excess air, and refrigerate for a minimum of four to eight hours. This step is crucial as it allows the chicken to absorb all the tangy goodness.
- After the brining time, take the chicken out of the fridge. Remove the strips from the pickle juice and place them in a medium bowl. Add the buttermilk and hot sauce. Stir gently to ensure every piece is coated. This mixture not only adds flavor but also serves to keep the chicken moist. Cover the bowl and refrigerate for one hour to let the flavors mingle.
- While your chicken is soaking up the buttermilk, it’s time to prepare the coating. In a pie plate or shallow bowl, combine the flour, cornstarch, paprika, salt, pepper, and garlic powder. Mix well, making sure there are no lumps. This mix will create that delightful crunch we all love.
- Once your chicken has finished soaking in the buttermilk, take each piece out and allow excess liquid to drip off. Then, coat the chicken strips thoroughly in the flour mixture. Ensure each piece is well covered; this will form the crispy outer layer. After coating, place the strips on a baking sheet lined with wax paper or parchment paper. Let them sit for about 20 to 30 minutes. This resting period helps the coating adhere better.
- Next, it’s time to fry! Pour about two inches of vegetable oil into a Dutch oven and heat it to 350 degrees Fahrenheit. You can use a deep-frying thermometer to ensure accuracy. This step is essential; if the oil is not hot enough, your chicken will absorb too much oil and become greasy.
- Once the oil is hot, carefully add the coated chicken tenders in batches of about four to five. Fry each batch for three to four minutes on each side or until they turn a beautiful golden brown. Keep an eye on them; they cook quickly! If you notice any dark spots, adjust the heat accordingly.
- After frying, use a slotted spoon to remove the chicken tenders from the oil and place them on a paper towel-lined plate. This will absorb any excess oil, keeping your tenders crispy.
- Once all the chicken tenders are done, let them rest for a few minutes. This waiting time allows the juices to settle, ensuring each bite is tender and flavorful. Serve your Pickle Brined Chicken Tenders with your favorite dipping sauces and enjoy!
Things Worth Knowing
- Brining Time Matters: The longer you brine, the more flavorful your chicken will be. Aim for at least four hours for optimal taste.
- Oil Temperature: Always ensure your oil is at the right temperature before frying. If it’s too low, the chicken will soak up oil; if it’s too high, it’ll burn.
- Batch Cooking: Fry in small batches to maintain the oil temperature and achieve even cooking throughout.
- Resting is Key: Let your fried chicken rest for a few minutes after frying. This helps retain moisture and ensures a tender bite.
Recipe Tips about Pickle Brined Chicken Tenders
When making Pickle Brined Chicken Tenders, a few tips can elevate your cooking experience and the final result. Here are some tried-and-true suggestions to keep in mind:
- Storage: Store leftover tenders in an airtight container in the fridge. They stay fresh for up to three days, though they are best enjoyed fresh.
- Freezing: You can freeze cooked tenders for up to three months. Just ensure they are fully cooled and wrapped well to prevent freezer burn.
- Pairing: These tenders go wonderfully with homemade coleslaw or a light vinaigrette salad. They also pair well with crispy fries or a refreshing cucumber salad.
- Adjusting Heat: If you prefer milder flavors, reduce the amount of hot sauce in the buttermilk mixture. Alternatively, add cayenne pepper to the flour for an extra kick.
- Variations: Experiment with different spices in the flour mixture, like cayenne for heat or Italian herbs for a twist on flavor.
- Serving: Serve the tenders with a variety of dipping sauces—ranch, honey mustard, or spicy mayo are excellent choices!
Serving This Pickle Brined Chicken Tenders
When it comes to serving Pickle Brined Chicken Tenders, the options are endless! Here’s how to make the most of this delicious dish:
- Casual Gatherings: These tenders make an excellent addition to any casual gathering. Serve them with an array of dipping sauces and sides for a fun finger-food buffet.
- Family Dinners: Pair them with a simple side salad and a starch, like mashed potatoes or fries, for a comforting weeknight dinner that the whole family will love.
- Game Day Snacks: Perfect for game day, Pickle Brined Chicken Tenders can be the star of your snack table. Serve with sliders or in wraps for a tasty treat.
- Meal Prep: These tenders are great for meal prep! Cook a batch ahead of time and store them in the fridge for quick lunches or dinners throughout the week.
- Seasonal Pairings: In summer, serve with light salads or fresh fruit salsas. In the colder months, pair them with hearty sides like roasted vegetables or creamy mac and cheese.
- Storage Tips: If you have leftovers, store them properly to keep them crispy. Wrap them in foil and reheat in the oven for a few minutes for the best result!
FAQ
Conclusion
The beauty of **Pickle Brined Chicken Tenders** lies in their delightful combination of flavors and textures. The tangy brine imparts a unique taste that elevates the dish from ordinary to extraordinary. I encourage you to give this recipe a try; you’ll be surprised at how simple ingredients can create such mouthwatering results. Enjoy your cooking adventures and don’t hesitate to share these scrumptious tenders with family and friends!
Pickle Brined Chicken Tenders
Ingredients
Equipment
Method
- Cut **chicken** into strips. Place in a large zip-top bag with **pickle juice**. Refrigerate for 4 to 8 hours.
- Remove **chicken** from **pickle juice** and place in a medium bowl. Add **buttermilk** and **hot sauce**. Stir to coat **chicken** well. Refrigerate for 1 hour.
- In a pie plate or shallow bowl, stir together **flour**, **cornstarch**, **paprika**, **salt**, **pepper**, and **garlic powder**.
- Remove **chicken** from **buttermilk** and coat well in **flour** mixture. Place on a baking sheet lined with wax paper or parchment paper. Let sit 20 to 30 minutes.
- Pour 2 inches of **oil** into a Dutch oven. Heat **oil** to 350 degrees. Working in batches of about 4 to 5 **chicken tenders**, fry **chicken tenders** for 3 to 4 minutes per side. Place on a paper towel-lined plate.
Notes
- Tip 1: Store leftover tenders in an airtight container in the fridge. They stay fresh for up to three days, though they are best enjoyed fresh.
- Tip 2: You can freeze cooked tenders for up to three months. Just ensure they are fully cooled and wrapped well to prevent freezer burn.
- Tip 3: These tenders go wonderfully with homemade coleslaw or a light vinaigrette salad. They also pair well with crispy fries or a refreshing cucumber salad.
- Tip 4: If you prefer milder flavors, reduce the amount of hot sauce in the buttermilk mixture. Alternatively, add cayenne pepper to the flour for an extra kick.
- Tip 5: Experiment with different spices in the flour mixture, like cayenne for heat or Italian herbs for a twist on flavor.