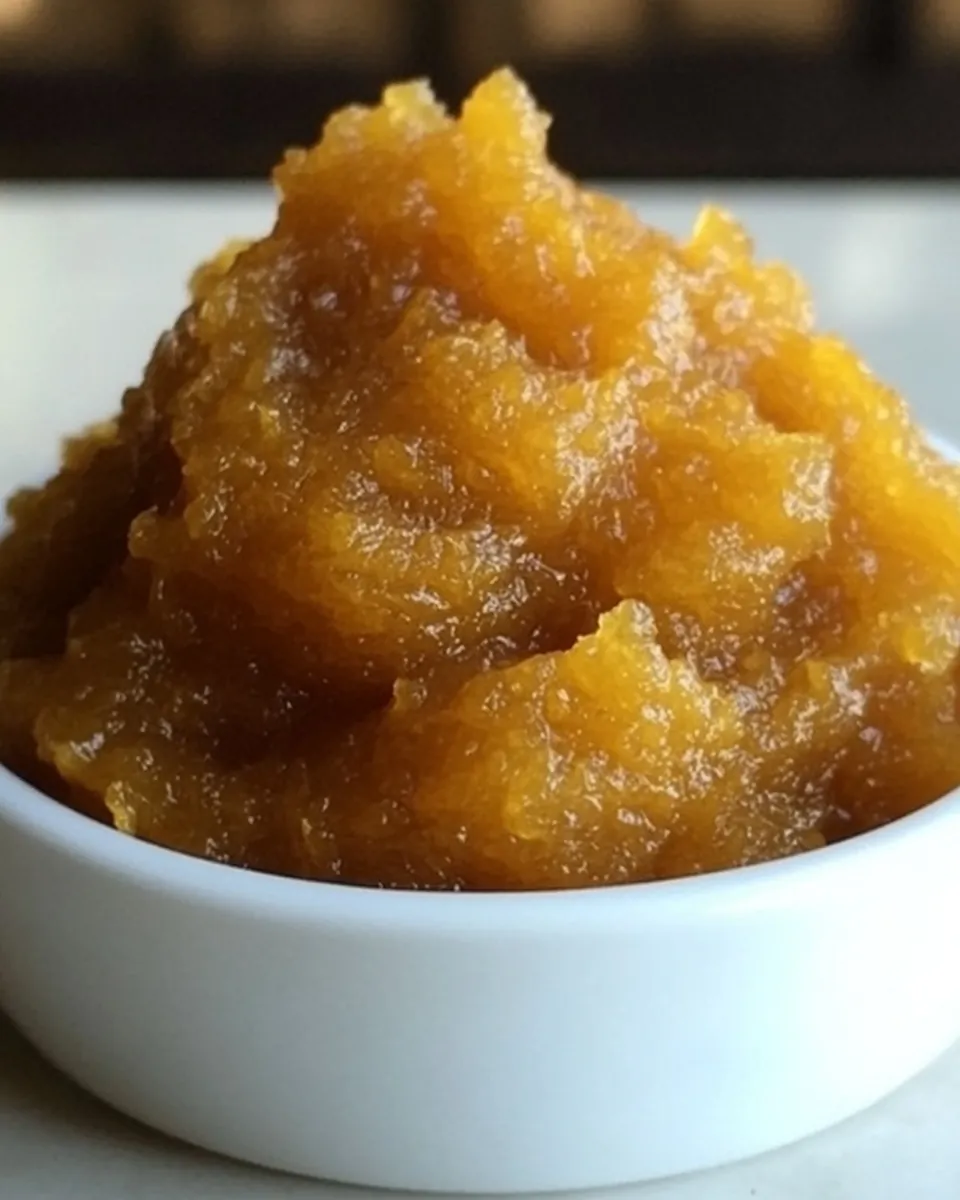
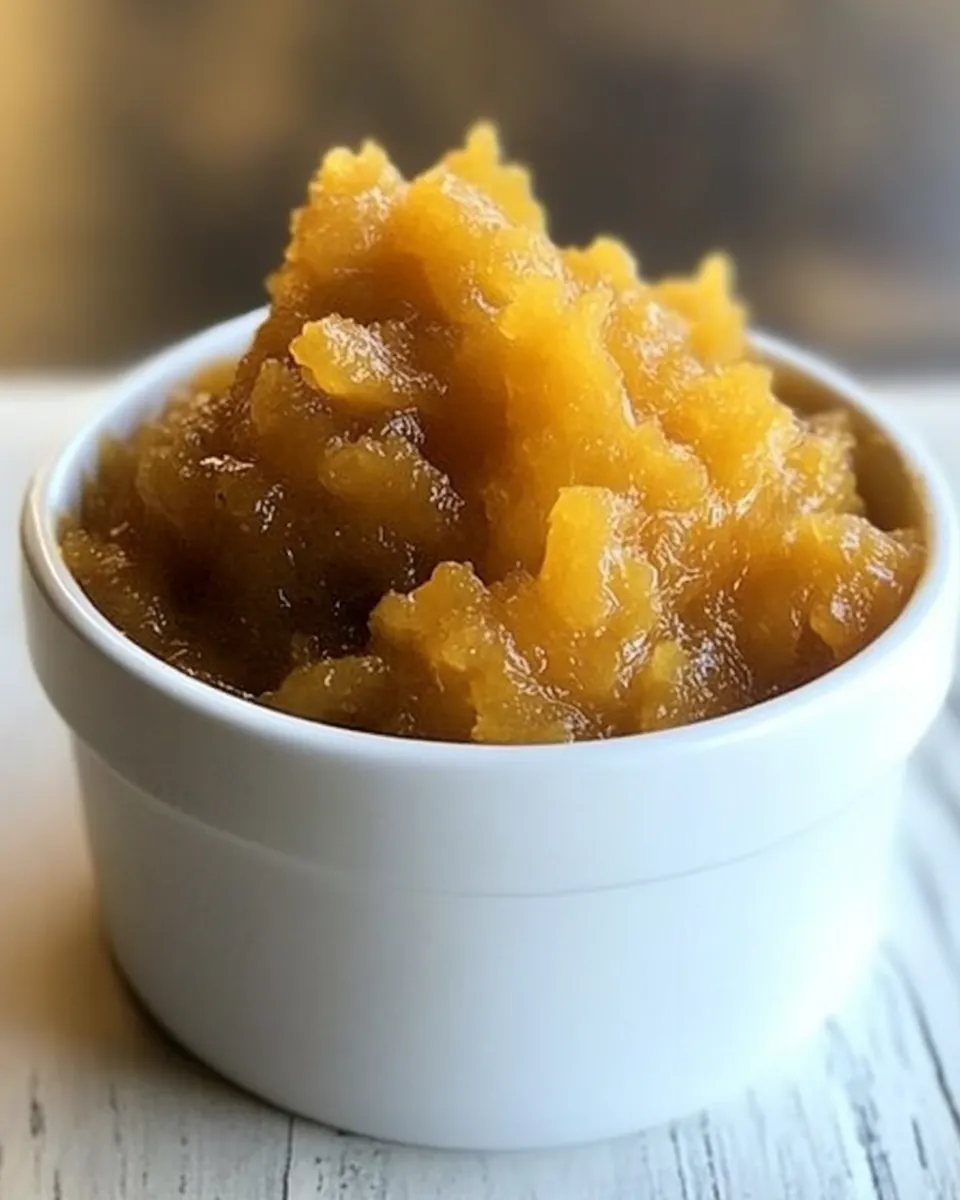
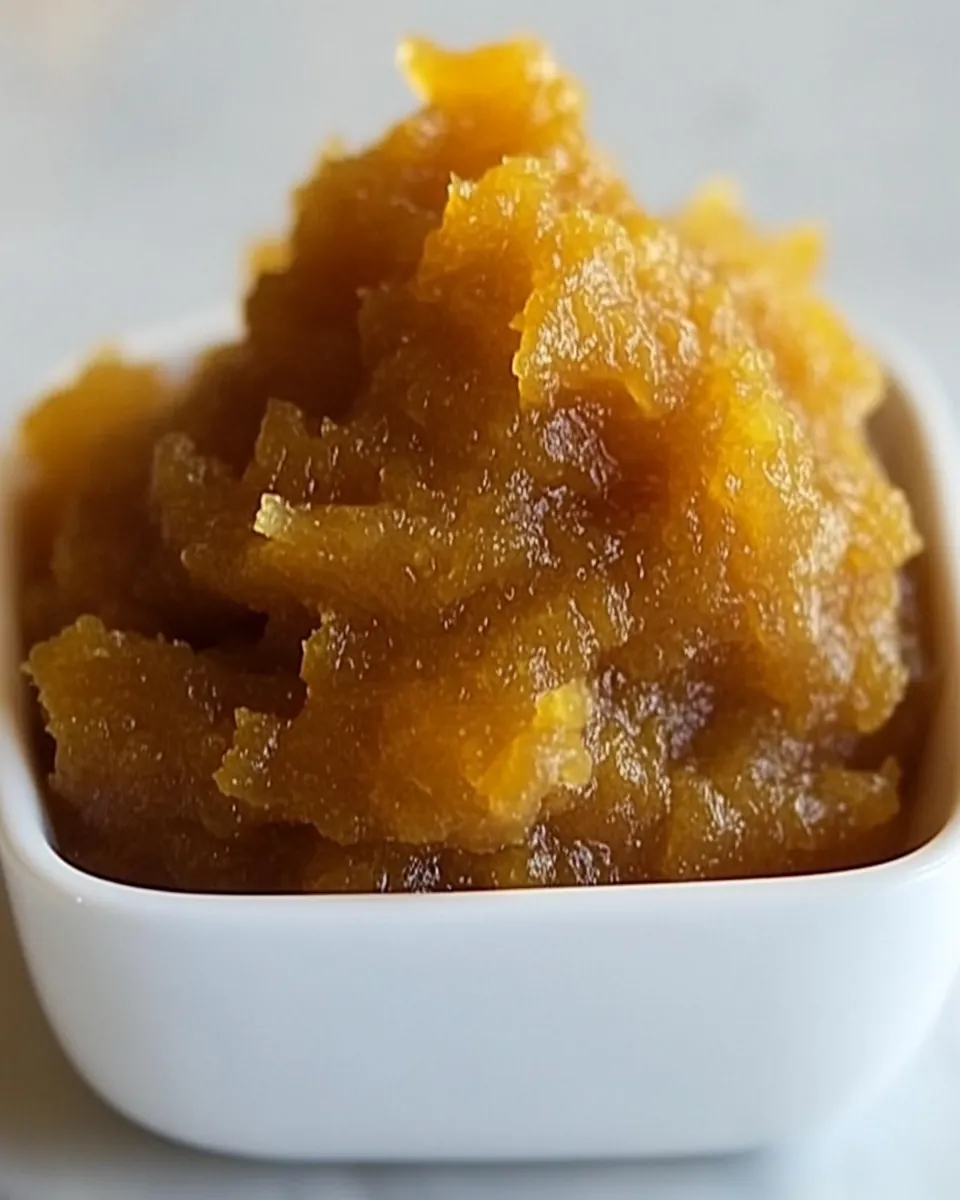
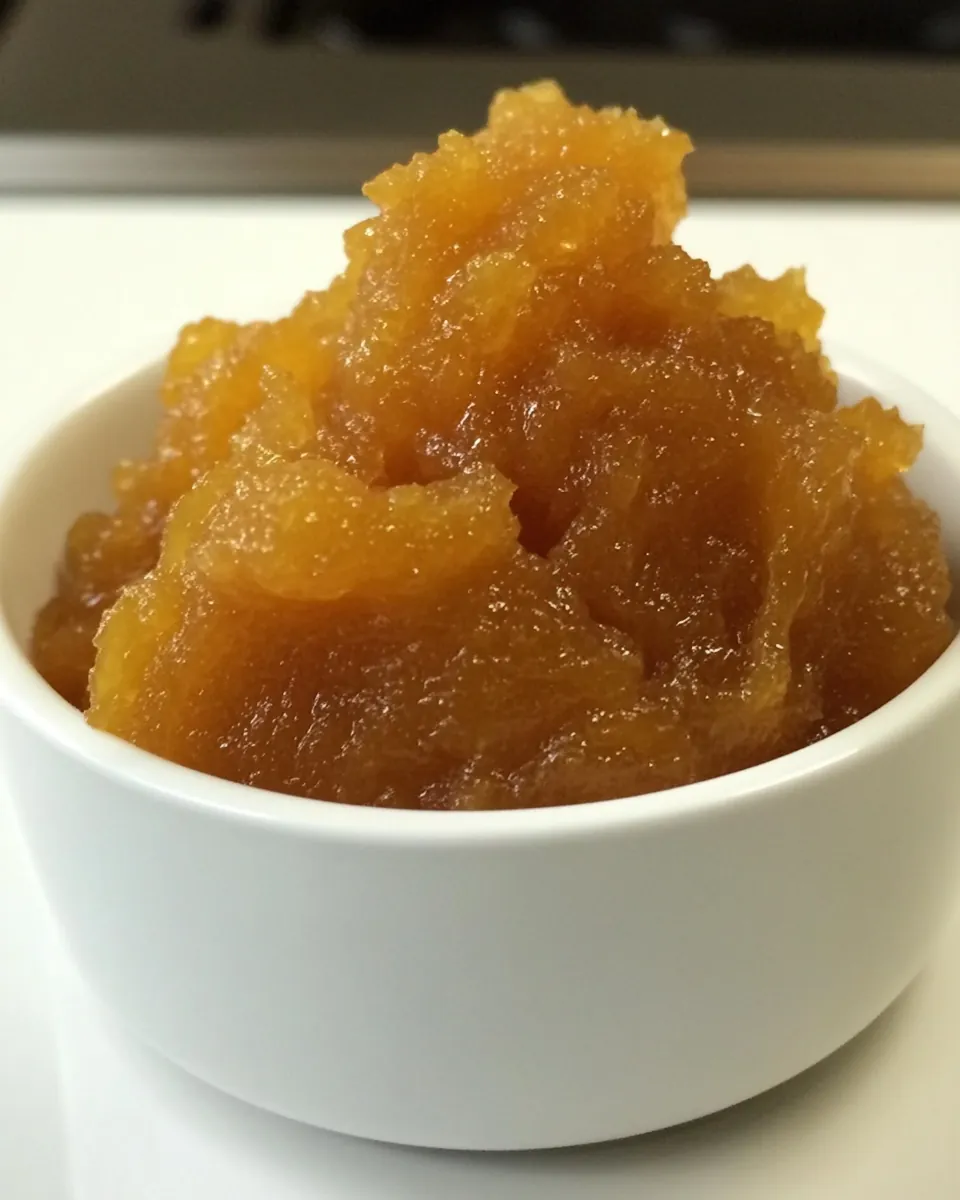
Pineapple Jam
The first time I made Pineapple Jam, it was a sunny afternoon, with the scent of fresh pineapples wafting through my kitchen. I had just returned from the local farmer’s market with a couple of perfect, ripe pineapples, their golden skin glistening in the sunlight. As I stood there, slicing into the juicy fruit, I could already envision the sweet and tangy jam that would soon fill my jars. This was more than just a recipe; it was a slice of summer captured in a jar, ready to spread on warm toast or complement a cheese platter. The joy of homemade preserves is in the simple ingredients and the process of transforming fresh fruits into something magical.
Making Pineapple Jam is an experience that brings a sense of nostalgia, a reminder of warm gatherings and happy moments shared with loved ones. The moment the sugar melts into the blended pineapple and the sweet aroma fills the kitchen, you know you’re creating something special. It’s one of those recipes that bridges generations, passed down with a smile and a few tips on how to make it even better. I remember my grandmother always adding a pinch of cloves for depth, a little twist that became a family tradition. Your kitchen will be filled with laughter and delicious smells, making every minute spent worthwhile. So let’s get started on this delightful journey of making Pineapple Jam!
Recipe Snapshot
1 hr 10 mins
10 mins
60 mins
Medium
150 kcal
0g g
Keto, Paleo, Whole30
0g g
Frying Pan, Blender, Chef’s Knife, Mixing Bowl, Wooden Spoon
What Sets This Pineapple Jam Apart
1. Fresh Flavor
There’s something incredibly satisfying about using fresh ingredients, especially when it comes to making jam. The bright, vibrant taste of ripe pineapples elevates Pineapple Jam beyond anything store-bought could ever offer. Freshly cut pineapples retain their juicy sweetness and tanginess, ensuring a rich flavor that dances on your taste buds. You’ll notice the difference immediately!
2. Versatile Uses
Pineapple Jam isn’t just for breakfast; it’s a versatile ingredient that can enhance a variety of dishes. Whether you’re spreading it on toast, dolloping it on a cheesecake, or using it in a glaze for grilled meats, the possibilities are endless. It’s a wonderful way to add a tropical twist to your culinary creations!
3. Great Gift Idea
Homemade Pineapple Jam makes for a thoughtful and personal gift. Imagine gifting a beautifully labeled jar of your homemade jam to a friend or loved one. It’s a slice of your hard work and creativity, wrapped up in a jar! Perfect for any occasion, it’s sure to bring a smile.
4. Simple Ingredients
One of the best things about Pineapple Jam is how few ingredients you really need. Just pineapples, sugar, and a little spice if you like. This simplicity means that what you’re consuming is pure and natural, without any of the preservatives or artificial flavors found in many commercial jams.
5. Family Tradition
Making Pineapple Jam can easily become a cherished family tradition. Gather your loved ones in the kitchen and share stories as you cook. It’s a wonderful way to create lasting memories together while imparting knowledge about making preserves, something that can be passed down through generations.
Ingredient List for Pineapple Jam
When it comes to creating Pineapple Jam, the ingredients you choose will play a significant role in the overall flavor and texture of the final product. Each component brings something unique to the table. The star here is undoubtedly the pineapple, rich in natural sugars and acidity, which helps to balance the dish. Let’s dive into the essential ingredients that make this jam a delightful treat.
- 3 cans sliced pineapples (in water) or 2 fresh pineapples (20 oz./560 g): Fresh or canned, the pineapple is the foundation of this jam, providing sweetness and a tropical flair.
- 10 tablespoons sugar: This is essential for balancing the tartness of the pineapple and achieving that perfect jam consistency.
- 1/2 tablespoon cloves: Optional, but they add a warm, aromatic depth to the jam, enhancing its flavors beautifully.
How to Cook Pineapple Jam
Cooking Pineapple Jam is an enjoyable process that fills your kitchen with the most wonderful aroma. The steps are straightforward and allow you to create a delicious treat that you can savor for weeks to come. Let’s get started!
- Begin by preparing your pineapples. If you’re using canned pineapple, drain them thoroughly and squeeze out any excess water or juice using your hands. This ensures that you don’t end up with a watery jam.
- If you’re opting for fresh pineapples, remove the skin, cut the fruit into chunks, and blend them in a blender for about 10 seconds. You want the pineapple to be mushy but not completely liquefied.
- Transfer the blended pineapple into a deep, preferably non-stick pan. This will help prevent sticking and burning during the cooking process.
- Add in the measured sugar and cloves. Stir well to combine all the ingredients. You’ll notice how the sugar begins to dissolve and mix with the pineapple.
- Now it’s time to cook! Put the pan over medium to low heat. Allow the mixture to simmer gently. You want to keep an eye on it to ensure it doesn’t stick to the bottom of the pan.
- As the jam cooks, you’ll see most of the liquid evaporate, and the jam will start to thicken. This is where the magic happens! Stir constantly to avoid burning the bottom. Keep the mixture moving for the best results.
- Once the pineapple jam has turned a beautiful golden color and reaches your desired thickness, it’s time to taste. If you feel it needs more sweetness, add a little more sugar at this point and stir.
- Remove the pan from the heat and carefully take out the cloves if you added them. Let the mixture cool down for a few minutes.
- When the jam has cooled slightly, transfer it into sterilized jars. This is important to ensure the jam stays fresh. Place the jars in the fridge to let it cool completely and set. You can enjoy your Pineapple Jam once it’s chilled!
Things Worth Knowing
- Use a non-stick pan: This helps prevent the jam from sticking and burning during cooking.
- Check the consistency: The jam should be thick enough to coat the back of a spoon; if it’s too runny, let it cook a little longer.
- Cool and store properly: Ensure your jars are sterilized for storage to keep your jam fresh and safe.
- Experiment with flavors: Feel free to add other spices like cinnamon or nutmeg for a twist on the traditional flavor.
Helpful Notes about Pineapple Jam
Creating the perfect Pineapple Jam can be even better with a few helpful notes. Here are some tips that will enhance your experience and ensure your jam comes out beautifully.
- Storage: Keep your homemade Pineapple Jam in sealed jars in the refrigerator. It should last for several weeks.
- Freezing: You can freeze Pineapple Jam for up to a year! Just ensure it’s in an airtight container.
- Pairing: This jam pairs beautifully with cheese, making it a great addition to a charcuterie board.
- Adjusting sweetness: Depending on the ripeness of your pineapples, you might want to adjust the sugar levels to your taste.
- Variations: Consider adding other fruits like mango or passion fruit for a unique twist on your Pineapple Jam.
What to Serve Alongside Pineapple Jam
Serving Pineapple Jam can be just as delightful as making it. Here are some ideas to elevate your culinary experience:
- Breakfast Spread: Serve your Pineapple Jam on toast or pancakes for a tropical breakfast treat.
- Cheese Pairing: Create a charming cheese board with your favorite cheeses, crackers, and a jar of Pineapple Jam.
- Gift option: Package jars of Pineapple Jam with a pretty ribbon as a thoughtful gift for friends and family.
- With Desserts: Use it as a topping on vanilla ice cream or yogurt for a refreshing dessert.
- Seasonal Occasions: This jam is perfect for summer picnics or brunches, offering a sweet taste of sunshine.
FAQ
Conclusion
The homemade Pineapple Jam is a true delight, offering a burst of flavor that brightens up any dish. It’s an easy recipe that not only satisfies your sweet tooth, but also brings a touch of tropical sunshine into your kitchen. I encourage you to try making it yourself; you’ll love the fresh taste and the joy of creating something wonderful from simple ingredients. So grab some pineapples, and let’s get jamming!
Pineapple Jam
Ingredients
Equipment
Method
- Begin by preparing your pineapples. If you're using canned pineapple, drain them thoroughly and squeeze out any excess water or juice using your hands. This ensures that you don't end up with a watery jam.
- If you're opting for fresh pineapples, remove the skin, cut the fruit into chunks, and blend them in a blender for about 10 seconds. You want the pineapple to be mushy but not completely liquefied.
- Transfer the blended pineapple into a deep, preferably non-stick pan. This will help prevent sticking and burning during the cooking process.
- Add in the measured sugar and cloves. Stir well to combine all the ingredients. You'll notice how the sugar begins to dissolve and mix with the pineapple.
- Now it's time to cook! Put the pan over medium to low heat. Allow the mixture to simmer gently. You want to keep an eye on it to ensure it doesn't stick to the bottom of the pan.
- As the jam cooks, you'll see most of the liquid evaporate, and the jam will start to thicken. This is where the magic happens! Stir constantly to avoid burning the bottom. Keep the mixture moving for the best results.
- Once the pineapple jam has turned a beautiful golden color and reaches your desired thickness, it's time to taste. If you feel it needs more sweetness, add a little more sugar at this point and stir.
- Remove the pan from the heat and carefully take out the cloves if you added them. Let the mixture cool down for a few minutes.
- When the jam has cooled slightly, transfer it into sterilized jars. This is important to ensure the jam stays fresh. Place the jars in the fridge to let it cool completely and set. You can enjoy your Pineapple Jam once it’s chilled!
Notes
- Storage: Keep your homemade Pineapple Jam in sealed jars in the refrigerator. It should last for several weeks.
- Freezing: You can freeze Pineapple Jam for up to a year! Just ensure it’s in an airtight container.
- Pairing: This jam pairs beautifully with cheese, making it a great addition to a charcuterie board.
- Adjusting sweetness: Depending on the ripeness of your pineapples, you might want to adjust the sugar levels to your taste.
- Variations: Consider adding other fruits like mango or passion fruit for a unique twist on your Pineapple Jam.