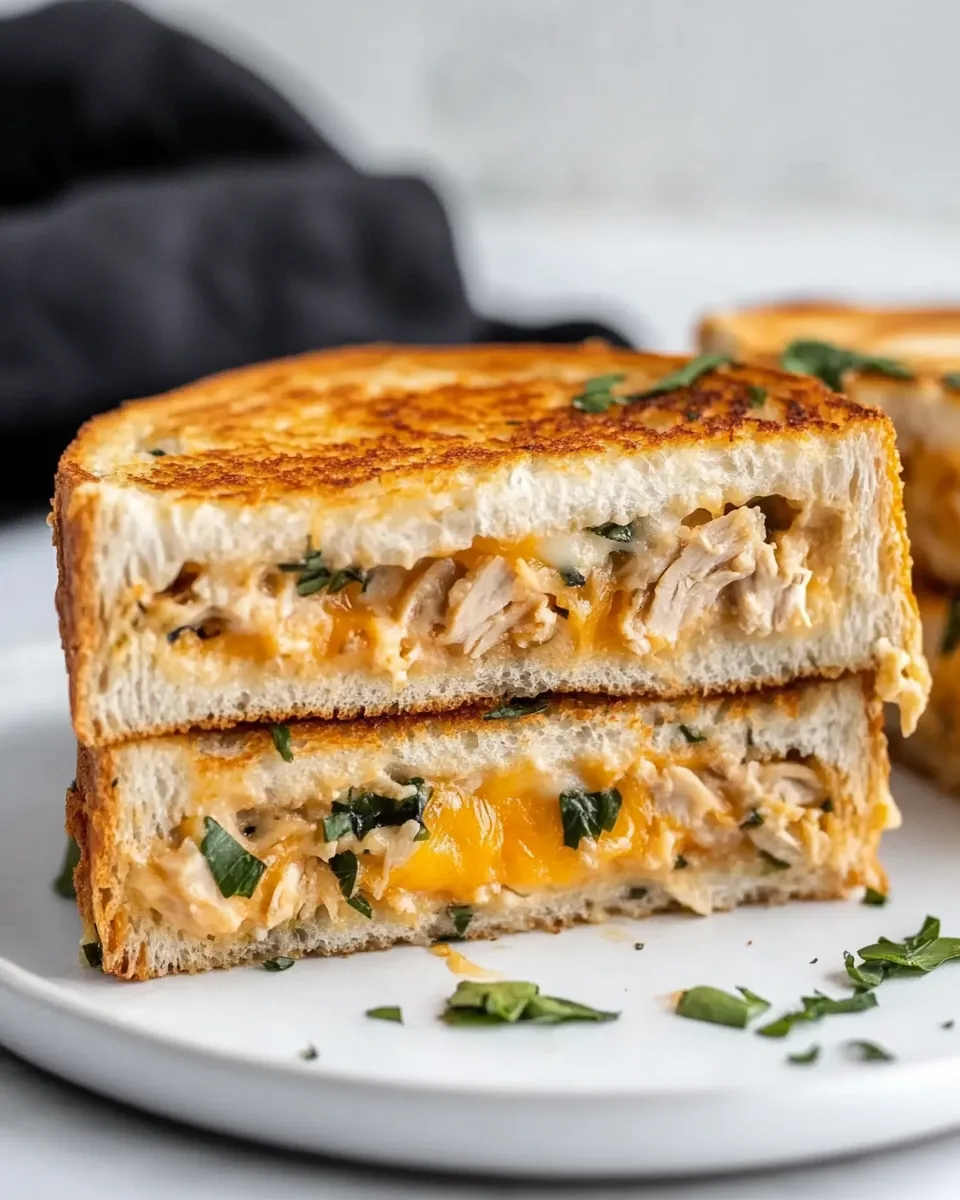
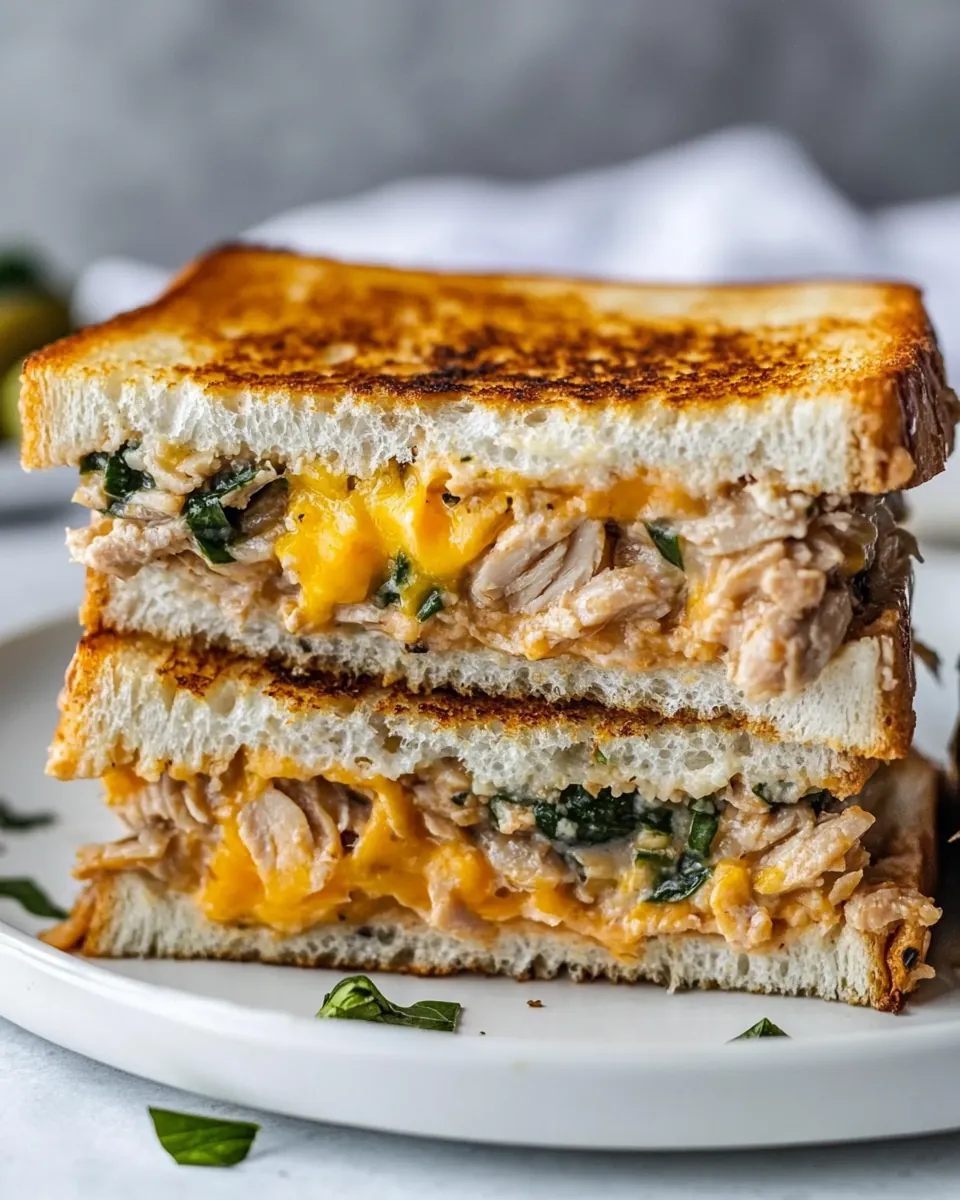
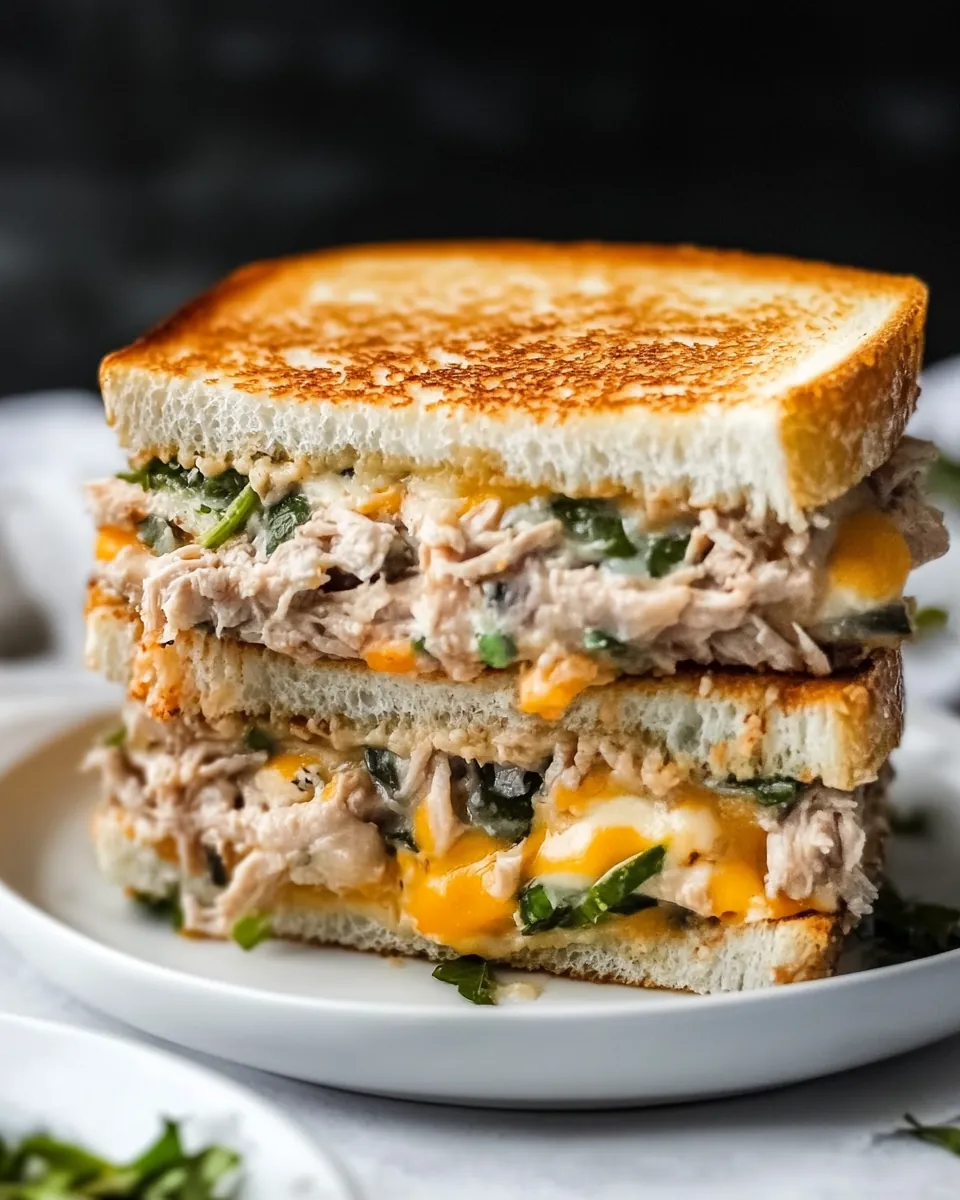
Tuna Melt
There’s something undeniably comforting about a warm Tuna Melt. Picture this: it’s a chilly afternoon, and I’m yearning for a dish that feels like a warm hug. That’s when this classic comes into play. I remember the first time I tasted a Tuna Melt at my local diner. The crisp bread, the creamy filling, and that melty cheese—it was love at first bite! Since then, I’ve made it countless times, tweaking the recipe here and there. Each version is special, but it’s the simplicity and the love that goes into making it that keeps me coming back. Whether it’s a quick weeknight dinner or a cozy weekend lunch, this Tuna Melt never disappoints.
Recipe Snapshot
20 mins
10 mins
10 mins
Easy
420 kcal
28 g
Keto, Gluten-Free
20 g
Skillet, Frying Pan, Chef’s Knife, Mixing Bowl, Air Fryer, Wooden Spoon
What Makes This Tuna Melt Special
1. Comfort Food at Its Best
When I think of comfort food, the Tuna Melt tops the list. It’s one of those meals that warms you from the inside out. As the cheese melts and the flavors meld together, each bite brings back memories of childhood lunches and family gatherings.
2. Quick and Easy
We all have those days when we need something quick yet satisfying. The Tuna Melt is just that! With minimal ingredients and simple steps, it comes together in under thirty minutes. Perfect for busy weeknights or a last-minute lunch!
3. Versatile Flavor Combinations
What I love about this dish is its versatility. You can spice it up with different ingredients or keep it classic. Want a kick? Add some jalapeños! Prefer a tangy twist? Extra lemon juice does the trick. The possibilities are endless!
4. Nutritional Benefits
Many people think of comfort food as unhealthy, but the Tuna Melt can be a nutritious choice when made with the right ingredients. Packed with protein from the tuna and healthy fats from the yogurt, it’s a meal that fuels your body without weighing you down.
5. A Family Favorite
Gathering around the table for a Tuna Melt has become a cherished tradition in my home. It’s a meal that brings everyone together, and each bite sparks conversation and laughter. It’s not just food; it’s an experience.
6. Great for Meal Prepping
Another reason to love the Tuna Melt is its meal prep potential. You can make a big batch of the filling and store it in the refrigerator for later. Just grab some bread, and you have a delicious meal ready to go!
Ingredients for Tuna Melt
When it comes to the Tuna Melt, each ingredient plays a crucial role in creating that irresistible flavor and texture. The combination of creamy, tangy, and savory elements makes this dish sing. From the rich tuna to the sharp cheese, these ingredients work together marvelously.
- 2 (5-ounce) cans solid, water-packed tuna: The star of the show! Look for sustainably caught fish for the best flavor and quality.
- ⅓ cup plus 1 tablespoon nonfat plain Greek yogurt: This adds creaminess without the guilt, making it a healthier alternative to mayonnaise.
- ¼ cup finely chopped cornichons or small dill pickles: These little bites of tanginess elevate the overall flavor profile, adding a nice crunch.
- 3 tablespoons finely chopped red onion: Adds a subtle sweetness and crunch, enhancing the tuna mixture.
- 2 teaspoons freshly squeezed lemon juice: A splash of acidity that brightens up the dish beautifully.
- 1 teaspoon grainy mustard: This adds a bit of depth and complexity, making each bite more interesting.
- 1 tablespoon minced fresh parsley or dill: Fresh herbs bring brightness and freshness to the Tuna Melt.
- ¼ teaspoon kosher salt: Essential for enhancing all the flavors.
- ⅛ teaspoon ground black pepper: A pinch of spice to round out the flavors.
- 6 slices bread: I prefer whole grain sourdough, but feel free to use your favorite kind!
- 3 slices sharp cheddar cheese: The melty, gooey goodness that binds the sandwich together.
- 3 tablespoons softened unsalted butter: For that golden, crispy exterior that makes each bite irresistible.
The Method for Tuna Melt

The beauty of making a Tuna Melt lies in its simplicity. You’ll be amazed at how easily it comes together, making it a favorite in my kitchen. Let’s dive into the steps!
Start by draining the tuna as thoroughly as possible. This step is crucial to prevent a soggy Tuna Melt. Flake the tuna into a large bowl and set it aside.
Next, add Greek yogurt, cornichons, red onion, lemon juice, mustard, parsley, salt, and pepper to the bowl. Use a fork to mix everything until well combined. Taste the mixture and adjust the seasoning if needed. This is your moment to make it perfect!
Now, it’s time to assemble the sandwiches. Take a slice of bread and scoop about one-third of the tuna mixture onto it. Spread it evenly all the way to the edges to ensure every bite is delicious.
Place a slice of cheese on top of the tuna mixture, then add another slice of bread on top. This creates that classic sandwich structure we all know and love.
Butter the top slice of bread with half a tablespoon of butter. If you’re planning to cook it in a panini press or an air fryer, don’t forget to butter the other side too!
For the stovetop method: Heat a nonstick skillet over medium-low heat. Once hot, place the sandwich in the skillet, buttered-side down. Butter the top slice as well. Cook for about 2 to 4 minutes on each side or until the bread is golden and crispy. Low and slow is the secret to achieving the perfect Tuna Melt.
If you’re using a panini press, cook on medium-high heat until the bread is golden and the cheese is melted.
For the air fryer method: Secure the sandwich with toothpicks in two opposite corners and air fry at 360°F for 9 to 12 minutes. Flip halfway through to ensure even cooking.
Once cooked, let the Tuna Melt cool for a couple of minutes. This helps the filling set and makes it easier to cut.
Finally, slice the sandwich in half, reveal that gooey cheese and delicious filling, and enjoy!
Things Worth Knowing
- Choose Quality Tuna: It’s essential to use good-quality tuna for the best flavor. Look for brands that prioritize sustainability.
- Don’t Skip the Butter: Buttering the bread not only adds flavor but also ensures a crispy crust. This step is key to achieving the perfect Tuna Melt.
- Experiment with Cheeses: While sharp cheddar is a classic choice, feel free to experiment with other cheeses like Gruyère or pepper jack for a different flavor profile.
- Mind the Heat: When cooking on the stovetop, keep the heat low and slow to melt the cheese evenly without burning the bread.
Expert Tips about Tuna Melt
To make your Tuna Melt experience even better, here are some expert tips that I rely on every time I make this dish.
- Storage: Refrigerate leftover Tuna Melt sandwiches in an airtight container for up to 2 days. Reheat in a skillet or air fryer for the best results.
- Freezing: While it’s best enjoyed fresh, you can freeze the tuna mixture separately. Just thaw it in the fridge and assemble the sandwiches before cooking.
- Pairing: Serve your Tuna Melt with a side salad or some crispy potato chips for a complete meal.
- Adding Veggies: Incorporate additional ingredients like spinach or tomatoes for added freshness and nutrients.
- Serving for a Crowd: If you’re hosting, make mini Tuna Melts on slider buns for an easy appetizer option.
Serving Suggestions
- Side Dishes: Pair your Tuna Melt with a light salad or steamed vegetables for a balanced meal.
- Ideal Occasions: This dish is perfect for lunch or a quick dinner during busy weekdays.
- Garnish: Consider garnishing with a sprinkle of fresh herbs or a wedge of lemon on the side.
- Seasonal Pairings: Enjoy with a warm cup of tomato soup during the colder months for a classic combination.
- Leftover Storage: Ensure you store leftovers in an airtight container to maintain freshness.
FAQ
Conclusion
The Tuna Melt is more than just a sandwich; it’s a comforting meal that brings back cherished memories. With its creamy filling, melted cheese, and crispy bread, it’s a dish that satisfies both the palate and the heart. I encourage you to try making your own Tuna Melt at home. Once you do, I know you’ll be hooked and want to make it again and again!
Tuna Melt
Ingredients
Equipment
Method
- Drain the tuna as completely as you can. Flake into a bowl and top with the Greek yogurt, pickles, red onion, lemon juice, mustard, parsley, salt, and pepper. With a fork, stir to combine. Taste and adjust the seasoning as desired.
- For each melt, top a slice of bread with one-third of the tuna mixture, spreading it evenly all the way to the edges. Lay a slice of cheese on top, then another slice of bread. Butter the top of the bread with 1/2 tablespoon butter. (If cooking in a panini press or the air fryer, go ahead and butter the other side of the melt too.)
- To Cook on the Stove: Heat a nonstick skillet over medium low. Once the skillet is hot, add the sandwich, buttered-side down. Butter the top. Cook on each side for 2 to 4 minutes until the bread is toasty and golden—low and slow will guarantee the most melty, perfectly cooked grilled cheese.
- To Cook in a Panini Press: Cook on medium-high until the bread is golden and the cheese melted.
- To Cook in the Air Fryer: Use toothpicks to secure the tuna melt by sticking a toothpick into two of the opposite corners of the bread. Air fry at 360°F for 9 to 12 minutes, flipping halfway through.
- Let the tuna melt cool for a few minutes. Cut in half and enjoy.
Notes
- Tip 1: Refrigerate leftover tuna melt sandwiches in an airtight storage container for up to 2 days.
- Tip 2: Heat leftovers in a skillet over medium-low heat or in the air fryer at 350 degrees F.