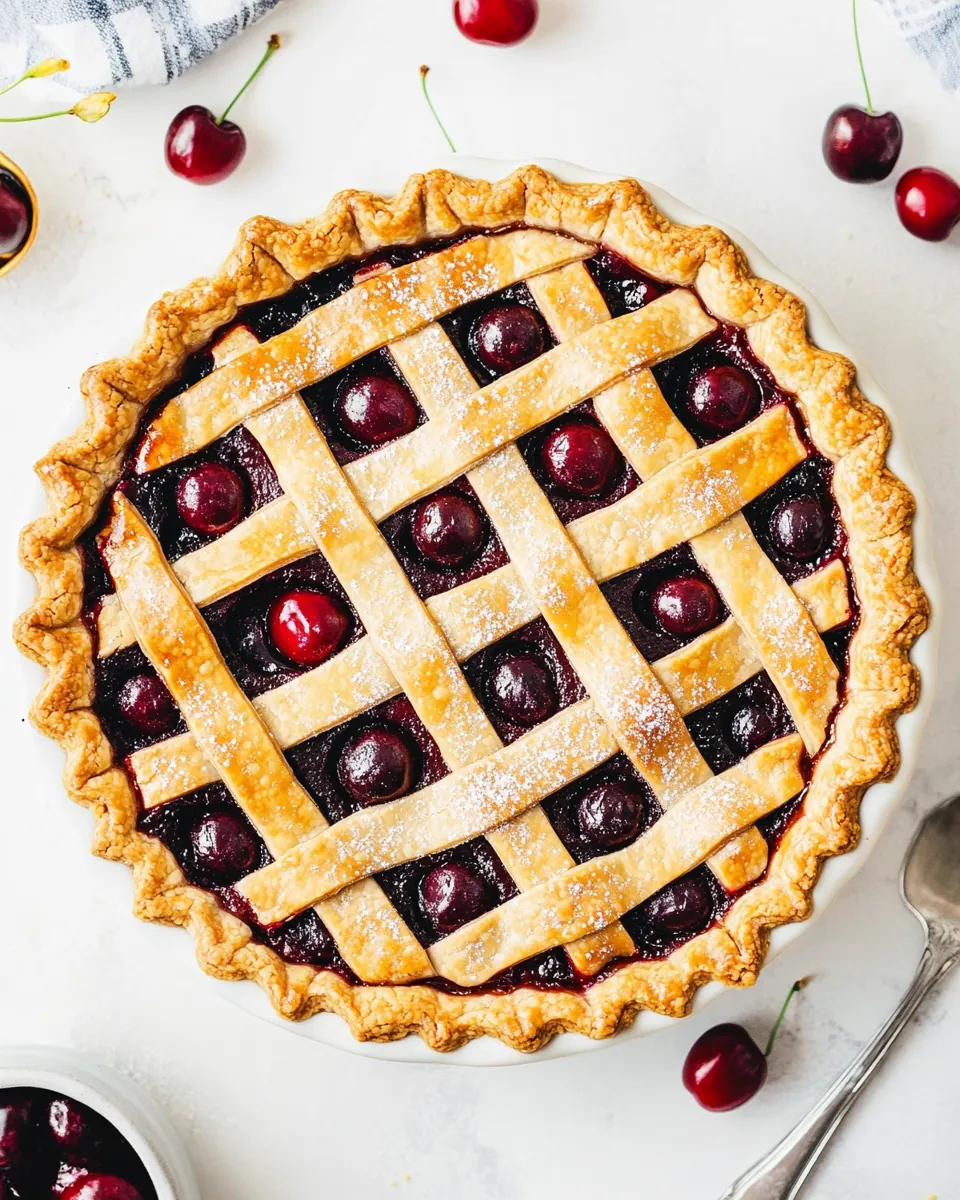
Cherry Pie
There’s something truly magical about a slice of freshly baked Cherry Pie. As a child, I remember visiting my grandmother’s house during the summer, where the air was filled with the sweet scent of cherries baking in the oven. She always seemed to have a knack for creating the perfect pie, and I would eagerly await the moment it was pulled from the oven, golden brown and bubbling with juices. The first bite of that warm pie, with its flaky crust and delicious filling, was pure bliss. Now, years later, I still find comfort in making a Cherry Pie for my family, reliving those cherished memories with every slice. Whether it’s for a special occasion or just a warm snack after a long day, nothing beats the simplicity and joy of this classic dessert.
Recipe Snapshot
2 hr 40 mins
120 mins
40 mins
Hard
350 kcal
3 g
Gluten-Free, Low FODMAP
12 g
9-inch pie pan
What’s Great About This Cherry Pie
It’s a Timeless Classic
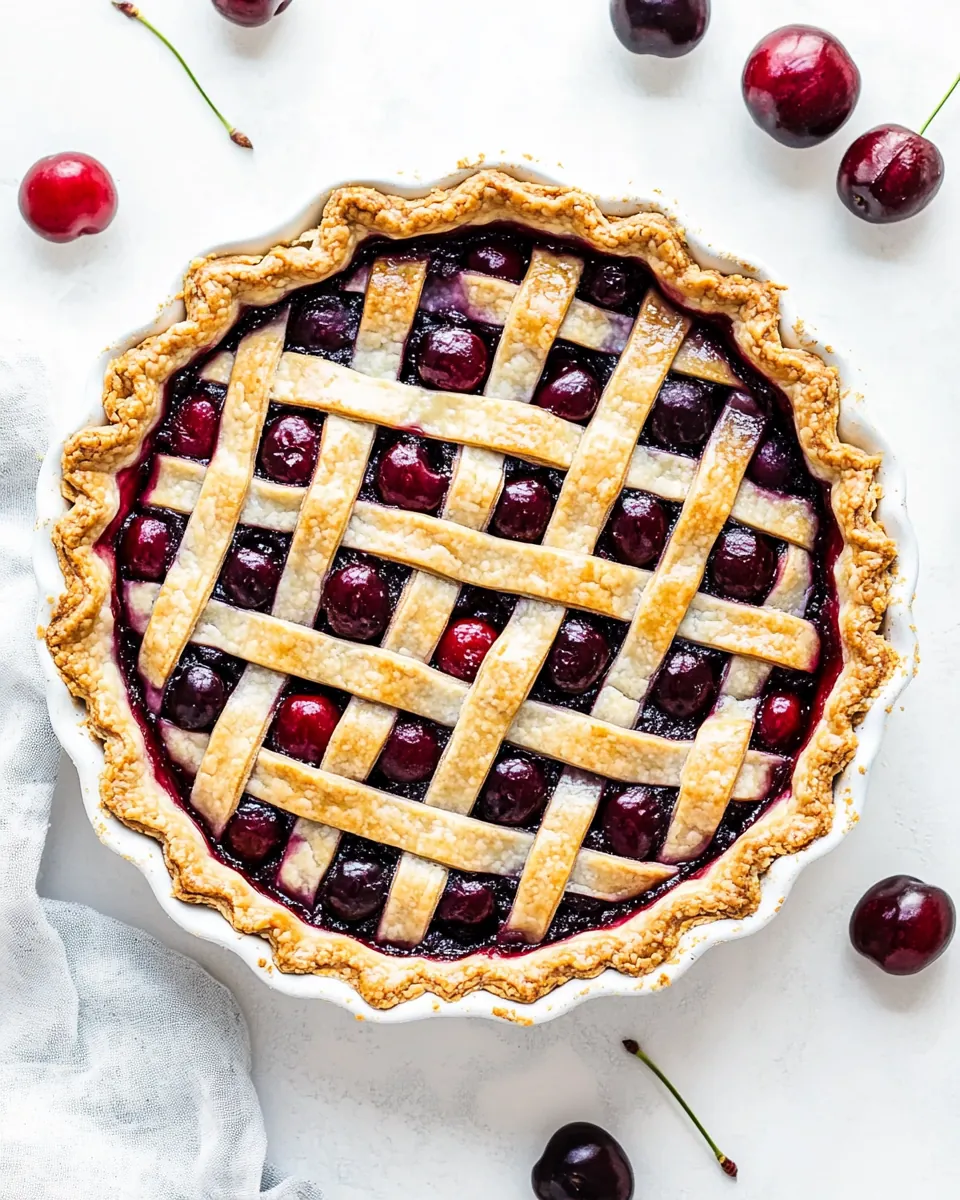
The love for Cherry Pie stretches across generations. This dessert has been a staple in American kitchens, beloved for its balance of sweet and tart flavors. The vibrant red color is a feast for the eyes, making it perfect for any gathering. I find it hard to resist a slice, especially when served warm with a scoop of vanilla ice cream. It’s a dish that brings people together, fostering connections over shared love for homemade treats.
Endless Variations
While the traditional recipe is delightful, there are countless variations of Cherry Pie. From adding spices like cinnamon to incorporating other fruits, it’s a canvas for creativity. I often experiment with different cherry varieties, and each time I do, I discover new depths of flavor. This adaptability ensures that every pie is unique and reflects the baker’s personality.
Perfect for All Seasons
What I love about Cherry Pie is its versatility. While it screams summer with fresh cherries, you can easily use frozen ones, allowing you to enjoy this treat all year round. It’s comforting in winter and refreshing in summer, making it a go-to dessert for any season or occasion.
A Family Tradition
Making a Cherry Pie has become a cherished family tradition in my home. I invite my kids to help pick cherries during the summer months, teaching them the importance of using fresh, quality ingredients. The joy we share while baking together not only results in a delicious pie but also strengthens our family bond. It’s these moments that make the experience truly special.
Health Benefits
Not only is Cherry Pie delicious, but cherries are also packed with health benefits. They are rich in antioxidants and vitamins, making this dessert a tad guilt-free. When homemade, you can control the sugar content, ensuring a healthier option that still satisfies your sweet tooth.
Great for Any Occasion
Whether it’s a birthday celebration, a picnic, or a casual family dinner, Cherry Pie fits beautifully into any occasion. Its ability to please a crowd while being simple to make makes it an ideal dessert choice. I often find myself making it for potlucks, knowing it will be a hit!
Ingredients for Cherry Pie
Creating a wonderful Cherry Pie starts with selecting the right ingredients. Each component plays a vital role in building the flavors of this classic dessert. Fresh, quality ingredients ensure that the pie is not only tasty but also a delightful experience for everyone enjoying it.
- 5 cups fresh cherries, pitted
- 2/3 cup granulated sugar
- 1 large lemon (1-1/2 tablespoons juice)
- 1/8 teaspoon salt
- 1/4 cup cornstarch
- 2 tablespoons unsalted butter
- 1 teaspoon vanilla extract
- 1/8 teaspoon almond extract (optional)
- 2 homemade pie crusts
- 1 large egg plus 1 tablespoon milk
- 2 tablespoons coarse sparkling sugar
Making Cherry Pie
Making a Cherry Pie is a wonderful way to bring the family together. It’s a labor of love that combines simple steps for a delightful outcome. Follow these steps for a pie that’s sure to impress!
- Start by preparing your pie crust. If possible, make the pie crusts the day before to ensure the dough is cold. Cold dough is key for a flaky crust! Follow your favorite pie crust recipe and chill thoroughly.
- Next, wash and fully dry the cherries. Remove their stems and pits, taking care to ensure each one is perfectly prepped. Cut half of the cherries in half and the remaining ones into quarters. This helps to release their delicious juices during cooking.
- In a medium pot, combine the cherries, granulated sugar, and the juice of your lemon. Cook this mixture over medium heat for about 3 to 5 minutes, stirring occasionally. You’ll know it’s ready when the juices start to bubble and release, creating a fragrant syrup.
- Using a slotted spoon, carefully transfer the cherries into a large bowl, leaving the juices behind in the pot. This step ensures your filling won’t be too runny.
- In a small bowl, add the cornstarch. Remove about 2 tablespoons of the hot cherry juice and whisk it together with the cornstarch until smooth. This will help thicken your filling, preventing it from being overly watery.
- Gradually whisk the cornstarch mixture back into the pot with the remaining juice, stirring constantly to prevent lumps from forming. Continue cooking over medium heat, whisking until thick and smooth, which should take around 3 to 5 minutes. Once ready, pour this thickened mixture over the cherries and gently toss to coat them evenly.
- Stir in the butter, allowing it to melt into the warm mixture for added richness. If you’re using the optional almond extract, add that now as well for a unique flavor twist. Refrigerate the filling while you roll out the pie crust to ensure it’s cool before adding it to the base crust.
- Lightly grease a 9-inch pie pan with cooking spray. Roll out one of your chilled pie crusts into a 12-inch circle, then fit it into the pan. Spoon the cooled cherry filling into the crust, making sure it’s evenly distributed.
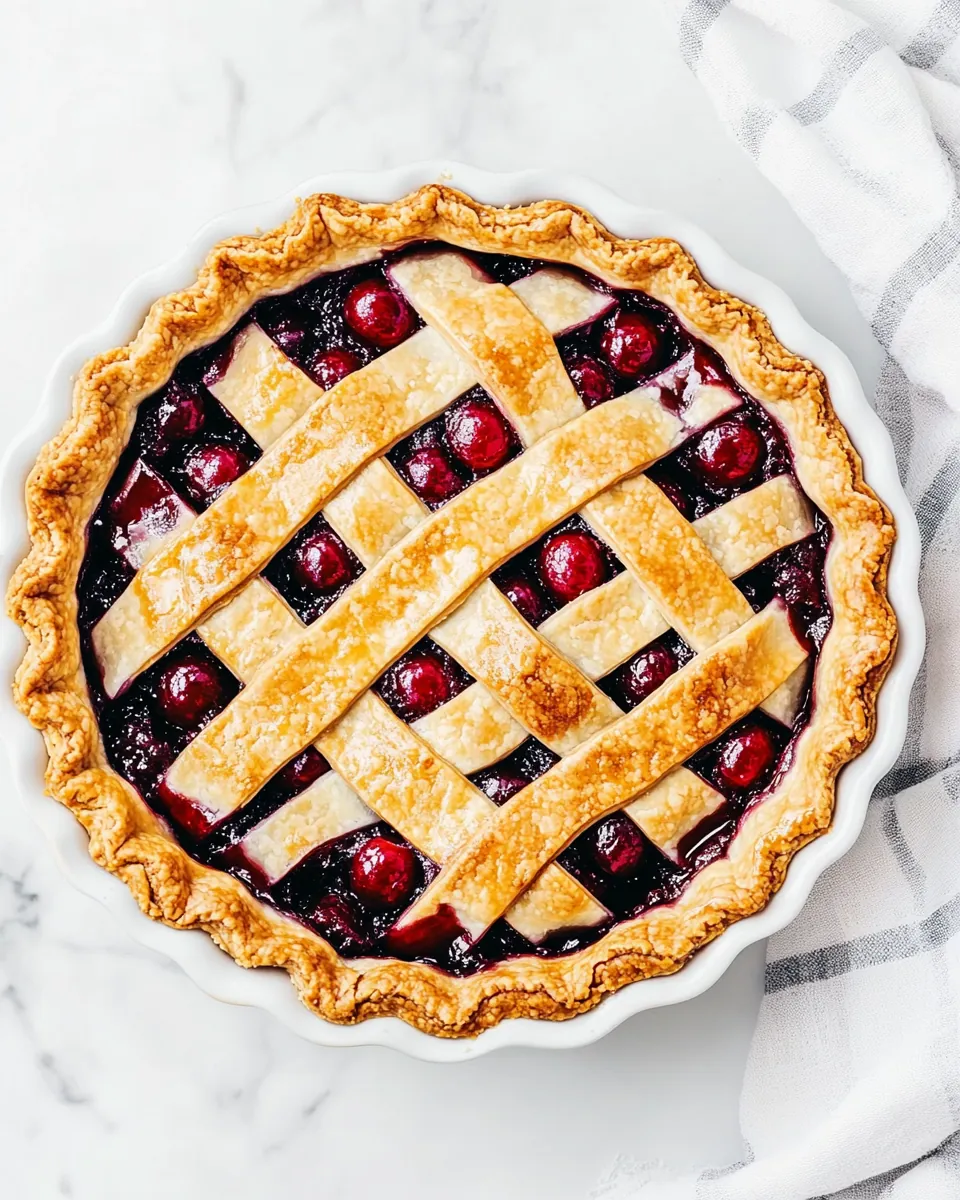
- Preheat your oven to 400 degrees Fahrenheit. For the top crust, roll out the second crust and cut it into 1/2-inch strips. Arrange these strips over the filling in a beautiful lattice pattern. Don’t forget to seal and crimp the edges as desired for a decorative touch!
- In a small bowl, whisk together the egg and milk. Brush this mixture over the top crust, giving it a golden hue as it bakes. Finally, sprinkle coarse sugar on top for a delightful crunch.
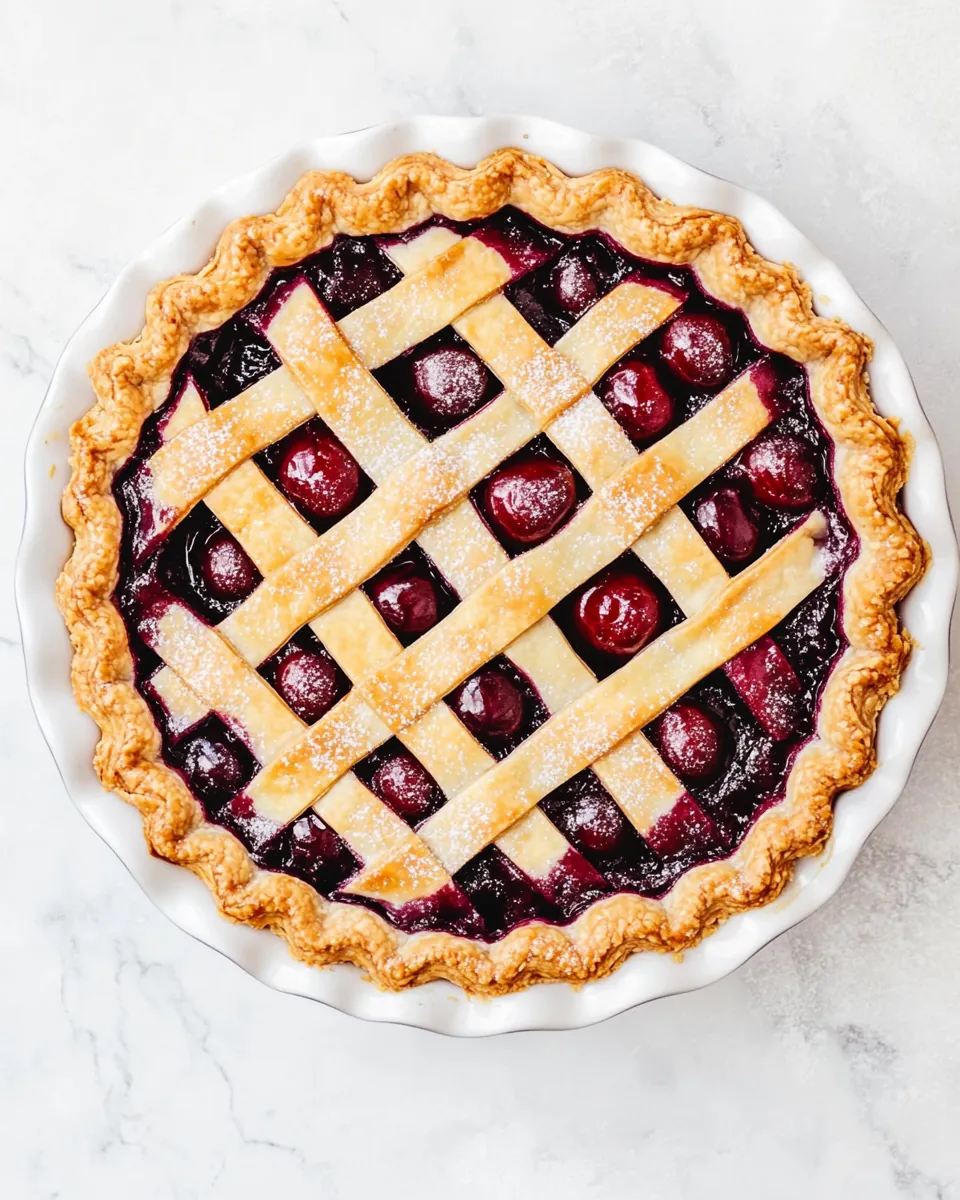
- Bake the pie at 400 degrees Fahrenheit for 20 minutes. Then lower the oven temperature to 375 degrees Fahrenheit and continue baking for an additional 30 to 40 minutes, or until the top is golden brown and the juices are bubbling through the crust. Be sure to check the pie after 30 minutes, covering the edges with a pie crust shield if they’re browning too quickly.
- Once baked, let the pie cool on a wire rack for at least 3 to 4 hours before slicing. This cooling time is crucial as it allows the filling to set properly. Cutting too early will result in a runny pie. After cooling, slice and serve, or cover and refrigerate to enjoy the next day.
Things Worth Knowing
- Cooling Time: It’s essential to cool the pie before slicing. This allows the filling to set properly, preventing a messy slice.
- Cherry Selection: For the best flavor, use a mix of sweet and tart cherries, if possible. It enhances the pie’s depth of flavor.
- Crust Options: You can use store-bought pie crusts if you’re short on time. But homemade crusts add a special touch!
- Serving Warm: Serving Cherry Pie warm with vanilla ice cream is a classic pairing that everyone loves.
Variations to Try
Exploring variations for Cherry Pie can be a fun adventure in your kitchen! Here are some ideas to get you started:
- Spice it Up: Experiment with spices! A hint of cinnamon or nutmeg can add warmth to your pie.
- Mixing Fruits: Combine cherries with other fruits like blueberries or raspberries for a mixed fruit pie surprise!
- Different Crusts: Try a crumb topping instead of a traditional crust. It adds a crunchy texture and a unique twist.
- Mini Pies: Make mini Cherry Pies in muffin tins for individual servings, perfect for gatherings.
- Gluten-Free Option: Use gluten-free flour for the pie crust, making it accessible for those with dietary restrictions.
- Flavor Enhancements: Add a splash of almond extract or lemon zest to the filling for an extra layer of flavor.
Serving Options for Cherry Pie
Serving a Cherry Pie can be just as exciting as making it! Here are some ideas for how to present this delicious dessert:
- A la Mode: Serve warm slices of pie with a scoop of vanilla or almond ice cream on top for the ultimate comforting treat.
- Sundae Style: Create a pie sundae by layering pie pieces with whipped cream and a drizzle of chocolate or caramel sauce.
- Festive Occasions: Cherry Pie is perfect for summer barbecues, holiday dinners, or family gatherings, bringing a festive touch to any table.
- On the Side: Pair with a dollop of freshly whipped cream on the side for guests to add to their liking.
- Seasonal Sides: Serve with seasonal fruit salad or a light salad to balance the sweetness of the pie.
- Storage Tips: Cover leftovers and store in the fridge for up to 5 days. For longer storage, freeze the fully baked pie for up to 3 months.
FAQ
Conclusion
This **Cherry Pie** is not just a recipe; it’s a celebration of flavors and memories. Each slice brings joy and warmth, perfect for family gatherings or a quiet evening at home. I encourage you to try making this delightful pie; it’s easier than you think and absolutely worth it. Bake it today and experience the magic of homemade goodness!
Cherry Pie
Ingredients
Equipment
Method
- If possible, make the pie crusts the day before. Cold dough = better pie! Follow your pie crust recipe and chill thoroughly.
- Wash and fully dry the cherries. Remove stems and pits. Cut half of the cherries in half, and the rest into quarters. Add cherries to a medium pot with sugar and lemon juice. Cook, stirring occasionally, over medium heat for 3 to 5 minutes until juices are released.
- Use a slotted spoon to transfer cherries to a large bowl, leaving the juices in the pot on the stovetop.
- In a separate small bowl, add the cornstarch. Remove 2 tablespoons of the hot cherry juice and whisk it into the cornstarch until smooth. Gradually pour the cornstarch mixture back into the pot with the remaining juice, whisking constantly to prevent lumps. Cook, whisking constantly, over medium heat until thick and smooth, about 3 to 5 minutes.
- Pour over the cherries and gently toss to coat. Stir in butter until melted. Add vanilla and almond extract, if using. Refrigerate the filling while you roll out the pie crust. Filling should be cold before adding to the base crust.
- Lightly grease a 9-inch pie pan with cooking spray. Roll out one chilled pie crust to a 12-inch circle. Fit into the pan and spoon in the cooled cherry filling.
- Preheat oven to 400°F. Roll out the second crust and cut into 1/2-inch strips. Arrange over the filling in a lattice pattern. Seal and crimp the edges as desired.
- Whisk egg and milk in a small bowl. Brush over the top crust, then sprinkle with coarse sugar.
- Bake at 400°F for 20 minutes. Lower oven to 375°F and bake an additional 30 to 40 minutes, or until the top is golden and juices bubble through the crust for at least 5 minutes.
- Check the pie after 30 minutes and cover the edges with a pie crust shield if browning too quickly. Let the pie cool on a wire rack for at least 3 to 4 hours before slicing.
- The filling sets as it cools. Cutting too early will result in a runny pie. Once fully cooled, slice and serve, or cover and refrigerate to serve the next day.
Notes
- Tip 1: You’ll need about 1-½ pounds total cherries. I like using half dark sweet cherries and half Rainier, but you can use all of one type if preferred.
- Tip 2: If using sour cherries, increase the sugar to ¾ to 1 cup, depending on how sweet you like it.
- Tip 3: Frozen cherries work too—halve or quarter them while still frozen, and follow the recipe as written. The bake time may be a bit longer.
- Tip 4: To make a lattice crust, cut the top pie dough into even strips about 1/2-inch wide and weave them over and under to create a crisscross pattern.
- Tip 5: Store any leftover cherry pie covered in the fridge for up to 5 days.
- Tip 6: To freeze, wrap the fully baked and cooled pie tightly and store it in the freezer for up to 3 months.