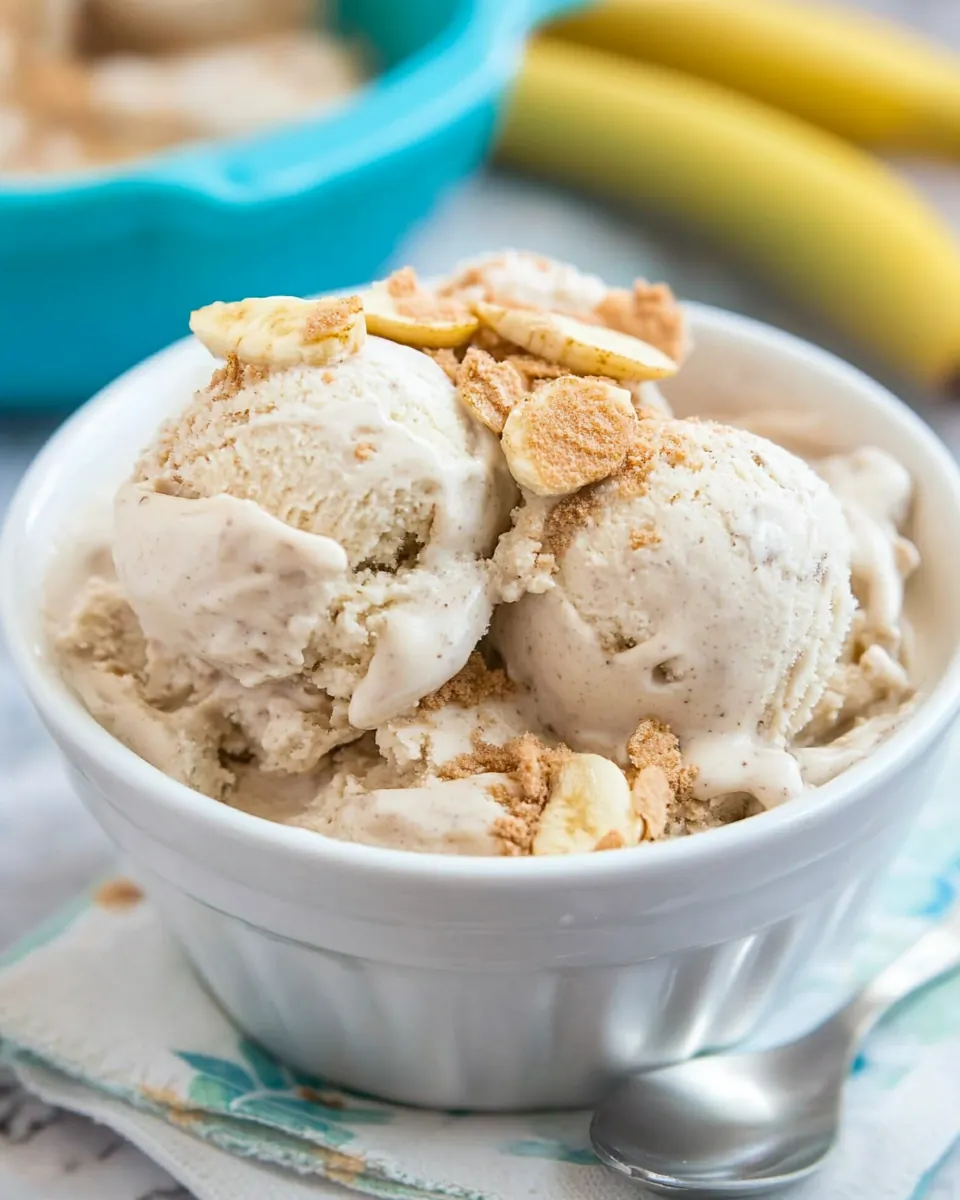
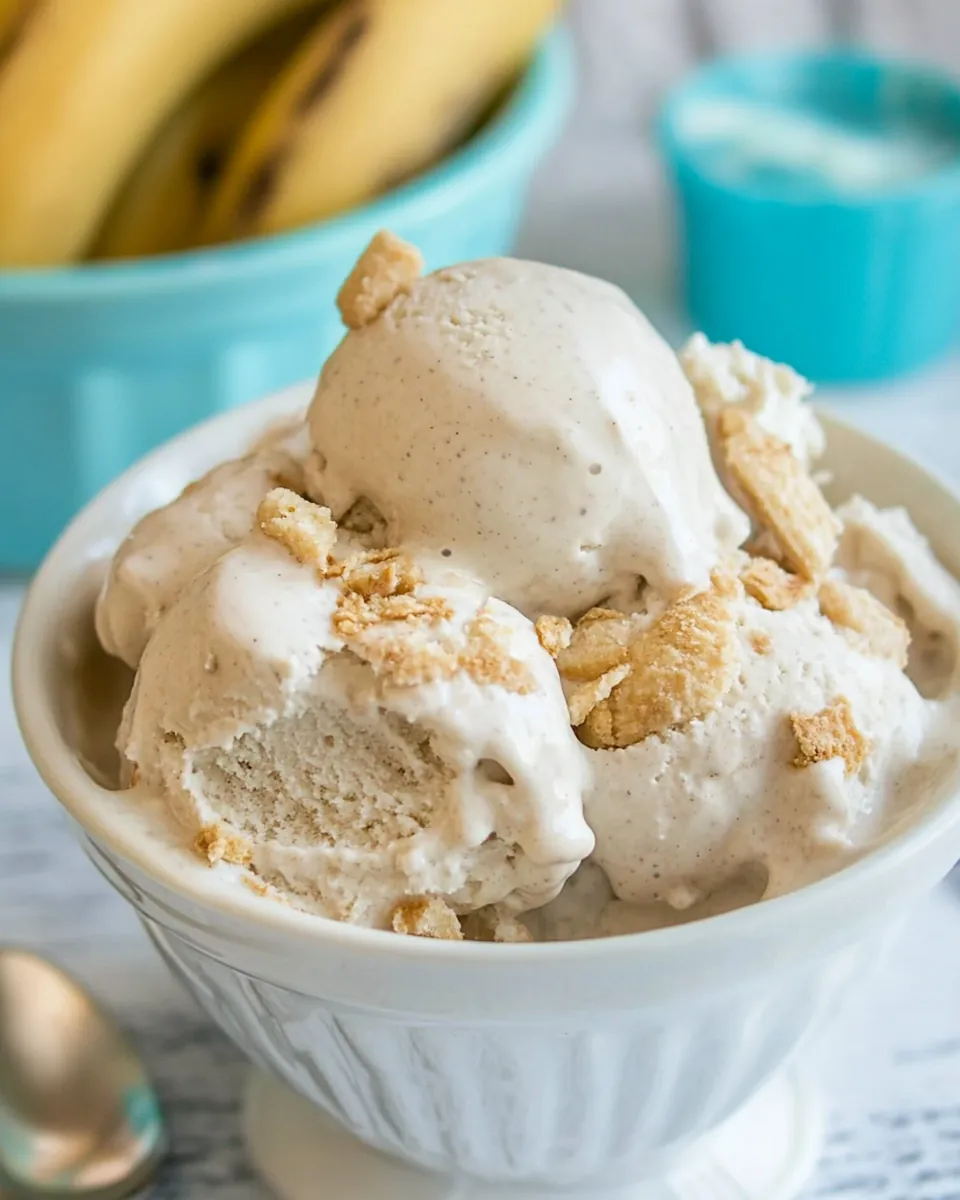
Banana Pudding Ice Cream
I can’t think of a more comforting dessert than Banana Pudding Ice Cream. This sweet treat always brings back memories of summer afternoons spent on my grandmother’s porch, where she would whip up her famous banana pudding. But this recipe takes it a step further, blending that classic flavor into a creamy, dreamy ice cream. There’s something truly magical about the way ripe bananas, rich cream, and crunchy Nilla wafers meld together in this frozen delight. It’s the perfect way to beat the summer heat, and I guarantee you’ll find yourself grabbing a second scoop—if not a third!
Recipe Snapshot
2 hr 10 mins
120 mins
10 mins
Hard
300 kcal
3 g
Gluten-Free, Low FODMAP
18 g
Frying Pan, Wooden Spoon, Whisk, Mixing Bowl
The Charm of This Banana Pudding Ice Cream
It’s a Crowd-Pleaser
Whenever I serve Banana Pudding Ice Cream, I see smiles all around the table. It’s truly a dessert that brings people together, and everyone seems to have a nostalgic memory associated with bananas or pudding. You can almost hear the laughter as friends and family reminisce about their childhood favorites.
Easy to Make
You don’t need to be a master chef to whip up this delightful ice cream. With just a few ingredients and some simple steps, you’ll have a homemade treat that rivals anything from the store. I love that I can take a lazy afternoon and turn it into something special with this recipe!
Perfectly Creamy
The texture of Banana Pudding Ice Cream is what truly sets it apart. Thanks to the combination of half and half, heavy whipping cream, and beaten eggs, every bite is rich, smooth, and oh-so-satisfying. It’s a dessert that feels indulgent without being overwhelming.
Customizable Delight
What I adore about this recipe is its flexibility. Want to add a swirl of chocolate or a handful of nuts? Go for it! You can easily personalize your ice cream to fit your cravings. This recipe is an excellent base for all sorts of delicious additions.
Seasonal Pleasure
Even though I associate Banana Pudding Ice Cream with summer, it’s truly a year-round dessert. Whether you’re hosting a barbecue, a birthday party, or simply craving something sweet, this recipe fits perfectly into any occasion.
Great for Any Skill Level
Even if you’re new to making ice cream, this recipe is approachable and forgiving. It’s a fun project that allows you to experiment and learn without feeling overwhelmed. I often recommend it to friends who are just starting their culinary journey.
Ingredients You’ll Need for Banana Pudding Ice Cream
The ingredients for Banana Pudding Ice Cream are simple yet delightful. Each plays a crucial role in creating that classic banana pudding flavor, while the combination of textures makes this treat unforgettable. The key players in this recipe are ripe bananas, which provide natural sweetness and flavor, and Nilla wafers, adding a satisfying crunch. Together, these ingredients create a harmonious balance that is simply irresistible.
- 1 1/2 cups half and half – This creamy base is essential for giving the ice cream its rich and velvety texture, ensuring that every scoop is smooth and satisfying.
- 1/2 cup packed brown sugar – Adds depth and a hint of caramel flavor, enhancing the sweetness of the bananas.
- 1/2 cup white sugar – Balances the flavors and helps create a creamy consistency.
- 1/8 teaspoon salt – A crucial touch that enhances the overall flavor, making the sweetness pop.
- 2 eggs, beaten – These contribute to the ice cream’s richness and help create a smooth texture.
- 1 cup heavy whipping cream – This adds a luxurious creaminess that elevates the ice cream to the next level.
- 1 1/2 teaspoons vanilla extract – A classic flavor enhancer that complements the sweetness of the bananas.
- 2 very ripe bananas, mashed – The star of the show, providing natural sweetness and a vibrant banana flavor.
- 1 cup crushed Nilla wafers – These add a delightful crunch and are reminiscent of traditional banana pudding.
Preparation Steps for Banana Pudding Ice Cream
Making Banana Pudding Ice Cream is a delightful process that fills your home with the comforting scent of sweet bananas and cream. Let’s dive into the steps to create this heavenly dessert. It’s best to gather all your ingredients beforehand, so you can enjoy the process without interruptions.
- In a saucepan over medium-low heat, combine half and half, brown sugar, white sugar, and salt. Stir continuously until the sugar dissolves, which should take about five minutes. Look for the mixture to become warm and slightly steamy but not boiling. This step is crucial for ensuring all the flavors meld together.
- Once the sugar has dissolved, remove the saucepan from heat. In a medium bowl, place the beaten eggs. While whisking, gradually add about half of the warm sugar mixture to the eggs. This helps temper the eggs, preventing them from curdling. You want to see the eggs begin to lighten in color, indicating they’re mixing well with the warm liquid.
- Pour the egg mixture back into the saucepan with the remaining half and half mixture. Stir it all together until well combined. This will create a base full of flavor and richness.
- Now, stir in the heavy whipping cream. This is where the magic happens! As you mix, you’ll notice a silky texture forming, and the mixture should become thick enough to coat the back of a spoon. Keep cooking over medium heat, stirring frequently, for about five to ten minutes.
- After the mixture has thickened, remove the saucepan from heat and stir in the vanilla extract. This adds a wonderful aroma and flavor to the base. Let the mixture cool slightly before pouring it through a fine-meshed sieve into a bowl. This step helps remove any curdled bits or lumps, ensuring a smooth ice cream.
- Allow the mixture to cool to room temperature. This can take some time, so you can speed up the process by placing it in the fridge for about 30 minutes. It’s important not to rush this step if you want a creamy texture in your ice cream.
- Once cooled, stir in the mashed bananas. You want to mix them in thoroughly, creating a beautiful blend of flavors that will shine through in your ice cream.
- Pour the mixture into your ice cream maker and follow the manufacturer’s directions to freeze. It’s exciting to watch as the mixture transforms into creamy ice cream!
- About five minutes before the end of freezing time, add in the crushed Nilla wafers. This is where you add that signature crunch, reminiscent of classic banana pudding.
- If your ice cream is too soft for your liking after it’s finished, place it in the freezer for about one hour to firm up. This helps achieve the perfect scoopable texture.
Things Worth Knowing
- Making ice cream base from scratch allows you to control the sweetness and flavor, ensuring it’s just right for your taste.
- Using very ripe bananas enhances the flavor significantly, so don’t skip this detail!
- Tempering the eggs properly is crucial; this prevents them from scrambling and ensures a smooth base.
- For a more intense banana flavor, consider adding a splash of banana puree to the mixture.
Tips and Tricks about Banana Pudding Ice Cream
Whether you’re a novice or seasoned ice cream maker, there are always ways to improve your technique. Here are some tips to enhance your experience with Banana Pudding Ice Cream.
- Storage: Keep your ice cream in an airtight container to prevent ice crystals from forming, ensuring that it stays creamy and delicious.
- Freezing: If you have any leftovers, you can freeze them. Just remember to let it sit at room temperature for a few minutes before scooping.
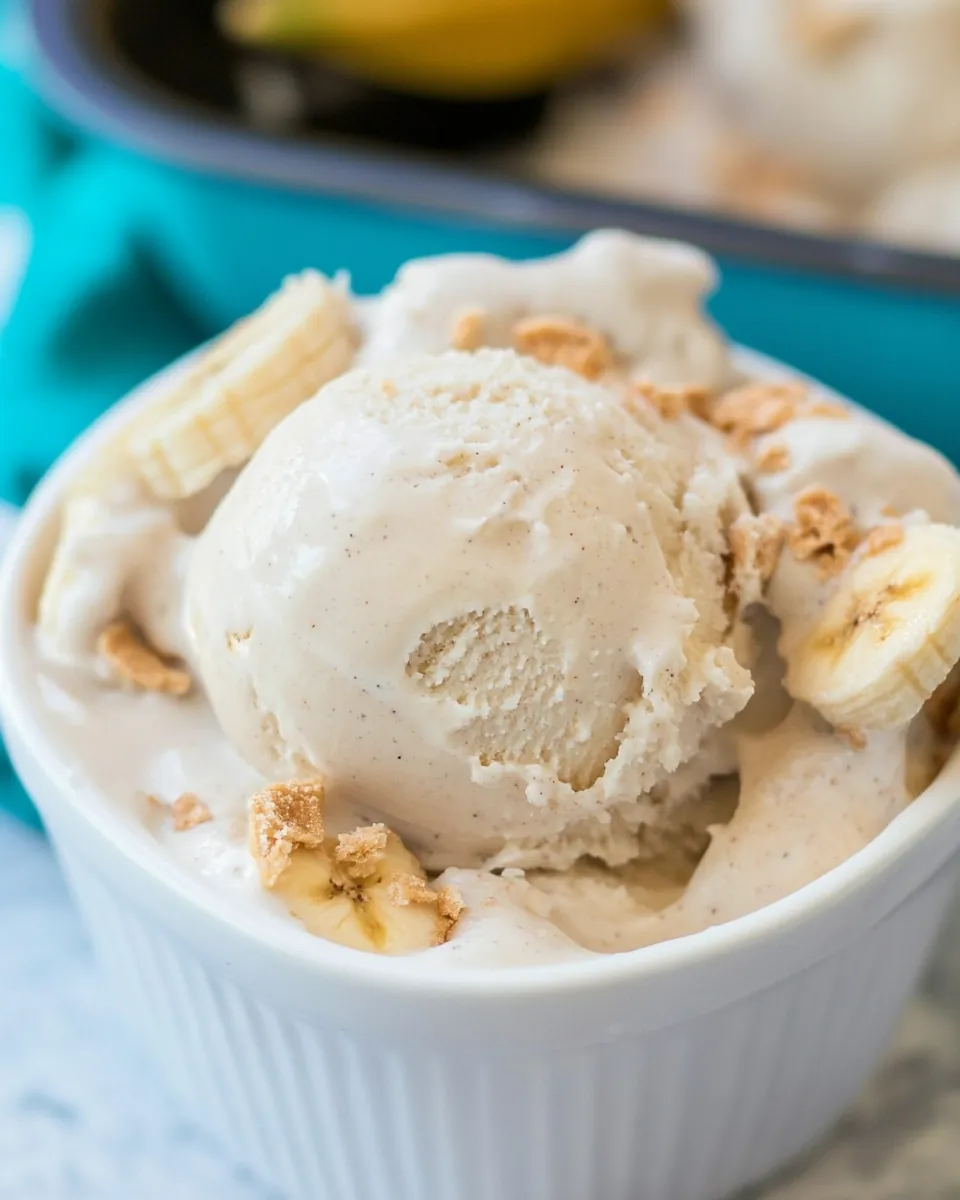
- Serving Suggestions: Try serving this ice cream with slices of fresh banana or a drizzle of caramel sauce for an extra indulgence.
- Texture Tips: If your ice cream is too hard after freezing, let it sit at room temperature for about five minutes before scooping to get that perfect texture.
- Mix-ins: Feel free to experiment with different mix-ins like crushed cookies or even chocolate chips for a fun twist!
Accompaniments for Banana Pudding Ice Cream
When it comes to serving Banana Pudding Ice Cream, the possibilities are endless. Below are some ideas to elevate your dessert experience:
- Fresh Fruits: Serve with sliced strawberries or blueberries for a refreshing contrast to the creamy ice cream.
- Cookies: Pair with freshly baked cookies, such as chocolate chip, to add a delightful crunch.
- Garnishes: Top with whipped cream and a sprinkle of crushed Nilla wafers for that traditional banana pudding vibe.
- Occasions: This ice cream is perfect for summer barbecues, birthday parties, or simply as a special treat on a warm day.
- Storage Tip: If you’re serving a large group, consider putting out an assortment of toppings so everyone can customize their servings.
FAQ
Conclusion
The Banana Pudding Ice Cream is a delightful treat that captures the essence of summer in every scoop. Its creamy texture and the nostalgic flavor of bananas make it a perfect dessert for any occasion. I encourage you to give this recipe a try and share it with friends and family. Once you do, I’m sure it will become a staple in your dessert repertoire!
Banana Pudding Ice Cream
Ingredients
Equipment
Method
- In a saucepan over medium-low heat, combine the half and half, brown sugar, white sugar, and salt. Stir until sugar dissolves, about 5 minutes.
- Take saucepan off heat. Place eggs in a medium bowl. While whisking, gradually add about half the sugar mixture to the eggs to not curdle.
- Pour egg mixture into saucepan with the half and half. Stir in heavy whipping cream.
- Cook over medium heat, stirring frequently, until mixture thickens and coats the back of a spoon, about 5 to 10 minutes.
- Take saucepan off heat and stir in vanilla extract. Pour mixture through a fine-meshed sieve into a bowl and let cool to room temperature.
- Once cooled, stir in mashed bananas and pour into an ice cream maker.
- Use manufacturer's directions to freeze. Add crushed Nilla wafers about 5 minutes before end of freezing time.
- If ice cream is too soft for your liking at this point, place in freezer for about 1 hour.
Notes
- Tip 1: Store your ice cream in an airtight container to maintain freshness.
- Tip 2: Let the ice cream sit at room temperature for a few minutes before scooping for easier service.
- Tip 3: Pair with fresh fruit to enhance the flavor.
- Tip 4: Experiment with mix-ins for a fun twist.
- Tip 5: Serve on a hot day for a refreshing treat!