Peanut Butter Caramel Twix Bars
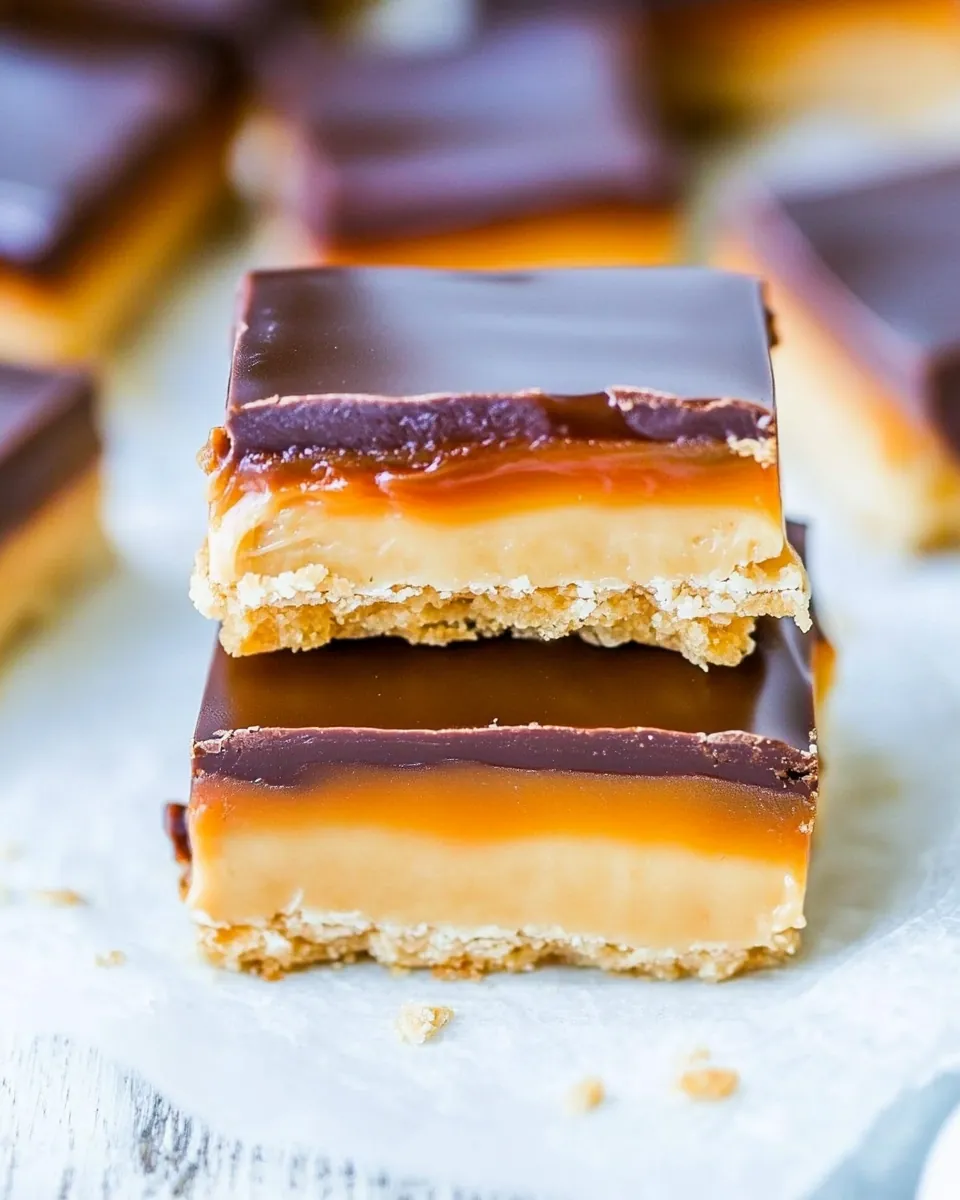
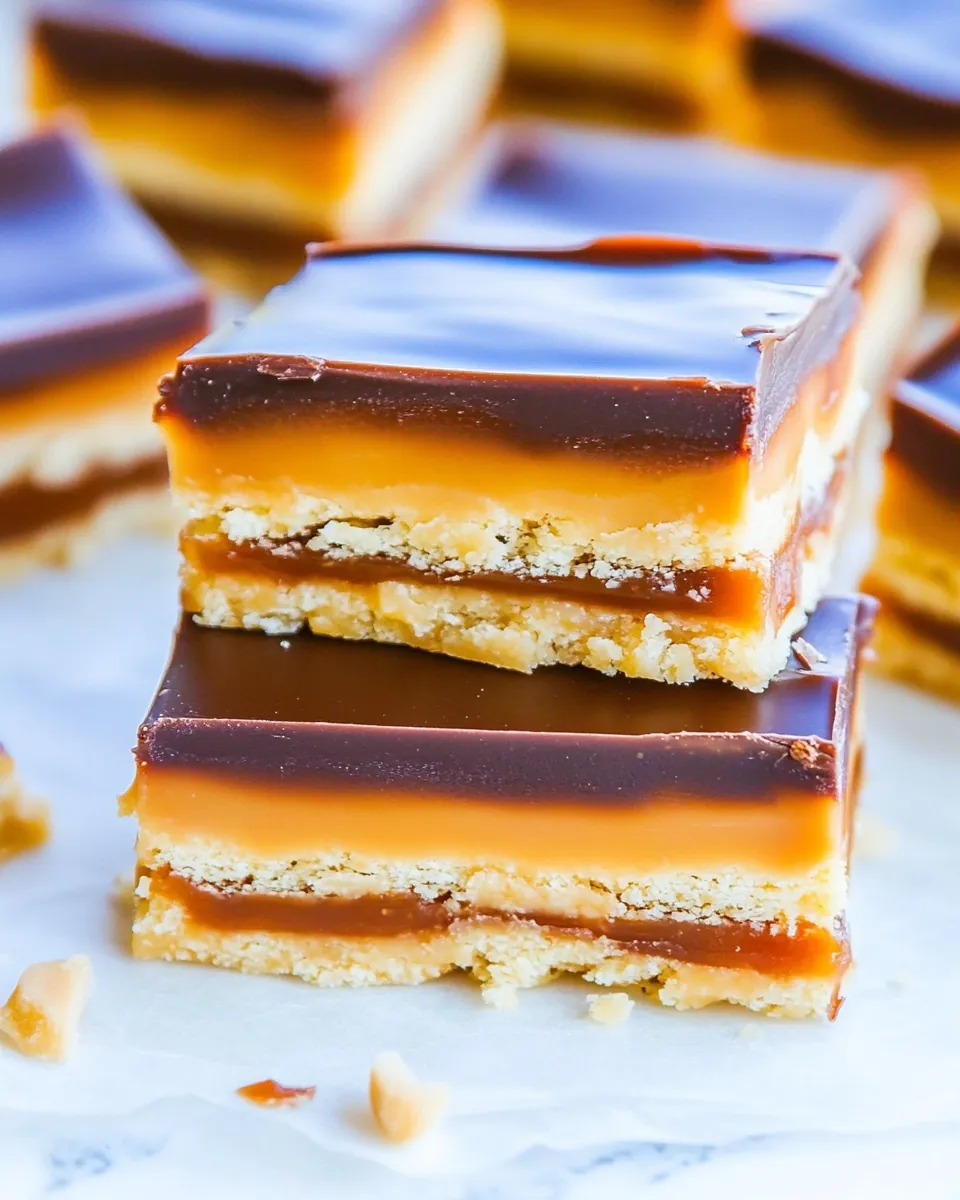
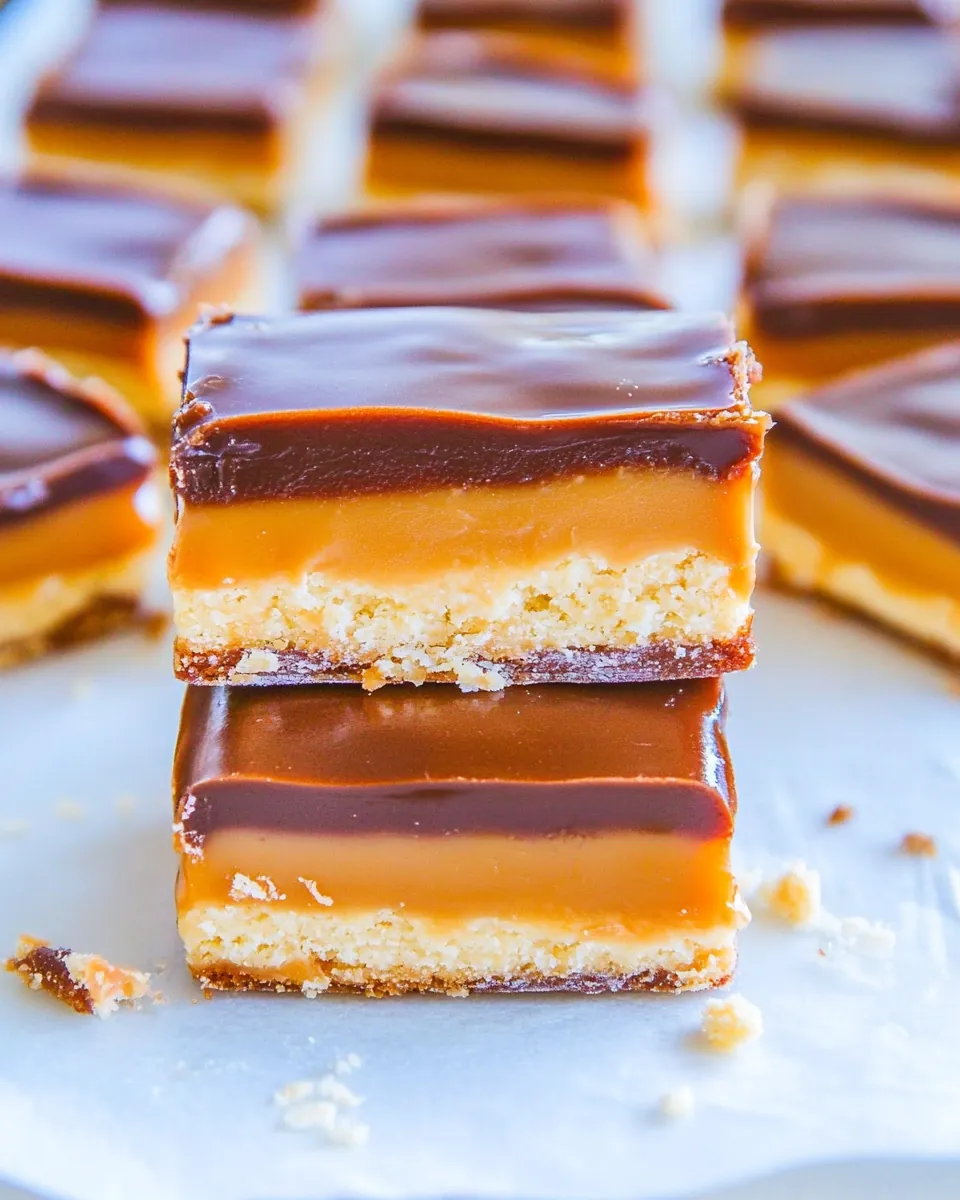
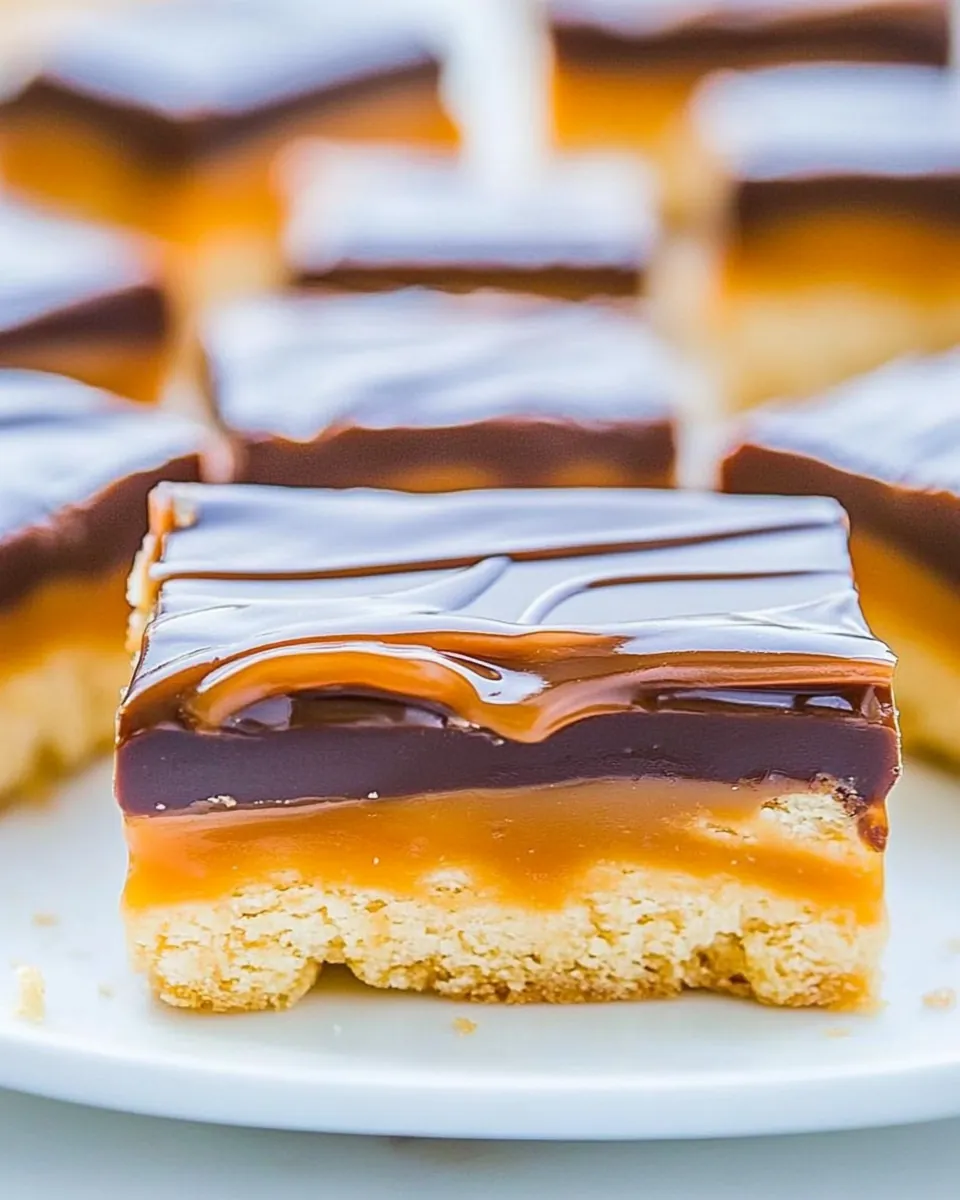
Whenever I’m craving a sweet treat, I often think of the indulgent Peanut Butter Caramel Twix Bars. These bars are the perfect combination of a crispy shortbread crust, a creamy peanut butter filling, a luscious caramel layer, and a rich chocolate topping. They remind me of those carefree afternoons spent baking with friends, laughter filling the kitchen as we made a mess with flour and sugar. The aroma of melted chocolate and warm caramel wafting through the air is an irresistible invitation to gather around and dig in. Each bite provides a delightful contrast in textures—crunchy, chewy, and smooth—all working together to create a symphony of flavors that is simply unforgettable.
Recipe Snapshot
27 mins
15 mins
12 mins
Medium
360 kcal
5 g
Gluten-Free, Low FODMAP
20 g
Oven, Baking Sheet, Frying Pan, Mixing Bowl, Wooden Spoon
The Appeal of This Peanut Butter Caramel Twix Bars
Irresistible Flavor Combination
It’s hard to resist the indulgence of Peanut Butter Caramel Twix Bars. The blend of sweet and salty from the creamy peanut butter and rich caramel makes each bite a flavor explosion. You’ll find yourself reaching for just one more piece, and then another!
Perfect for Any Occasion
These bars are incredibly versatile. Whether you’re preparing for a holiday gathering, a birthday party, or just a cozy night in, they’re sure to impress. Their beautiful layers make them visually stunning on any dessert table.
Simple to Make
You don’t need to be a pastry chef to whip up these delicious bars. The ingredients are straightforward, and the steps are easy to follow. You’ll gain confidence as you bring together each layer, resulting in a treat that looks and tastes gourmet.
Make Ahead and Store
One of the best things about these bars is that they can be made in advance. You can prepare them a day or two ahead of the intended enjoyment and store them in the refrigerator or freezer. This makes them a great option for meal prep or last-minute gatherings.
Customizable Layers
Feel free to tailor the layers to your liking! You could use milk chocolate instead of semi-sweet or add nuts for extra crunch. This flexibility keeps the recipe exciting and allows for personal touches.
Kid-Friendly Fun
Making Peanut Butter Caramel Twix Bars can be a delightful activity for kids. They love helping with the mixing and layering, and it’s a great opportunity to teach them about baking while creating memories together.
Peanut Butter Caramel Twix Bars Shopping List
The ingredients for Peanut Butter Caramel Twix Bars are a harmonious mix that contributes to their unique taste. The star ingredient, creamy peanut butter, provides a nutty base while unsalted butter adds richness. Confectioners’ sugar lends sweetness, while semi-sweet chocolate chips create a delightful topping. Together, these components work in perfect unison to create a decadent dessert that’s hard to resist.
- ½ cup unsalted butter, extremely soft (1 stick) – This gives the crust its rich flavor and texture.
- 1 cup all-purpose flour – The foundation of the shortbread crust, providing stability and crunch.
- ⅓ cup confectioners’ sugar – Adds sweetness to the crust without grittiness.
- 1 tablespoon cornstarch – Helps create a tender crust that holds together well.
- 1 teaspoon vanilla extract – Enhances the flavor profile.
- 2 tablespoons unsalted butter, melted – Used in the peanut butter filling for creaminess.
- 1 cup creamy peanut butter, like Jif or Skippy – This provides the characteristic peanut flavor; avoid natural versions that are too runny.
- ½ cup confectioners’ sugar – Sweetens the filling while maintaining a smooth texture.
- ½ teaspoon vanilla extract – Adds depth to the peanut butter filling.
- about 8 ounces salted caramel sauce – This layer adds sweetness and a chewy texture; feel free to eyeball the amount.
- 1 ½ to 1 ¾ cups semi-sweet chocolate chips – Creates a delicious chocolate topping that complements the other flavors.
- 2 to 3 tablespoons vegetable shortening, optional but recommended – Ensures smooth melting of the chocolate and prevents it from hardening too firmly.
The Method for Peanut Butter Caramel Twix Bars
Creating Peanut Butter Caramel Twix Bars is an enjoyable process that results in a delightful dessert. Each stage builds upon the last to create a beautifully layered treat. Make sure to follow each step carefully for the best results!
Preheat your oven to 350F. While it’s heating, line an 8-inch square baking pan with aluminum foil, ensuring to leave an overhang for easy removal later. This is a crucial step to make cleanup easier!
In a medium mixing bowl, combine the unsalted butter, all-purpose flour, confectioners’ sugar, cornstarch, and vanilla extract. Use a pastry cutter or your fingers to mix until you achieve a sandy, crumbly mixture. This consistency is important for the crust.
Transfer the crumbly mixture to the prepared pan. Using your fingertips, press down the mixture to form an even flat layer for the crust. Be sure to distribute it evenly to ensure consistent baking.
Pierce the crust with a fork haphazardly in a dozen places. This lets steam escape while it bakes, preventing a soggy crust. Bake for 12 to 15 minutes until the crust is just set. It should remain pale, not golden, and have a soft, crusted surface.
While the crust bakes, prepare the peanut butter filling. In a medium microwave-safe bowl, melt the butter for about 1 minute. Add the creamy peanut butter, confectioners’ sugar, and the vanilla extract. Stir until the mixture is smooth and well combined.
Once the crust is done baking, you can spread the peanut butter filling over it while it’s still warm. This helps the filling to adhere better. The filling will be thick, so take time to spread it evenly without tearing the crust.
Next, pour the salted caramel sauce over the peanut butter filling. It should spread out on its own, but use a knife if needed to ensure it reaches the corners and edges of the pan.
Now, let’s make the chocolate layer. In a clean medium microwave-safe bowl, combine the semi-sweet chocolate chips and vegetable shortening. Heat in the microwave, stopping every 15 seconds to stir until smooth and melted.
Pour the melted chocolate over the caramel layer. If desired, smooth it very lightly with an offset spatula or knife. This adds a nice finish to the bars.
Cover the pan with aluminum foil to prevent any fridge odors from affecting your dessert. Place it in the refrigerator for at least 3 hours, or overnight if you can wait. This chilling time is crucial for setting the layers.
After the bars are chilled, lift them out of the pan using the overhanging foil. Slice into squares or bars. If they’re too cold, let them sit at room temperature for a few minutes before cutting.
Store any leftover bars in the refrigerator for up to 10 days or in the freezer for up to 3 months. Just remember, they might lose some snap if stored too long, but they’ll still be delicious!
Things Worth Knowing
- Chilling is Key: Make sure to refrigerate the bars for a minimum of three hours. This allows the layers to set properly, making them easier to cut and eat.
- Watch the Baking Time: Keep an eye on your crust while it bakes. You want it set but not browned. Overbaking can lead to a dry texture.
- Melting Chocolate: When melting chocolate, do so in short bursts in the microwave and stir often. This prevents it from burning and allows for a smooth finish.
- Use Quality Ingredients: The flavor of your bars will depend greatly on the quality of ingredients, especially the peanut butter and chocolate. Opt for brands you trust.
- Presentation Matters: To make your bars look extra appealing, cut them into even squares and consider drizzling extra melted chocolate on top.
Helpful Notes about Peanut Butter Caramel Twix Bars
When making Peanut Butter Caramel Twix Bars, here are some tips to enhance your experience:
- Storage: Keep the bars in an airtight container in the refrigerator for up to 10 days. For longer storage, freeze them, and they’ll keep for up to 3 months.
- Freezing: If freezing, make sure to separate layers with parchment paper to avoid sticking.
- Pairing: These bars are delicious on their own, but you can also serve them with a scoop of vanilla ice cream or a dollop of whipped cream for an extra treat.
- Customizations: Feel free to add nuts, or swap out the chocolate for white chocolate to create a new flavor profile!
- Serving Tips: For the best texture, allow the bars to warm slightly at room temperature before serving if stored in the refrigerator.
Side Dish Ideas for Peanut Butter Caramel Twix Bars
Serving Peanut Butter Caramel Twix Bars can be just as fun as making them! Here are some ideas:
- Fresh Fruit: Pair these bars with fresh berries or slices of apples for a refreshing contrast to the rich sweetness.
- Ice Cream: A scoop of vanilla or chocolate ice cream complements the flavors wonderfully. Consider a drizzle of chocolate sauce on top!
- Milk or Coffee: Serve with a glass of cold milk or a cup of coffee to balance the sweetness and enhance the dessert experience.
- Picnics and Gatherings: These bars travel well, making them perfect for potlucks, picnics, or any gathering.
- Seasonal Celebrations: They’re a great addition to holiday festivities, offering a sweet treat that everyone will love.
- Storage Tips: Always use airtight containers for leftovers to keep them fresh. They can also be frozen for future enjoyment.
FAQ
Conclusion
In summary, Peanut Butter Caramel Twix Bars are a decadent treat that combines creamy peanut butter, luscious caramel, and rich chocolate on a buttery shortbread crust. These bars are not only delicious but also versatile and easy to make. I encourage you to try this recipe for your next gathering or a sweet treat at home. Once you take your first bite, you’ll see why they are a favorite among all ages!
Peanut Butter Caramel Twix Bars
Ingredients
Equipment
Method
- Preheat your oven to 350F. While it's heating, line an 8-inch square baking pan with aluminum foil, ensuring to leave an overhang for easy removal later. This is a crucial step to make cleanup easier!
- In a medium mixing bowl, combine the unsalted butter, all-purpose flour, confectioners’ sugar, cornstarch, and vanilla extract. Use a pastry cutter or your fingers to mix until you achieve a sandy, crumbly mixture. This consistency is important for the crust.
- Transfer the crumbly mixture to the prepared pan. Using your fingertips, press down the mixture to form an even flat layer for the crust. Be sure to distribute it evenly to ensure consistent baking.
- Pierce the crust with a fork haphazardly in a dozen places. This lets steam escape while it bakes, preventing a soggy crust. Bake for 12 to 15 minutes until the crust is just set. It should remain pale, not golden, and have a soft, crusted surface.
- While the crust bakes, prepare the peanut butter filling. In a medium microwave-safe bowl, melt the butter for about 1 minute. Add the creamy peanut butter, confectioners’ sugar, and the vanilla extract. Stir until the mixture is smooth and well combined.
- Once the crust is done baking, you can spread the peanut butter filling over it while it’s still warm. This helps the filling to adhere better. The filling will be thick, so take time to spread it evenly without tearing the crust.
- Next, pour the salted caramel sauce over the peanut butter filling. It should spread out on its own, but use a knife if needed to ensure it reaches the corners and edges of the pan.
- Now, let’s make the chocolate layer. In a clean medium microwave-safe bowl, combine the semi-sweet chocolate chips and vegetable shortening. Heat in the microwave, stopping every 15 seconds to stir until smooth and melted.
- Pour the melted chocolate over the caramel layer. If desired, smooth it very lightly with an offset spatula or knife. This adds a nice finish to the bars.
- Cover the pan with aluminum foil to prevent any fridge odors from affecting your dessert. Place it in the refrigerator for at least 3 hours, or overnight if you can wait. This chilling time is crucial for setting the layers.
- After the bars are chilled, lift them out of the pan using the overhanging foil. Slice into squares or bars. If they’re too cold, let them sit at room temperature for a few minutes before cutting.
- Store any leftover bars in the refrigerator for up to 10 days or in the freezer for up to 3 months. Just remember, they might lose some snap if stored too long, but they’ll still be delicious!
Notes
- Tip 1: Keep the bars in an airtight container in the refrigerator for up to 10 days.
- Tip 2: If freezing, make sure to separate layers with parchment paper to avoid sticking.
- Tip 3: These bars travel well, making them perfect for potlucks and gatherings.
- Tip 4: Feel free to add nuts, or swap out the chocolate for white chocolate.
- Tip 5: For the best texture, allow the bars to warm slightly at room temperature before serving.