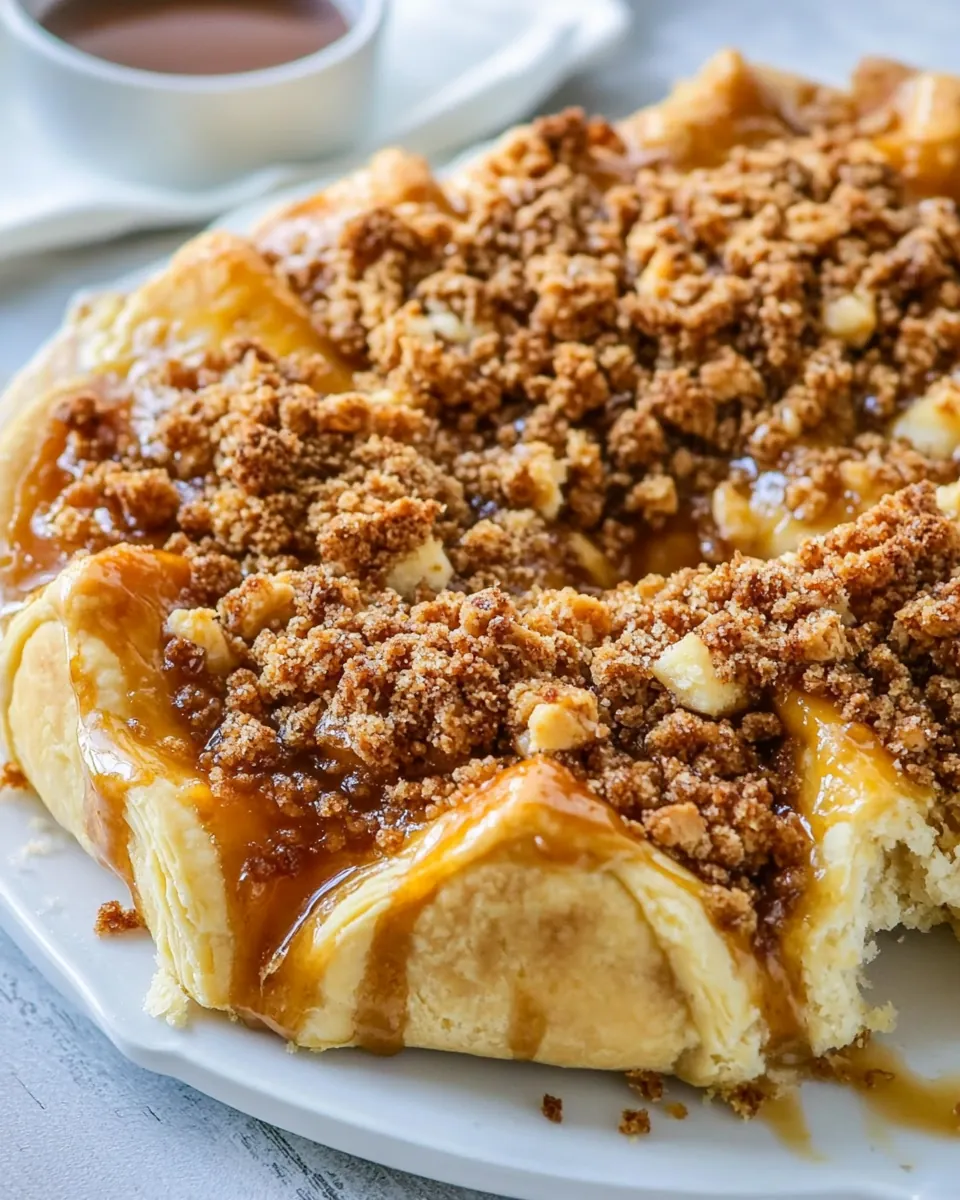
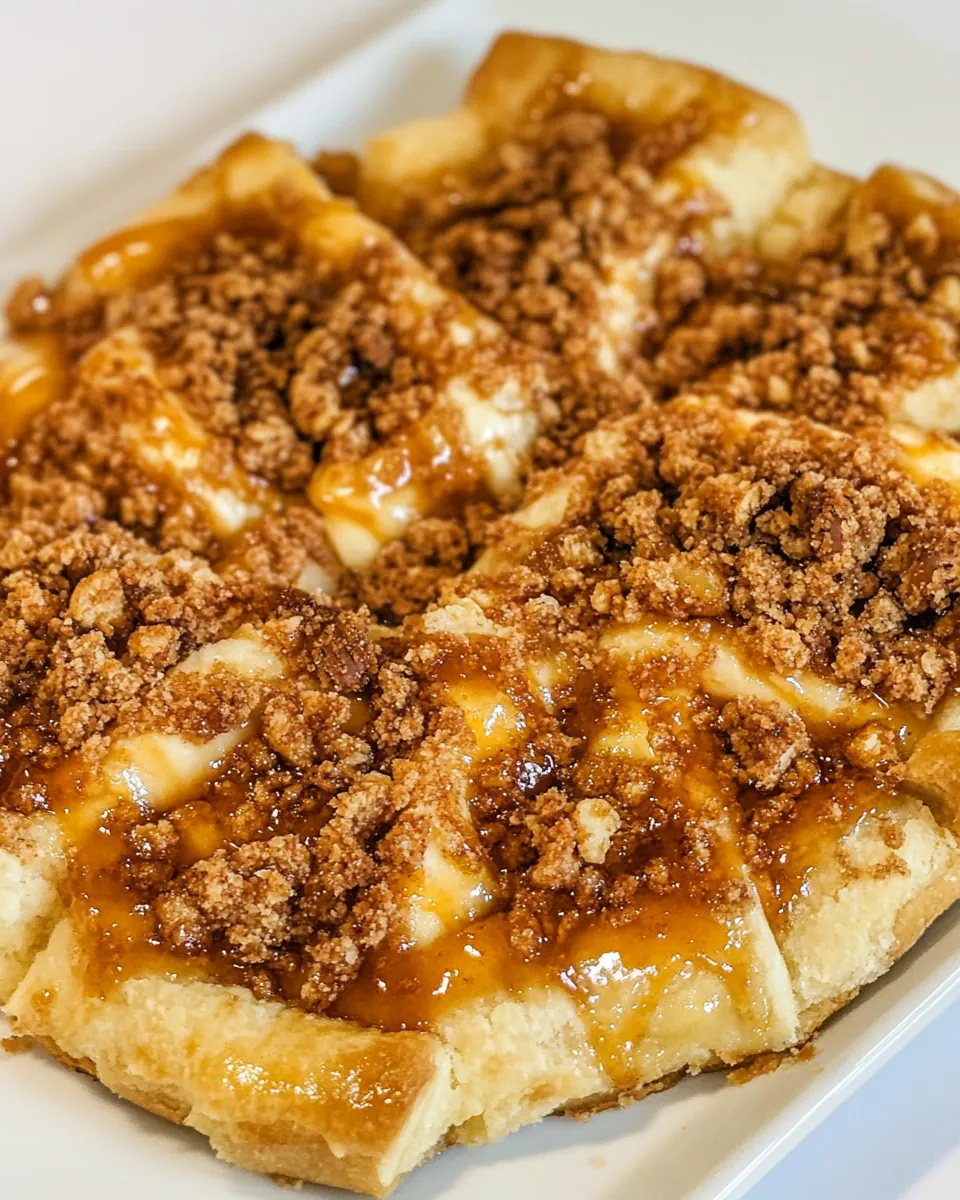
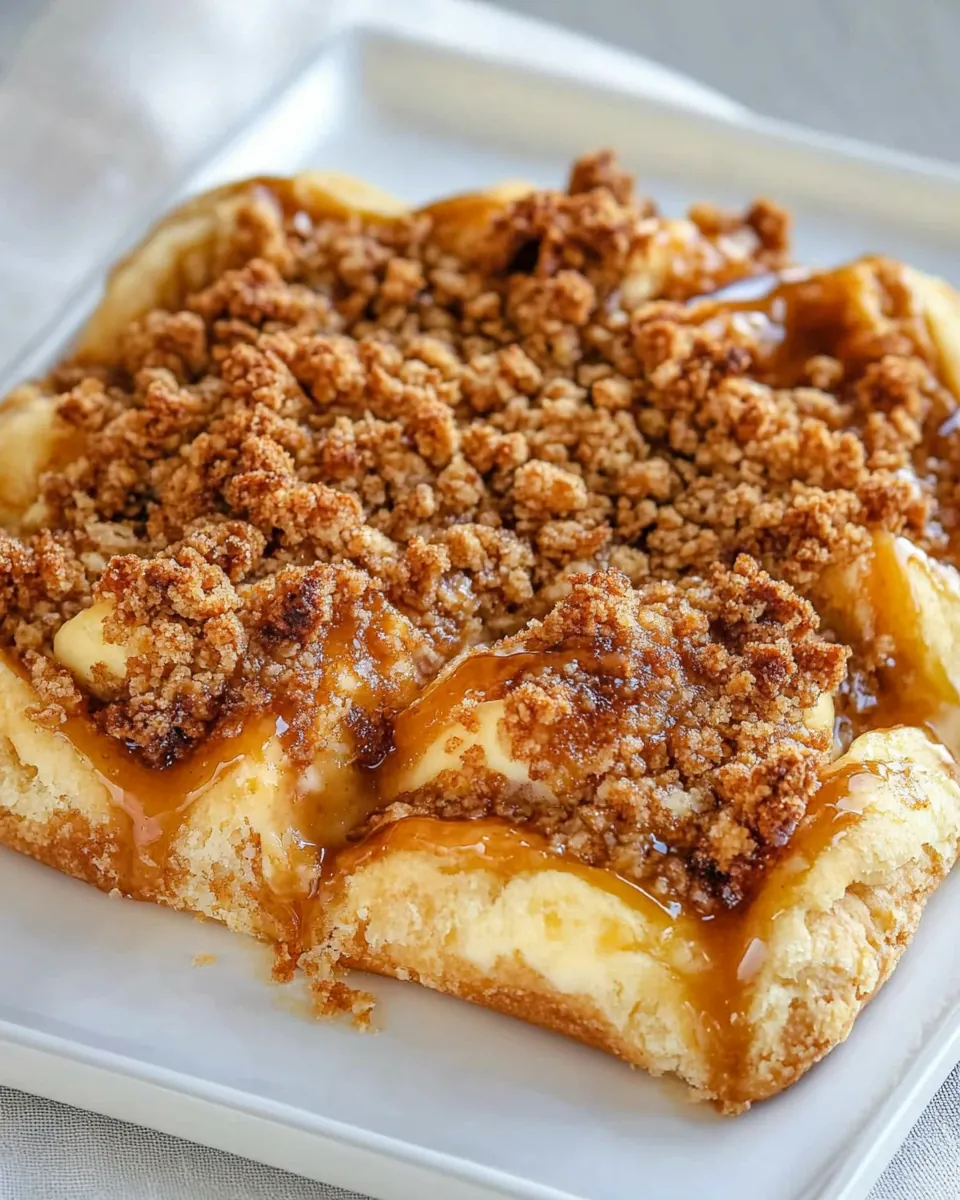
Apple Crisp Cheese Danish
When I think of cozy autumn afternoons, nothing quite captures that feeling like a warm slice of Apple Crisp Cheese Danish. There’s something magical about the combination of flaky pastry, creamy filling, and sweet, spiced apples. It’s a recipe that brings back fond memories of baking with my grandmother, who always had a knack for turning simple ingredients into delightful treats. I remember when I first tried this recipe; the aroma filled our home, inviting everyone to gather in the kitchen. Each bite was a perfect blend of textures and flavors, making it an instant favorite at family gatherings. Whether you’re hosting a brunch or just want a comforting snack, this Apple Crisp Cheese Danish is sure to impress.
Recipe Snapshot
40 mins
10 mins
30 mins
Medium
300 kcal
3 g
Gluten-Free, Low FODMAP
15 g
Oven, Baking Sheet, Frying Pan, Mixing Bowl, Chef’s Knife
Why This Apple Crisp Cheese Danish Hits Different
It’s a Crowd-Pleaser
This Apple Crisp Cheese Danish is perfect for gatherings. Every time I make it, I’m amazed at how quickly it disappears! The combination of sweet apple filling and creamy cheese is irresistible, making it a hit with guests of all ages.
Easy to Prepare
Even if you’re new to baking, this recipe is approachable. With just a few simple steps, you can achieve a professional-looking result. The use of refrigerated crescent rolls means you spend less time on prep and more time enjoying the delicious outcome.
Versatile and Adaptable
While the classic version is wonderful, feel free to get creative! Substitute different fruits or fillings based on what you have at home. It’s a fantastic way to tailor the recipe to your taste or the season.
Perfect for Any Occasion
Whether you’re celebrating a special occasion or just enjoying a quiet evening at home, this Apple Crisp Cheese Danish fits the bill. Serve it for breakfast, as a dessert, or even an afternoon snack with coffee.
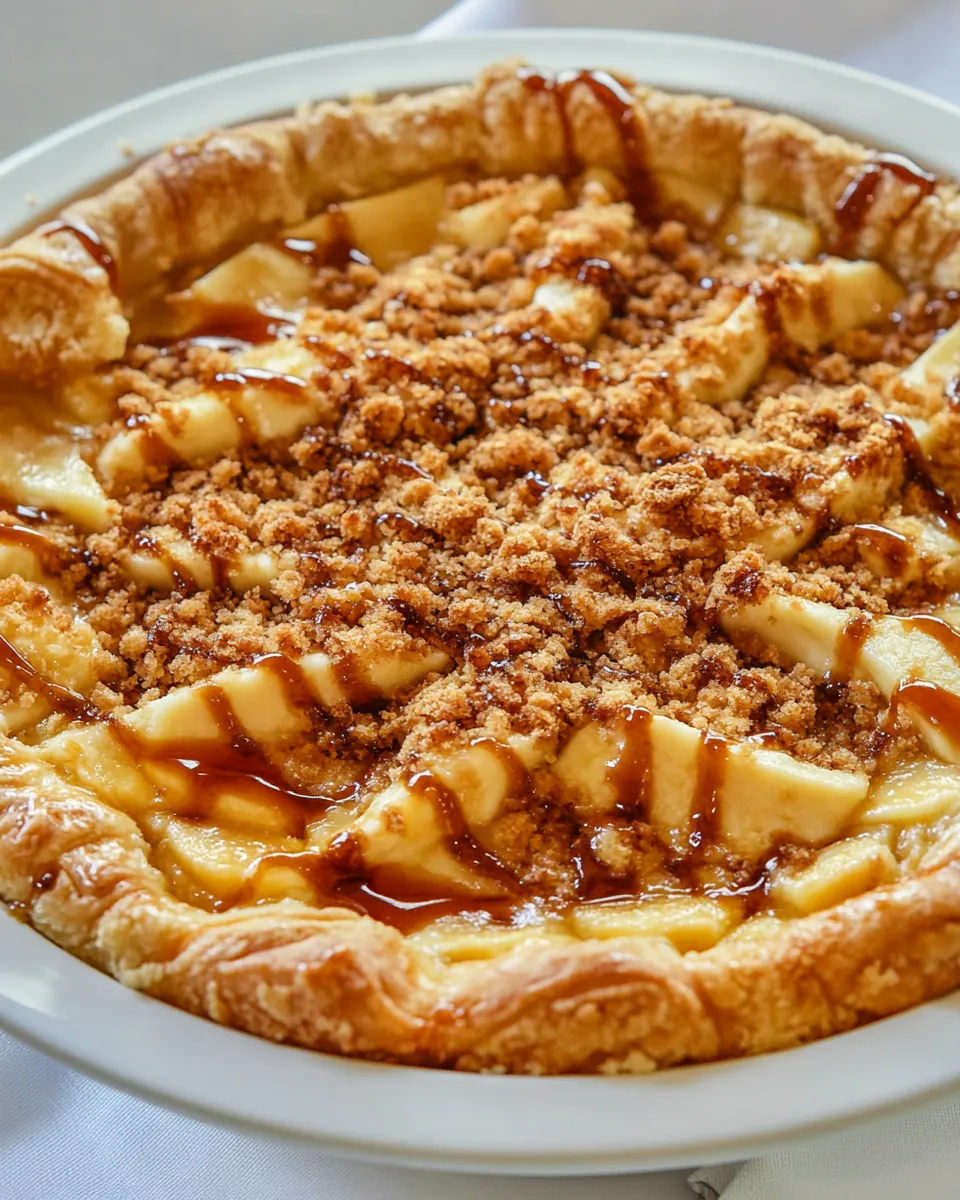
Beautiful Presentation
This Danish not only tastes amazing but also looks stunning. The twisted crescent dough over the filling creates a beautiful visual that’s sure to impress anyone you serve it to.
Deliciously Comforting
There’s something about the warm, gooey filling and buttery pastry that feels like a big hug in dessert form. This recipe truly embodies comfort food and is perfect for chilly fall days.
Recipe Ingredients for Apple Crisp Cheese Danish
Creating the Apple Crisp Cheese Danish involves a delightful combination of flavors and textures. Each ingredient plays a crucial role, from the rich and creamy filling to the sweet apple mixture and the buttery crust. These ingredients come together to create a beautiful and delicious dish that will leave everyone wanting more.
- 1 (8 ounce) package cream cheese, softened – The base of our creamy filling, adding richness and tang.
- 1/3 cup powdered sugar – For sweetness, balancing the tang of the cream cheese.
- 1 egg yolk – Adds richness and helps bind the filling.
- 1/2 teaspoon vanilla extract – Enhances flavors with a subtle sweetness.
- 2 (8 ounce) packages refrigerated crescent rolls – The flaky, buttery base that holds everything together.
- 1 (21 ounce) can apple filling – Provides a sweet and spiced apple flavor that is the star of this dish.
- 1/2 cup all-purpose flour – Used in the crumble topping to create texture.
- 1/3 cup packed brown sugar – Adds depth of flavor and sweetness to the crumble.
- 1/2 cup old-fashioned rolled oats – Provides a chewy texture and nutty flavor in the topping.
- 1 teaspoon ground cinnamon – Adds warmth and spice, complementing the apples perfectly.
- 1/4 cup butter, softened – Helps create a rich and flavorful crumble topping.
- Optional caramel for drizzling – A finishing touch that adds a sweet and decadent element.
Cooking Instructions for Apple Crisp Cheese Danish
Making this Apple Crisp Cheese Danish is a joyful experience. With each step, you’ll see how easy and rewarding it is to create something so delicious. Let’s get started!
Preheat your oven to 350 degrees. This is an essential step that ensures even baking. Take a moment to enjoy the warmth of your kitchen as it heats up.
Spray a 15-inch pizza pan or stone with cooking spray. This will help prevent sticking and ensure easy removal of your Danish once baked. Make sure to cover the entire surface.
In a large bowl, mix together the cream cheese, powdered sugar, egg yolk, and vanilla extract until smooth. I love using a handheld mixer for this, but a whisk will work too. You want the mixture to be creamy and well combined.
Unroll the crescent dough into triangles. Be sure to reserve 4 triangles for later use. This will be used to create the pretty topping on your Danish.
Arrange the triangles on the pizza pan with the points pointing towards the center. Press the seams together to form a circle. This step is important for creating a nice base for your filling.
Using the bottom of a glass, cut a circle in the center of the dough and remove it. This creates a space for the filling to shine through and gives a lovely presentation.
Spread the cream cheese mixture evenly on top of the crescent dough, leaving a margin around the edges. Use a spatula for a smooth layer, and make sure it’s spread evenly.
Spoon the apple filling over the cream cheese filling. Distribute it evenly to ensure each slice gets a generous portion of those sweet apples.
Take the reserved 4 triangles of crescent dough and cut each into 3 strips lengthwise. Twist each strip and drape it over the filling, connecting it to the center and the outer edge of the ring. Don’t worry about perfection; a little irregularity adds charm!
In a bowl, combine the flour, brown sugar, oats, ground cinnamon, and butter. Mix well, using your hands to create a crumbly texture that resembles wet sand. This crumble will add a delightful crunch.
Sprinkle the crumble topping evenly over the apples. This will create a lovely golden crust as it bakes.
Bake for 20 to 25 minutes or until the crescent dough is golden brown and cooked through. Keep an eye on it as baking times can vary based on your oven.
Once baked, remove from the oven and let it cool slightly. Cut into slices and serve warm. Consider placing a ramekin of caramel in the center for drizzling, which adds a lovely finishing touch!
Things Worth Knowing
- Perfect Timing: Allow your Danish to cool slightly before cutting. This makes it easier to slice without tearing any layers.
- Ingredient Temperature: Using room temperature cream cheese makes mixing easier and helps achieve a smoother filling.
- Cinnamon Variations: Experiment with different spices like nutmeg or allspice to personalize the flavor of your crumble topping.
- Serving Suggestions: This Danish is delicious on its own or served with whipped cream or vanilla ice cream for dessert.
Ways to Adapt This Recipe
There are so many ways to personalize your Apple Crisp Cheese Danish. Here are a few tips to adapt the recipe to your liking:
- Storage: Store any leftovers in an airtight container in the fridge. It’s best enjoyed within a few days.
- Freezing: You can freeze the unbaked Danish. Just assemble it, cover tightly, and store in the freezer for up to a month. Bake directly from frozen, adding extra time.
- Flavor Twists: Substitute the apple filling with pears or cherries for a different flavor profile.
- Sweetness Adjustments: Feel free to adjust the amount of powdered sugar in the filling according to your sweetness preference.
- Serving Ideas: This Danish pairs wonderfully with a hot cup of coffee or tea, making it a perfect brunch option.
- Garnishing: Top with chopped nuts or a drizzle of icing for a decorative touch.
How to Enjoy Apple Crisp Cheese Danish
- Breakfast Delight: Serve warm for a comforting breakfast that feels like a treat.
- Brunch Centerpiece: This Danish can be the star of your brunch table and pairs wonderfully with fresh fruit.
- Cozy Evenings: Enjoy a slice with a hot cup of tea or coffee during chilly evenings.
- Family Gatherings: Perfect for family get-togethers; it’s sure to impress both kids and adults alike.
- Seasonal Treat: Ideal for fall gatherings or holiday festivities, bringing warmth and joy to any occasion.
FAQ
Conclusion
The Apple Crisp Cheese Danish is a delightful blend of flavors that truly warms the heart. With its comforting texture and sweet apple filling, it’s a recipe you’ll want to share with friends and family. Don’t hesitate to give it a try; it might just become a new favorite in your home!
Apple Crisp Cheese Danish
Ingredients
Equipment
Method
- Preheat your oven to 350 degrees.
- Spray a 15-inch pizza pan or stone with cooking spray.
- In a large bowl, mix together the cream cheese, powdered sugar, egg yolk, and vanilla extract until smooth.
- Unroll the crescent dough into triangles. Reserve 4 triangles for later.
- Arrange the triangles on the pizza pan with the points pointing towards the center.
- Using the bottom of a glass, cut a circle in the center of the dough and remove it.
- Spread the cream cheese mixture evenly on top of the crescent dough, leaving a margin around the edges.
- Spoon the apple filling over the cream cheese filling.
- Take the reserved 4 triangles of crescent dough and cut each into 3 strips lengthwise.
- Twist each strip and drape it over the filling, connecting it to the center and the outer edge of the ring.
- In a bowl, combine the flour, brown sugar, oats, ground cinnamon, and butter.
- Mix well, using your hands to create a crumbly texture.
- Sprinkle the crumble topping evenly over the apples.
- Bake for 20 to 25 minutes or until the crescent dough is golden brown.
- Cut into slices and serve warm.
Notes
- Tip: Best served the same day.