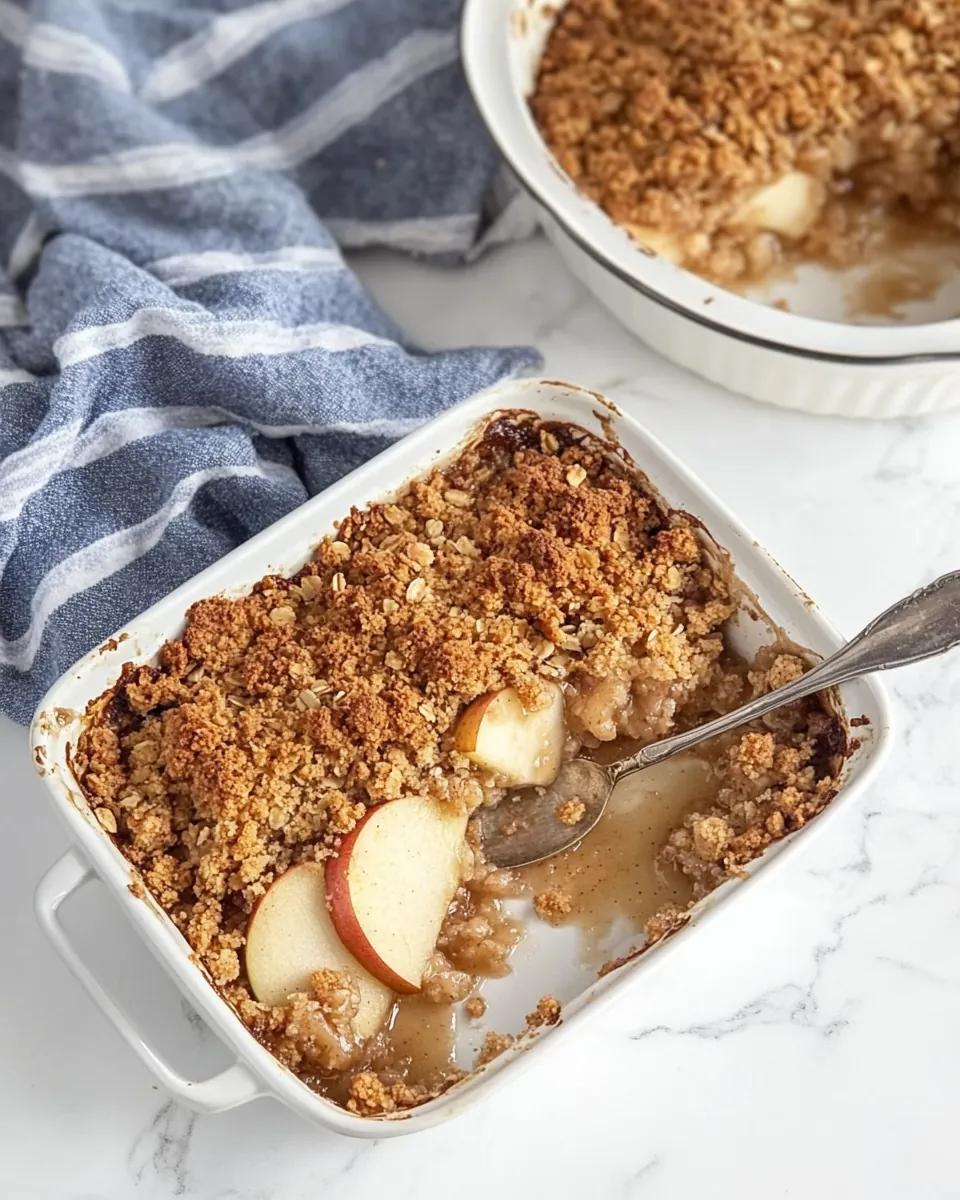
Apple Crisp
There’s something truly special about the smell of baking Apple Crisp wafting through the house. I remember the first time I made it; it was a crisp autumn afternoon, and the leaves were turning vibrant shades of orange and red. I wanted to create a dish that not only warmed my home but also warmed my heart. The combination of sweet, tender apples with a crunchy topping is simply irresistible. Each bite is a nostalgic reminder of family gatherings and cozy evenings spent around the kitchen table. I can still see my family gathering around, each one eagerly waiting for a slice while the warm Apple Crisp cooled just enough to serve. It’s the kind of comfort food that brings everyone together, making it a staple for chilly nights and holiday feasts.
Recipe Snapshot
60 mins
15 mins
45 mins
Medium
250 kcal
3g g
Gluten-Free, Low FODMAP
10g g
Oven, Baking Sheet, Blender, Mixing Bowl, Peeler, Chef’s Knife
Why This Apple Crisp Stands Out
What makes my Apple Crisp recipe stand out? Let me share why I believe it’s worth making.
1. Simple Ingredients
One of the best things about this Apple Crisp is its simplicity. You don’t need fancy ingredients to create something extraordinary. The base of this dish is made of fresh apples, sugar, and spices, all of which are readily available. It feels wonderful to use ingredients that are fresh and wholesome, and you can easily find them at your local market.
2. Versatile Dish
This recipe is incredibly versatile. You can adjust the sweetness by adding more or less sugar, or even try using different types of apples for a different flavor experience. You can also swap out the oats for nuts if you prefer a crunchy texture. The Apple Crisp is adaptable, allowing you to make it your own based on what you have on hand or your personal preferences.
3. Perfect for Any Occasion
Whether it’s a casual weeknight dinner or a festive holiday gathering, Apple Crisp never fails to impress. It’s a classic dessert that is suitable for a wide range of occasions. Serve it warm with a scoop of vanilla ice cream, and you’ll have a hit on your hands!
4. Nostalgic Comfort
This dish brings back warm memories for many. Whenever I make Apple Crisp, I’m flooded with nostalgia of family gatherings, laughter, and heartfelt conversations. The combination of flavors and textures is not just delicious but also comforting, making it a favorite among both children and adults.
5. Seasonal Delight
What better way to embrace the flavors of fall than with Apple Crisp? The warm spices and sweet apples reflect the essence of the season, making it a perfect dessert for autumn. It’s a wonderful way to celebrate the harvest and the changing of the seasons.
Recipe Ingredients for Apple Crisp
When it comes to creating a delicious Apple Crisp, the ingredients are key. Each one plays a vital role in enhancing the flavors and textures of the dish. The star of the show is, of course, the apples, which provide a sweet and tart base. Then we have the oats, flour, and sugars that create that beloved crunchy topping. Together, these ingredients harmonize beautifully, resulting in a dish that feels both comforting and indulgent.
- 6 medium apples peeled, cored, and sliced: The backbone of this dish, fresh apples bring a wonderful sweetness and tartness.
- 1/2 cup granulated sugar: This adds sweetness to the apples, balancing their natural tartness perfectly.
- 1 teaspoon ground cinnamon: A warm spice that complements the apples beautifully, enhancing their flavor.
- 1 cup old-fashioned oats: Provides a hearty texture and crunch to the topping.
- 3/4 cup all-purpose flour: Helps bind the topping together, creating a delightful crust.
- 1/2 cup light brown sugar packed: Adds depth and a caramel-like flavor to the topping.
- 1/2 teaspoon salt: Balances the sweetness and enhances all the flavors.
- 1/2 cup unsalted butter cold and cubed: This enriches the topping, making it flavorful and flaky.
- Optional: vanilla ice cream: A classic pairing that takes this dessert to the next level.
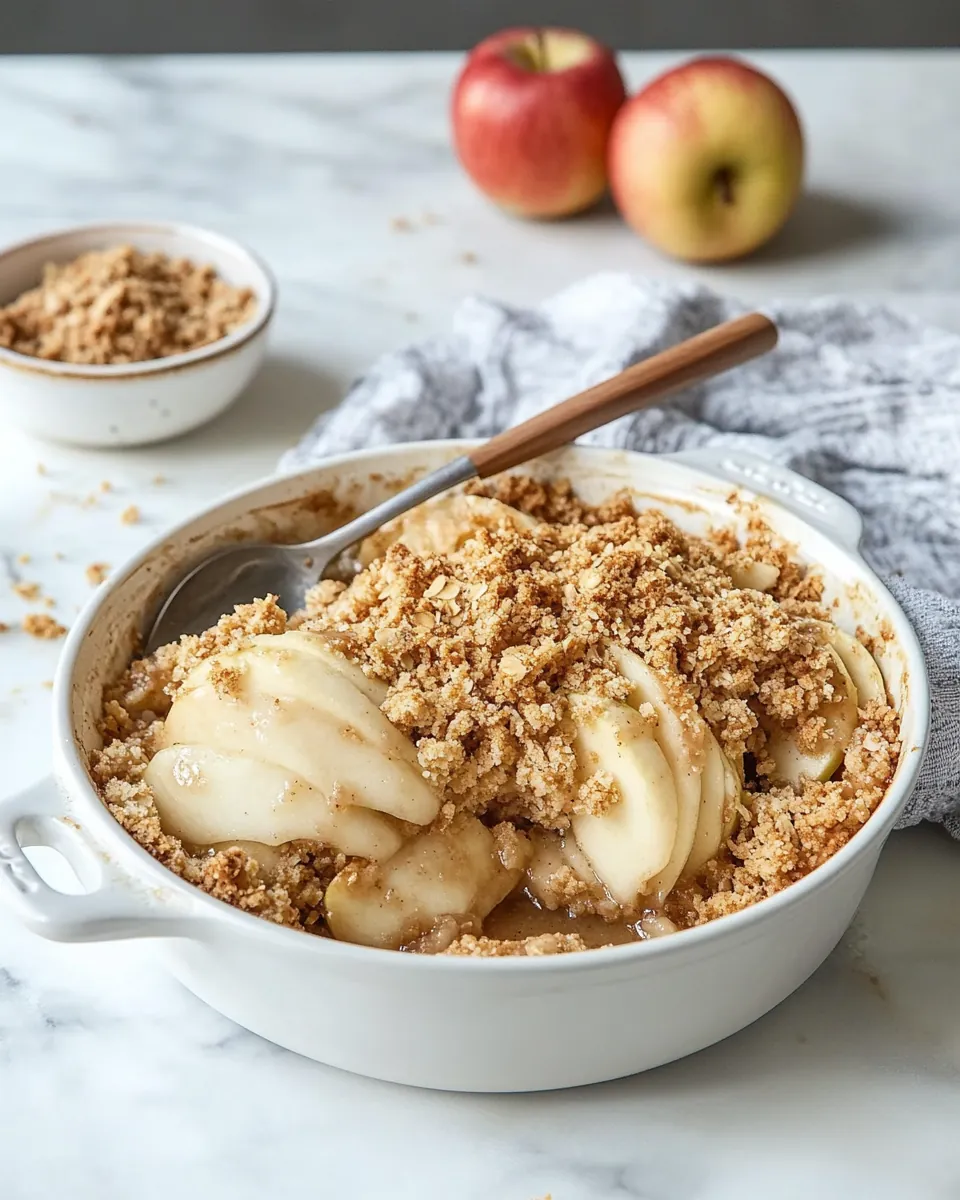
Preparation Steps for Apple Crisp
Making Apple Crisp is a straightforward process that will have your kitchen smelling divine. Follow these simple steps to create a perfect dessert that everyone will love. Trust me, the effort is worth it!
- Preheat your oven to 350°F (175°C). This is an important first step, as a hot oven is essential for achieving that golden-brown topping.
- Grease an 8×8 inch baking dish. This will help prevent sticking and ensure that each slice of your Apple Crisp comes out beautifully.
- In a large bowl, mix the sliced apples with granulated sugar and cinnamon until well coated. You want every piece of fruit to be sweetened and spiced.
- Transfer the coated apples to the prepared baking dish, spreading them evenly. This ensures even cooking and flavor distribution.
- In another bowl, combine oats, flour, brown sugar, and salt. Mix these dry ingredients well to ensure the flavors are evenly distributed.
- Add the cubed butter to the dry mixture. Using a pastry cutter or your fingers, blend until the mixture resembles coarse crumbs. This step is crucial for achieving that crispy topping.
- Evenly sprinkle the oat mixture over the apples in the baking dish. Make sure to cover the apples completely for a deliciously crunchy topping.
- Bake in the preheated oven for 45 minutes. Keep an eye on it; the top should be golden brown, and the apples should be bubbly.
- Once baked, let the Apple Crisp cool slightly before serving. It’s perfect warm, especially with a scoop of optional vanilla ice cream.
Things Worth Knowing
- Use Fresh Apples: Fresh, high-quality apples make a big difference in flavor. Opt for a mix of tart and sweet varieties for the best taste.
- Don’t Overmix: When combining the topping ingredients, avoid overmixing to ensure a nice crumbly texture.
- Let It Cool: Allow your Apple Crisp to cool for 10 to 15 minutes before serving. This helps set the filling and makes it easier to serve.
- Experiment with Spices: Feel free to add other spices like nutmeg or allspice for a personalized touch.
Tips and Variations
While the classic Apple Crisp is a winner, here are some tips and variations to explore:
- Storage: Store leftovers in an airtight container in the fridge for up to three days. Reheat in the oven for the best texture.
- Freezing: You can freeze unbaked Apple Crisp for up to three months. Just bake it directly from the freezer, adding a few extra minutes to the cooking time.
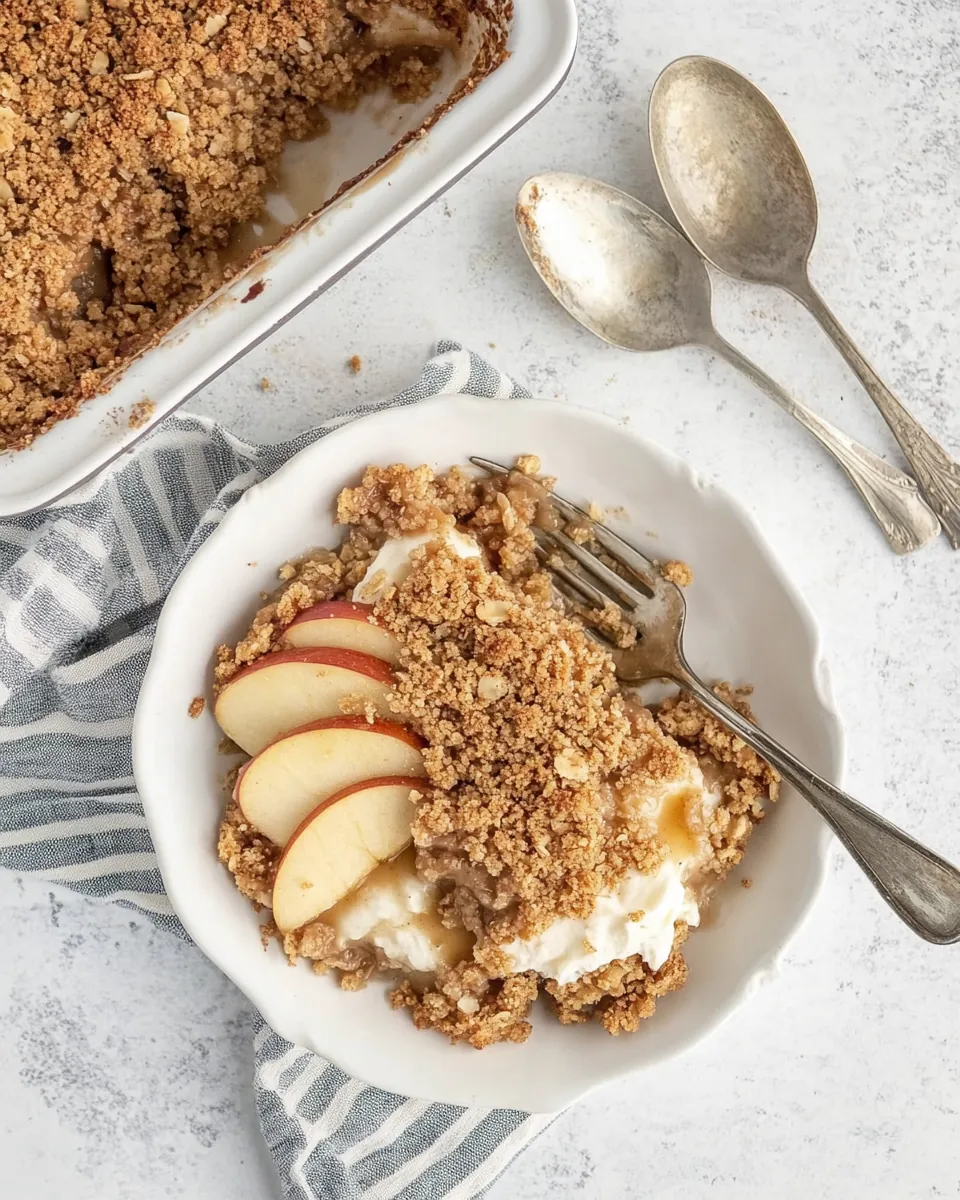
- Pairing: Serve your Apple Crisp with whipped cream or a scoop of vanilla ice cream for a delightful treat.
- Make It Gluten-Free: Substitute gluten-free flour and oats to make this dish suitable for those with gluten sensitivities.
- Mix in Other Fruits: Add in some berries or peaches for a fruit medley that adds even more flavor to your Apple Crisp.
- Breakfast Option: Enjoy it as a warm breakfast dish by serving it with yogurt and fresh fruit.
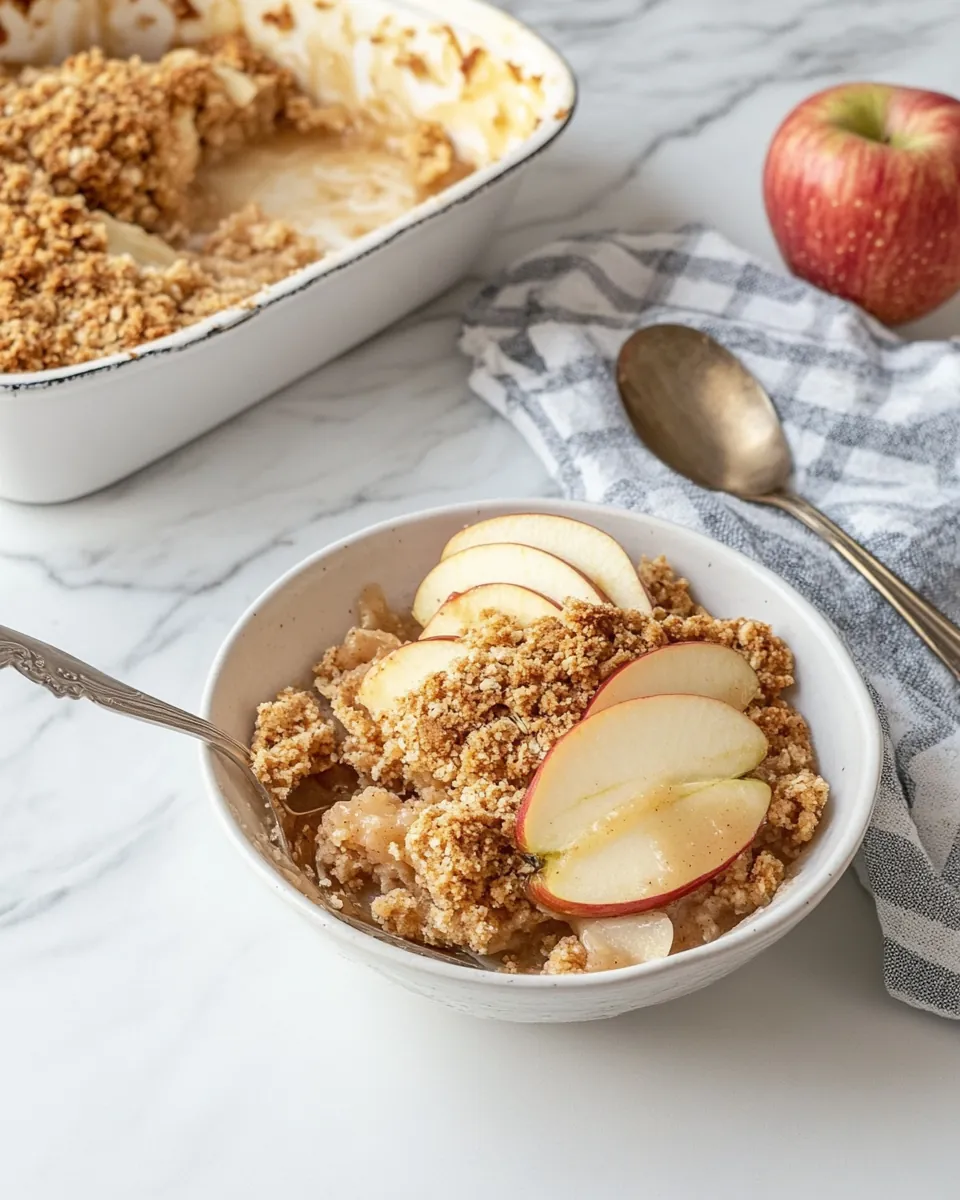
Great Combinations for Apple Crisp
- With Ice Cream: There’s nothing quite like a warm slice of Apple Crisp topped with melting vanilla ice cream. The contrast of temperatures and textures creates a delightful experience.
- As a Dessert: This dish is a fantastic way to end a meal, especially after a hearty fall dinner.
- Breakfast Treat: Serve it with yogurt for a cozy breakfast option, perfect for chilly mornings.
- Sharing at Gatherings: Bring this to a potluck or family gathering; it’s sure to be a hit with everyone.
- Seasonal Celebrations: Perfect for Thanksgiving or any fall celebration, Apple Crisp embodies the flavors and feelings of the season.
FAQ
Conclusion
This Apple Crisp recipe is a delightful blend of sweet, tender apples and crunchy topping that’s sure to warm your heart. I encourage you to try making it yourself and experience the comforting flavors of fall. It’s a wonderful dessert that brings family and friends together, perfect for any occasion.
Apple Crisp
Ingredients
Equipment
Method
- Preheat your oven to 350°F (175°C). This is an important first step, as a hot oven is essential for achieving that golden-brown topping.
- Grease an 8×8 inch baking dish. This will help prevent sticking and ensure that each slice of your Apple Crisp comes out beautifully.
- In a large bowl, mix the sliced apples with granulated sugar and cinnamon until well coated. You want every piece of fruit to be sweetened and spiced.
- Transfer the coated apples to the prepared baking dish, spreading them evenly. This ensures even cooking and flavor distribution.
- In another bowl, combine oats, flour, brown sugar, and salt. Mix these dry ingredients well to ensure the flavors are evenly distributed.
- Add the cubed butter to the dry mixture. Using a pastry cutter or your fingers, blend until the mixture resembles coarse crumbs. This step is crucial for achieving that crispy topping.
- Evenly sprinkle the oat mixture over the apples in the baking dish. Make sure to cover the apples completely for a deliciously crunchy topping.
- Bake in the preheated oven for 45 minutes. Keep an eye on it; the top should be golden brown, and the apples should be bubbly.
- Once baked, let the Apple Crisp cool slightly before serving. It’s perfect warm, especially with a scoop of optional vanilla ice cream.
Notes
- Tip 1: Store leftovers in an airtight container in the fridge for up to three days. Reheat in the oven for the best texture.
- Tip 2: You can freeze unbaked Apple Crisp for up to three months. Just bake it directly from the freezer, adding a few extra minutes to the cooking time.
- Tip 3: Serve your Apple Crisp with whipped cream or a scoop of vanilla ice cream for a delightful treat.
- Tip 4: Substitute gluten-free flour and oats to make this dish suitable for those with gluten sensitivities.
- Tip 5: Add in some berries or peaches for a fruit medley that adds even more flavor to your Apple Crisp.