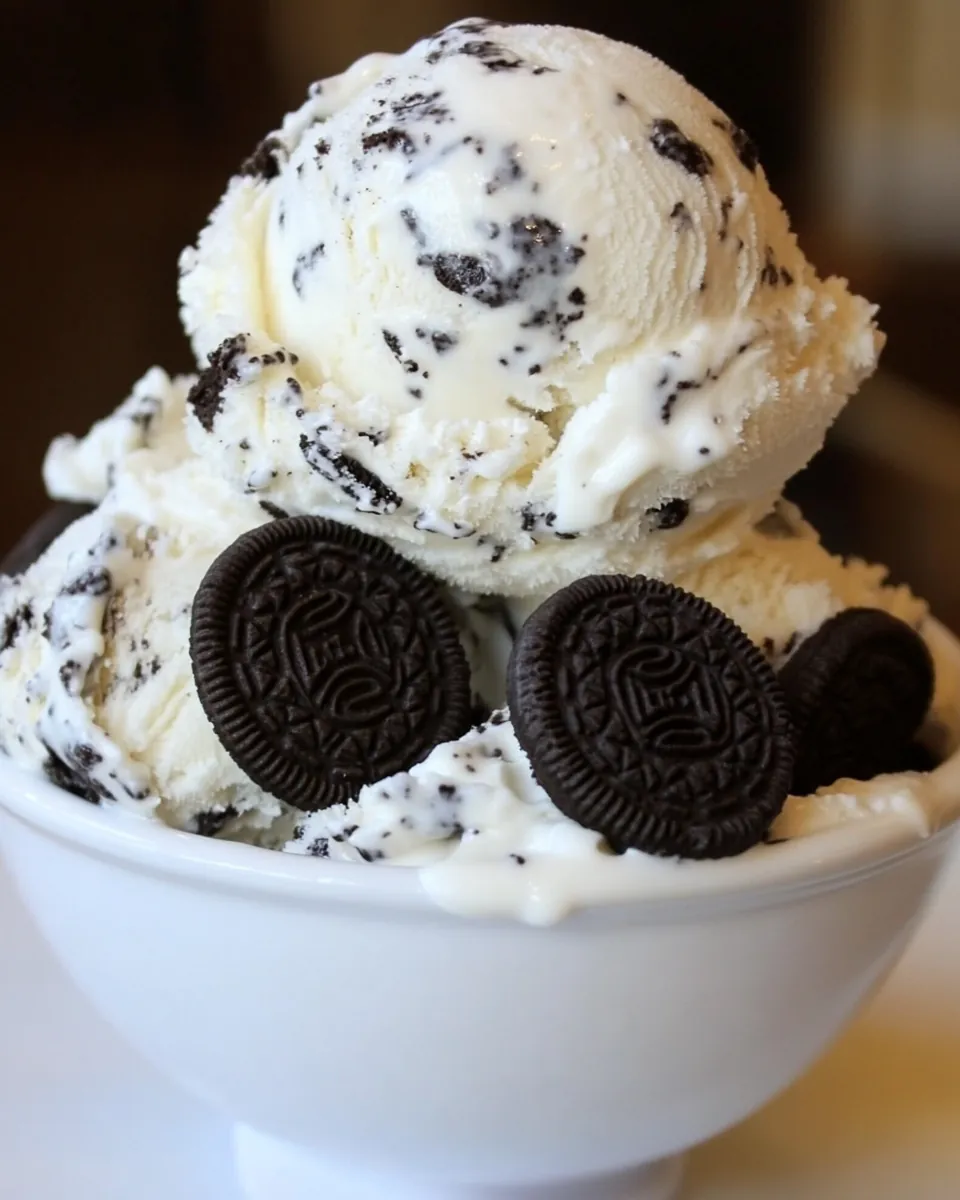
Oreo Cheesecake Ice Cream
There’s nothing quite like the rich, creamy goodness of Oreo Cheesecake Ice Cream on a hot summer day. I still remember the first time I made this delightful treat for my friends during a backyard barbecue. The warm sun above, the sound of laughter filling the air, and the excitement of serving something truly special made it a memorable occasion. The moment I scooped that velvety ice cream, studded with crumbled Oreo cookies, everyone’s faces lit up with joy. It was an instant hit! It felt rewarding to see their reactions as they savored each spoonful. If you love the classic combination of cheesecake and Oreo cookies, this recipe will quickly become your go-to dessert. Perfect for summer gatherings, it’s incredibly easy to make and can be prepared in advance, allowing you to enjoy the company of your loved ones without spending the whole day in the kitchen.
Recipe Snapshot
12 hr 6 mins
720 mins
6 mins
Hard
300 kcal
3 g
Keto, Gluten-Free, Low FODMAP
20 g
Frying Pan, Large Pot, Whisk, Mixing Bowl, Wooden Spoon
Why We Love This Oreo Cheesecake Ice Cream
Rich and Creamy Texture
One of the standout features of Oreo Cheesecake Ice Cream is its luxurious texture. The combination of cream cheese and heavy cream creates a smooth and creamy ice cream that melts delightfully in your mouth. Each scoop feels indulgent, making it perfect for special occasions.
Kid-Friendly Delight
This recipe is sure to be a favorite among kids and adults alike. The familiar flavor of Oreo cookies combined with the creaminess of cheesecake creates an irresistible dessert that pleases everyone. It’s a great way to introduce children to the joy of homemade ice cream!
Customizable Add-Ins
While this recipe beautifully highlights the Oreo cookie, it also offers room for creativity. You can experiment with different cookie varieties or mix in your favorite candies for a unique twist. This versatility allows you to create a special dessert tailored to your tastes.
Make Ahead Convenience
One of the best parts of making Oreo Cheesecake Ice Cream is that you can prepare it ahead of time. Simply follow the instructions, refrigerate the custard overnight, and then freeze it when you’re ready. This makes it an ideal dessert for parties, allowing you to spend less time in the kitchen and more time with your guests.
Perfect for Summer Gatherings
Nothing beats a refreshing bowl of Oreo Cheesecake Ice Cream during those hot summer days. It’s the ultimate treat for family barbecues, picnics, or casual hangouts. The deliciously cool ice cream is sure to impress your guests and keep everyone coming back for more.
Versatile Serving Options
Whether enjoyed in a cone, cup, or on top of a slice of pie, this ice cream is incredibly versatile. You can serve it as a standalone dessert or use it to elevate other dishes. The possibilities are endless!
Oreo Cheesecake Ice Cream Shopping List
When it comes to making Oreo Cheesecake Ice Cream, the ingredients play a crucial role in achieving that perfect blend of flavors. Each ingredient works harmoniously to create a deliciously creamy ice cream that’s both satisfying and indulgent. Let’s take a closer look at what you’ll need to bring this delightful treat to life.
- 1 cup sugar: Sweetens the mixture, balancing the tanginess of the cream cheese.
- 4 ounces cream cheese, softened: Provides the rich, creamy base essential for cheesecake ice cream.
- 1 egg: Helps to emulsify the mixture and adds richness.
- 1/2 teaspoon vanilla: Enhances the overall flavor profile.
- 3/4 cup milk: Adds a creamy texture and helps in blending the ingredients.
- 1 1/2 cups heavy cream: Essential for creating that luxurious, creamy consistency in ice cream.
- crumbled Oreo cookies: The star of the dish, bringing a delightful crunch and chocolatey flavor.
How to Prepare Oreo Cheesecake Ice Cream
Making Oreo Cheesecake Ice Cream is a rewarding experience, and I assure you that it’s simpler than you might think. With just a few steps, you’ll have a delectable treat ready to enjoy. Let’s dive into the process and see how easy it is to whip up this delightful dessert.
- In a large mixing bowl, combine sugar and cream cheese. Beat them together until the mixture is smooth and creamy, and you can no longer see any lumps. This is essential for ensuring a velvety texture in your ice cream. Next, add in the egg and vanilla, mixing until fully incorporated. You should achieve a homogenous mixture that is ready for the next step.
- In a medium saucepan, bring milk to a boil over medium heat. Stir occasionally to prevent it from scorching. Once it reaches a boil, remove the saucepan from the heat. This step is crucial as it allows the heat to help melt the cream cheese mixture, creating a smooth custard base.
- Slowly beat the hot milk into the cream cheese mixture. It’s important to add the hot liquid gradually to avoid curdling the egg. Stir vigorously as you pour. You want to create a cohesive custard without any lumps. Once combined, pour the entire mixture back into the saucepan.
- Place the pan over low heat, and constantly stir with a whisk or a wooden spoon. Keep an eye on the mixture as it thickens slightly; it should coat the back of a spoon. Be cautious not to let it boil, as boiling can cause the egg to scramble, which you want to avoid. This step takes about 5 to 10 minutes.
- Once thickened, remove the pan from the heat and pour the custard through a strainer into a large bowl. This ensures that any lumps or curdled bits are removed, leaving you with a silky smooth custard. Let the custard cool slightly before moving on to the next step.
- Stir in heavy cream into the cooled custard until fully combined. This will enhance the creaminess of your ice cream and give it that luxurious texture we love. Cover the bowl with plastic wrap and refrigerate overnight. This chilling step is important for developing the flavors and ensuring the best texture.
- The following day, take out the chilled custard and stir it again to mix everything well. Prepare your ice cream maker according to the manufacturer’s instructions. Pour the custard into the machine and churn according to the guidelines until it reaches a soft-serve consistency. This typically takes about 20 to 30 minutes.
- When the ice cream is semifrozen, carefully add the crumbled Oreo cookies. Fold them in gently to disperse them evenly throughout the ice cream. You can use as many or as few as you like, but I recommend adding a generous amount for the best flavor and texture.
- Once mixed, transfer the ice cream to a freezer-safe container. If you prefer a firmer consistency, cover and freeze for an additional 2 hours. This allows the ice cream to harden properly, making it easier to scoop.
- Finally, scoop out your delicious Oreo Cheesecake Ice Cream into bowls or cones and enjoy! It’s best served on a warm day with friends and family. Don’t forget to take a moment to relish the smooth, creamy texture and the delightful crunch of the cookies as you savor your creation!
Things Worth Knowing
- Quality Ingredients: Using high-quality cream cheese and heavy cream will make a noticeable difference in the taste and texture of your ice cream.
- Chill Time: Letting the custard chill overnight is crucial for enhancing flavors and achieving a smooth consistency.
- Don’t Rush the Custard: Take your time while cooking the custard, stirring constantly. This ensures it thickens evenly without curdling.
- Storage Tips: Store any leftover ice cream in an airtight container to prevent freezer burn and maintain flavor.
Pro Tips and Tweaks
Creating the perfect Oreo Cheesecake Ice Cream is all about precision and personal touches. Here are some tips to elevate your ice cream-making game:
- Storage: To keep your ice cream fresh, store it in an airtight container. This prevents ice crystals from forming and keeps the texture creamy.
- Freezing: If you want a firmer ice cream, freeze it for at least 2 hours after churning. This allows it to set properly.
- Pairing: Serve your ice cream with a drizzle of chocolate syrup or a sprinkle of crushed Oreo cookies on top for an extra indulgent treat.
- Mix and Match: Try adding different mix-ins like crushed candy bars or cookie dough for a fun twist on the classic recipe.
- Experiment with Flavors: Consider using flavored creams, like strawberry or peppermint, to create unique variations of your Oreo Cheesecake Ice Cream.
What Complements This Oreo Cheesecake Ice Cream
- Warm Brownies: Serve alongside warm brownies to create a delightful dessert experience.
- Fresh Berries: Brighten up your serving with fresh berries for a burst of flavor and color.
- Seasonal Gatherings: This ice cream is perfect for summer barbecues, birthday parties, or any casual get-together.
- Creamy Milkshakes: Blend with milk for a rich milkshake that’s perfect for hot days.
- Festive Occasions: Great for celebrations like birthdays, graduations, or family reunions, adding a touch of sweetness to any event.
FAQ
Conclusion
Oreo Cheesecake Ice Cream is a delightful combination of creamy cheesecake and crunchy cookies that makes it a must-try for any dessert lover. The best part is how easy it is to make and customize, allowing everyone to enjoy their own version of this classic treat. So why not gather your ingredients and make some today? You’ll be glad you did!
Oreo Cheesecake Ice Cream
Ingredients
Equipment
Method
- Beat the sugar and cream cheese together until smooth and creamy. Beat in the egg and vanilla. Set aside.
- Bring the milk to a boil in a heavy medium saucepan. Slowly beat the hot milk into the cheese mixture.
- Pour the entire mixture back into the pan and place over low heat. Stir constantly with a whisk or wooden spoon until the custard thickens slightly. Be careful not to let the mixture boil or the egg will scramble.
- Remove from the heat and pour the hot cheese custard through a strainer into a large bowl. Allow the custard to cool slightly, then stir in the heavy cream. Cover and refrigerate overnight.
- Stir the chilled custard, then freeze in your ice cream machine according to the manufacturers instructions, adding the crumbled Oreo cookies when the ice cream is semifrozen.
- Allow the machine to mix in the cookies. When finished, the ice cream will be soft but ready to eat. For firmer ice cream, transfer to a freezer-safe container and freeze for at least 2 hours.
Notes
- Storage: Store leftover ice cream in an airtight container.
- Freezing: For firmer ice cream, freeze for at least 2 hours.
- Pairing: Serve with drizzles of chocolate syrup or crushed Oreo cookies.
- Mix and Match: Experiment with different cookie varieties for unique flavors.
- Experiment with Flavors: Use flavored creams for unique variations.