Hibiscus Strawberry Cheese Danishes
The Hibiscus Strawberry Cheese Danishes are a delightful treat that I stumbled upon during a lovely spring day. Picture this: the sun is shining, and the air is filled with the sweet aroma of blooming flowers. In the midst of this beautiful setting, I decided to whip up a batch of these amazing danishes to share with my family. The combination of tart hibiscus and sweet strawberries makes for a mouthwatering filling that pairs perfectly with the creamy cheese. As I rolled out the puff pastry and filled each square with the brightly colored mixture, I couldn’t help but feel excited about what would come out of the oven. There’s something incredibly rewarding about baking, especially when you have loved ones to share it with. Every bite of these danishes is an explosion of flavor, a perfect blend that reminds me of spring celebrations and joyful moments spent with family and friends. I can’t wait for you to experience the joy of making and enjoying these Hibiscus Strawberry Cheese Danishes!
Recipe Snapshot
1 hr 20 mins
30 mins
50 mins
Medium
250 kcal
5 g
Gluten-Free, Low FODMAP
12 g
blender, medium pot, large bowl, Piping bag, Rolling Pin, chef knife, Sheet pan lined with parchment paper
What Makes This Hibiscus Strawberry Cheese Danishes Special
Unique Flavor Profile
The Hibiscus Strawberry Cheese Danishes combine the floral notes of hibiscus with the sweetness of strawberries. This unexpected pairing creates a refreshing, vibrant taste that’s perfect for spring and summer gatherings.
Easy to Make
Even if you’re a beginner in the kitchen, these danishes are surprisingly simple to prepare. With just a few steps, you can transform basic ingredients into a stunning dessert that will impress everyone!
Perfect for Any Occasion
Whether it’s a brunch with friends, a picnic in the park, or a cozy family gathering, these danishes bring a touch of elegance to any table. They’re not just delicious; they look beautiful, too!
Versatile Filling Options
While the hibiscus and strawberry are a fantastic duo, you can customize the filling to suit your tastes. Consider adding other fruits or even a sprinkle of spices to make it your own!
Deliciously Creamy Texture
The blend of cream cheese with sugar and jam creates a smooth, luscious filling that perfectly complements the flaky pastry. Each bite is creamy and satisfying, leaving you wanting more!
Fun to Make with Family
Baking is a wonderful activity to share with loved ones. Get the kids involved in shaping the danishes or decorating them with glaze. It’s a chance to create lasting memories together.
Hibiscus Strawberry Cheese Danishes Ingredients
Choosing the right ingredients is crucial for making the perfect Hibiscus Strawberry Cheese Danishes. Each component plays a vital role in crafting this delicious pastry. The combination of fresh strawberries, hibiscus, and creamy cream cheese creates a flavorful filling that is both refreshing and indulgent. The puff pastry serves as a flaky, buttery shell that cradles the filling beautifully.
- 1/2 cup boiling water
- 1/3 cup dried hibiscus flowers
- 1 pound strawberries, hulled (you can use frozen, too!)
- 1/2 cup sugar
- Pinch of salt
- Juice from 1/2 lime
- 1 large egg
- 8 ounces cream cheese, at room temperature
- 2 tablespoons sugar
- 1/4 cup of jam
- Double batch of rough puff pastry
- 1 cup powdered sugar
- Pinch of salt
- 1 to 2 tablespoons of milk
Instructions for Hibiscus Strawberry Cheese Danishes
Making Hibiscus Strawberry Cheese Danishes is a rewarding experience that fills your kitchen with incredible aromas. Follow these simple steps and enjoy the magic of baking!
- In a measuring cup, stir together the boiling water and hibiscus flowers. Allow this mixture to steep for about 10 minutes, releasing the vibrant color and flavor of the hibiscus.
- After steeping, strain the hibiscus tea to remove the flowers. In a blender, combine the strained tea with strawberries and blend until smooth. You should have a thick, vibrant mixture that smells divine.
- Next, in a medium pot over medium-high heat, combine the strawberry mixture, sugar, and salt. Bring it to a simmer and cook for 20 minutes. Make sure to skim off any foam that rises to the top during cooking, as this helps achieve a smoother texture.
- Once the mixture has thickened, squeeze in the lime juice and transfer it to a jar. Allow it to cool on the counter before storing it in the fridge to chill further.
- In a large bowl, whisk together the egg, cream cheese, sugar, and jam until smooth. If you have a stand-up mixer, it makes this process easier, but mixing by hand works just as well!
- Transfer the smooth mixture into a piping bag. This will make it easier to fill the pastries without making a mess.
- Prepare your workspace by dusting flour on your work surface and rolling pin. Roll out the puff pastry to about an eighth-inch thickness. Cut into squares that are 4 inches by 4 inches.
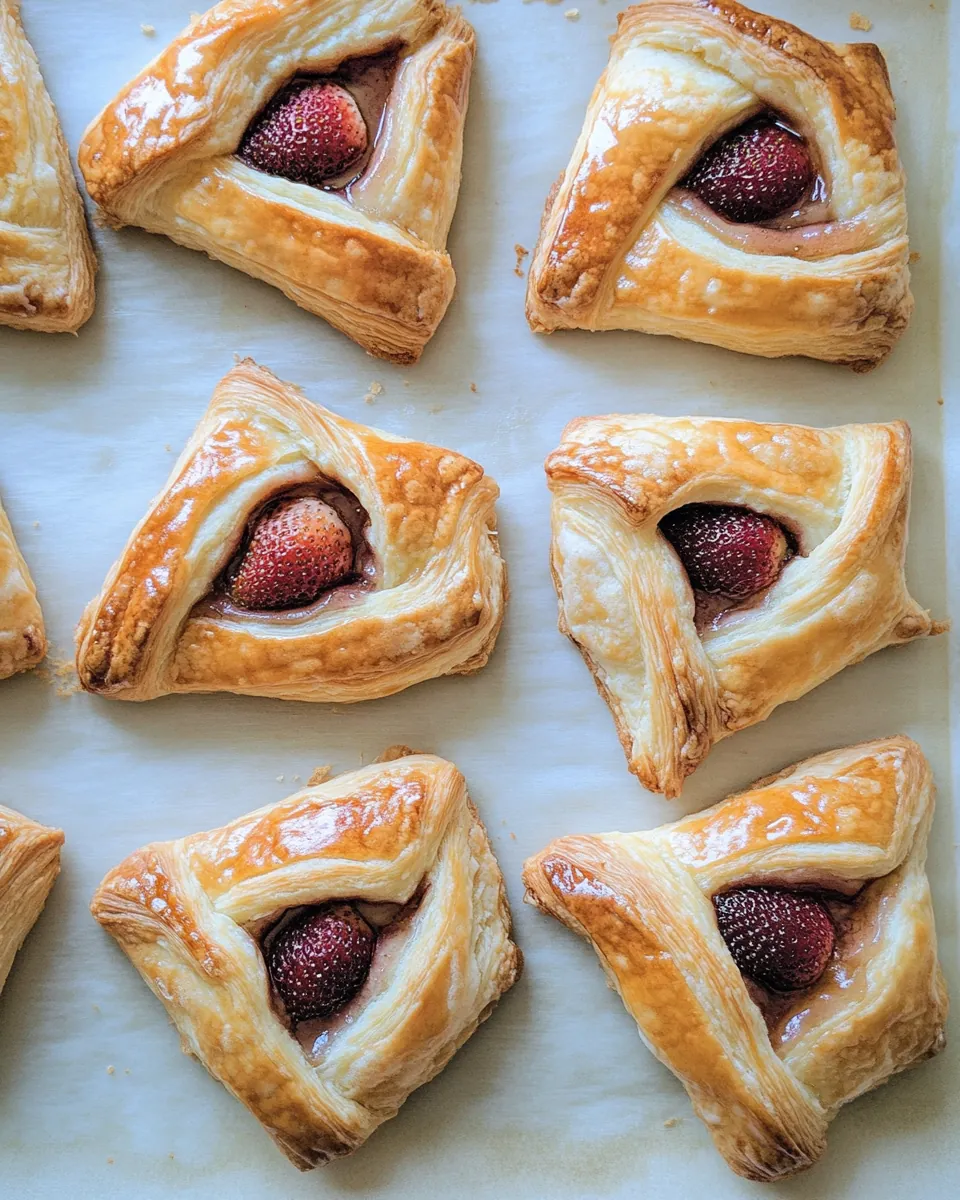
- To create a diamond-shaped danish, take one end of a square and fold it over to meet the opposite end, forming a triangle. Slice two slits in the top of the triangle to create a decorative effect.
- Unfold the triangle and fill the center with the cream cheese mixture. Add a small dollop of extra jam on top to enhance the flavor.
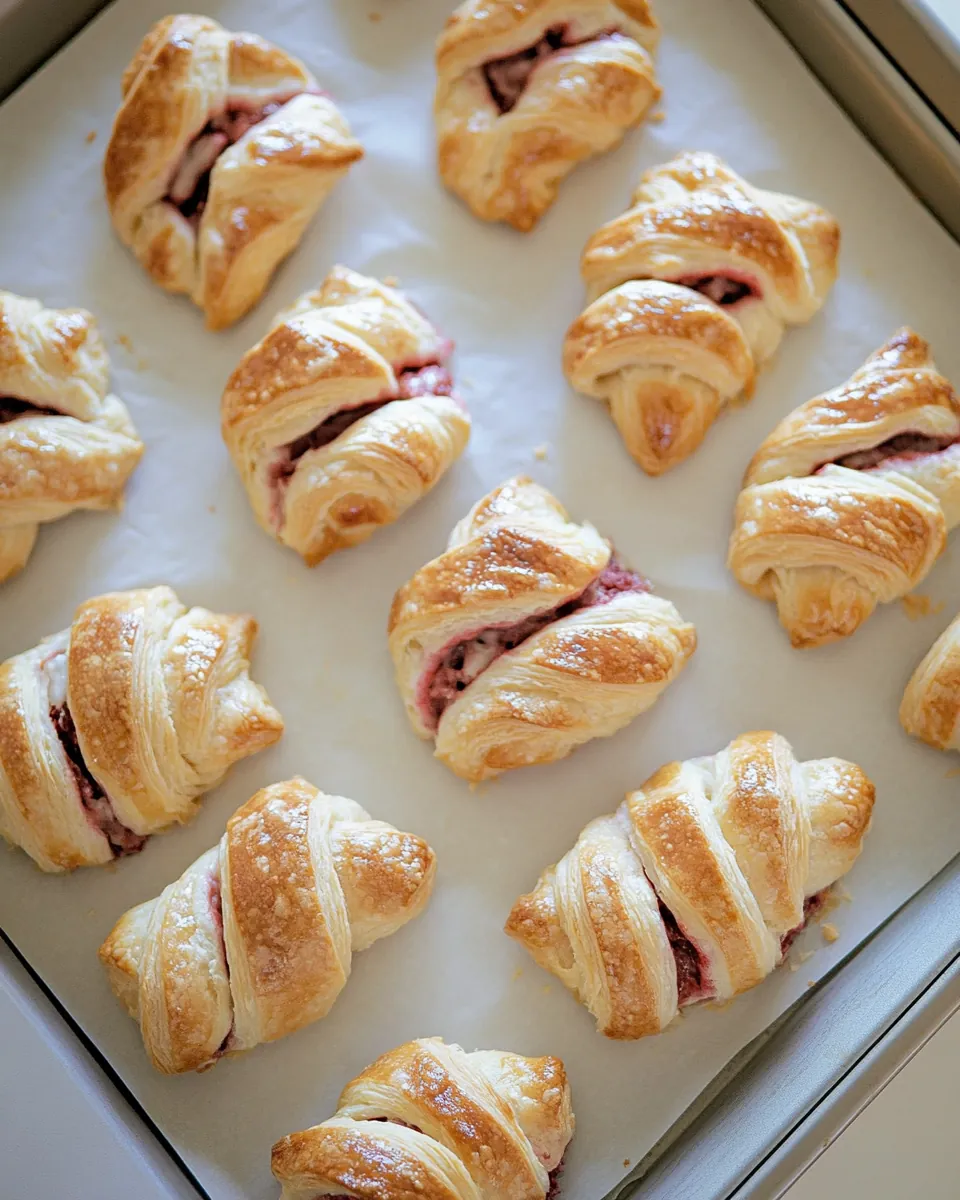
- Repeat the process until you’ve used all the puff pastry. Preheat your oven to 375 degrees F and transfer the baking sheet of assembled danishes to the freezer to chill for 15 minutes.
- Bake the cheese danishes for about 20 to 30 minutes until golden brown and puffed. Keep an eye on them to ensure they don’t over-bake.
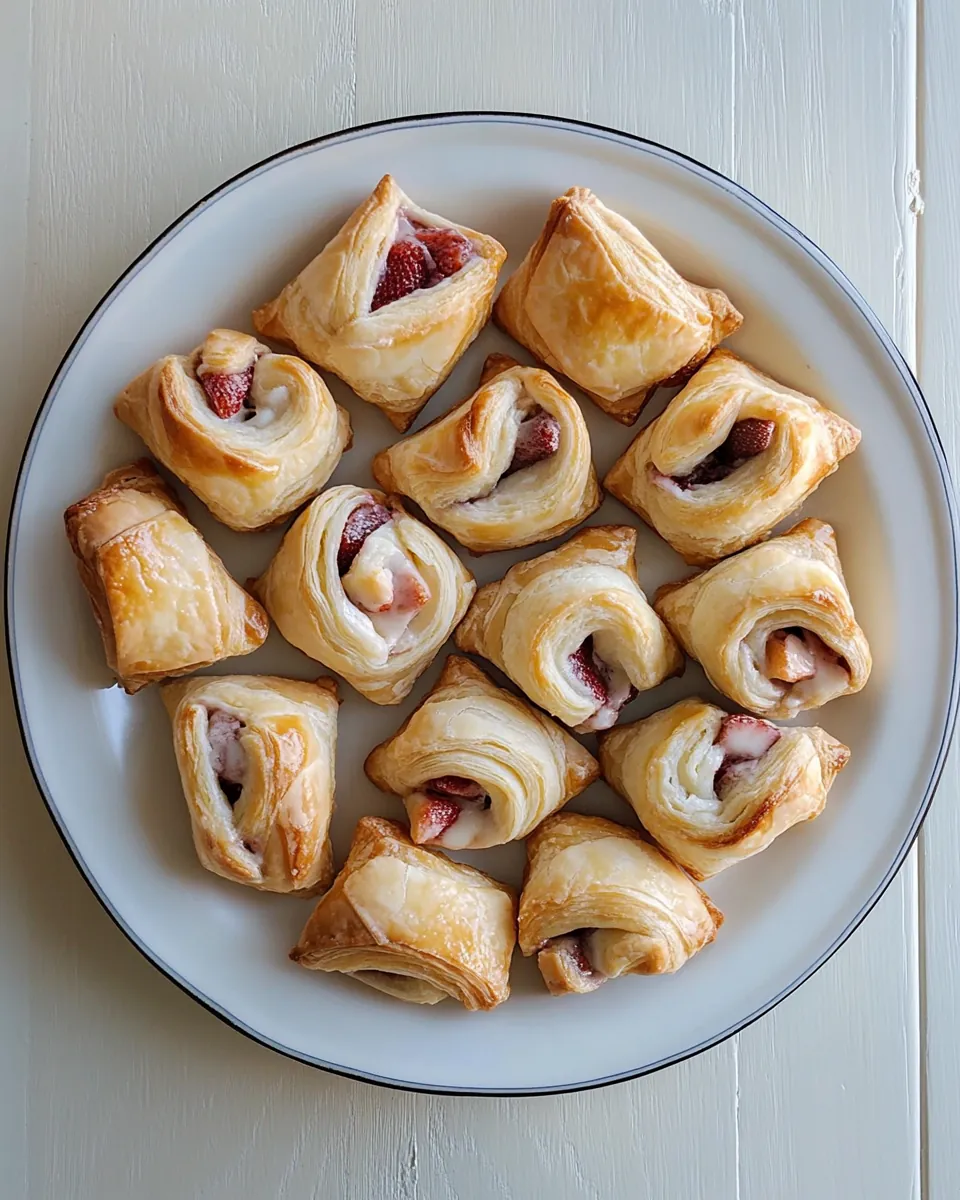
- While they’re cooling, whisk together the glaze ingredients until smooth. Drizzle on top of the cooled danishes if desired, and serve with a nice cup of coffee!
Things Worth Knowing
- Know Your Pastry: Make sure your puff pastry is cold before rolling it out. This helps it achieve that flaky texture.
- Flavor Enhancements: Consider adding spices like cinnamon or nutmeg to your cream cheese mixture for an extra kick.
- Chilling is Key: Chilling the assembled danishes before baking helps them hold their shape during the baking process.
- Storage Tips: Store any leftovers in an airtight container to keep them fresh for a few days.
Making Adjustments
If you want to make some adjustments to the Hibiscus Strawberry Cheese Danishes, here are some tips to consider:
- Storage: You can store leftovers in an airtight container at room temperature for up to 2 days. For longer storage, refrigerate them.
- Freezing: Yes, you can freeze these danishes! Just ensure they are completely cooled before wrapping them tightly in plastic wrap and placing them in a freezer bag.
- Pairing: These danishes pair beautifully with a cup of coffee or tea. Add some fresh fruit on the side for a balanced breakfast or dessert.
- Variations: Experiment with different fruits for the filling. Raspberries or blueberries can be fantastic alternatives!
- Serving Size: Each danish is quite filling, so consider serving half portions if you’re offering them as part of a larger spread.
Serving Options for Hibiscus Strawberry Cheese Danishes
Serving the Hibiscus Strawberry Cheese Danishes can be as creative as you want. Here are a few ideas to inspire you:
- Brunch Staple: These danishes are a gorgeous addition to any brunch spread. Serve them alongside quiches, fresh fruit, and a selection of pastries.
- Picnic Treat: Pack them for a picnic! They’re easy to transport and can be enjoyed at room temperature.
- Festive Occasions: Perfect for celebrations like birthdays or baby showers, these danishes add a special touch to dessert tables.
- Tea Time: Serve them during afternoon tea; their beautiful presentation complements the occasion perfectly.
- Seasonal Pairing: During spring, fresh herbs like mint can be a fantastic garnish to elevate the overall presentation and flavor.
- Storage Tips: If you have leftovers, store them in an airtight container to keep them fresh and flaky!
FAQ
Conclusion
The Hibiscus Strawberry Cheese Danishes are a delightful blend of flavors that make them a special treat for any occasion. Their unique combination of floral and fruity notes, along with the creamy cheese filling, creates a memorable taste experience that you won’t want to miss. I encourage you to try making these danishes for yourself and share them with your friends and family. They’re sure to be a hit and might just become your new favorite dessert!
Hibiscus Strawberry Cheese Danishes
Ingredients
Equipment
Method
- In a measuring cup, stir together the boiling water and hibiscus flowers. Allow this mixture to steep for about 10 minutes, releasing the vibrant color and flavor of the hibiscus.
- After steeping, strain the hibiscus tea to remove the flowers. In a blender, combine the strained tea with strawberries and blend until smooth. You should have a thick, vibrant mixture that smells divine.
- Next, in a medium pot over medium-high heat, combine the strawberry mixture, sugar, and salt. Bring it to a simmer and cook for 20 minutes. Make sure to skim off any foam that rises to the top during cooking, as this helps achieve a smoother texture.
- Once the mixture has thickened, squeeze in the lime juice and transfer it to a jar. Allow it to cool on the counter before storing it in the fridge to chill further.
- In a large bowl, whisk together the egg, cream cheese, sugar, and jam until smooth. If you have a stand-up mixer, it makes this process easier, but mixing by hand works just as well!
- Transfer the smooth mixture into a piping bag. This will make it easier to fill the pastries without making a mess.
- Prepare your workspace by dusting flour on your work surface and rolling pin. Roll out the puff pastry to about an eighth-inch thickness. Cut into squares that are 4 inches by 4 inches.
- To create a diamond-shaped danish, take one end of a square and fold it over to meet the opposite end, forming a triangle. Slice two slits in the top of the triangle to create a decorative effect.
- Unfold the triangle and fill the center with the cream cheese mixture. Add a small dollop of extra jam on top to enhance the flavor.
- Repeat the process until you've used all the puff pastry. Preheat your oven to 375 degrees F and transfer the baking sheet of assembled danishes to the freezer to chill for 15 minutes.
- Bake the cheese danishes for about 20 to 30 minutes until golden brown and puffed. Keep an eye on them to ensure they don’t over-bake.
- While they’re cooling, whisk together the glaze ingredients until smooth. Drizzle on top of the cooled danishes if desired, and serve with a nice cup of coffee!
Notes
- Tip 1: You can store leftovers in an airtight container at room temperature for up to 2 days. For longer storage, refrigerate them.
- Tip 2: Yes, you can freeze these danishes! Just ensure they are completely cooled before wrapping them tightly in plastic wrap and placing them in a freezer bag.
- Tip 3: These danishes pair beautifully with a cup of coffee or tea. Add some fresh fruit on the side for a balanced breakfast or dessert.
- Tip 4: Consider adding spices like cinnamon or nutmeg to your cream cheese mixture for an extra kick.
- Tip 5: Serving half portions if you’re offering them as part of a larger spread can be a great idea.