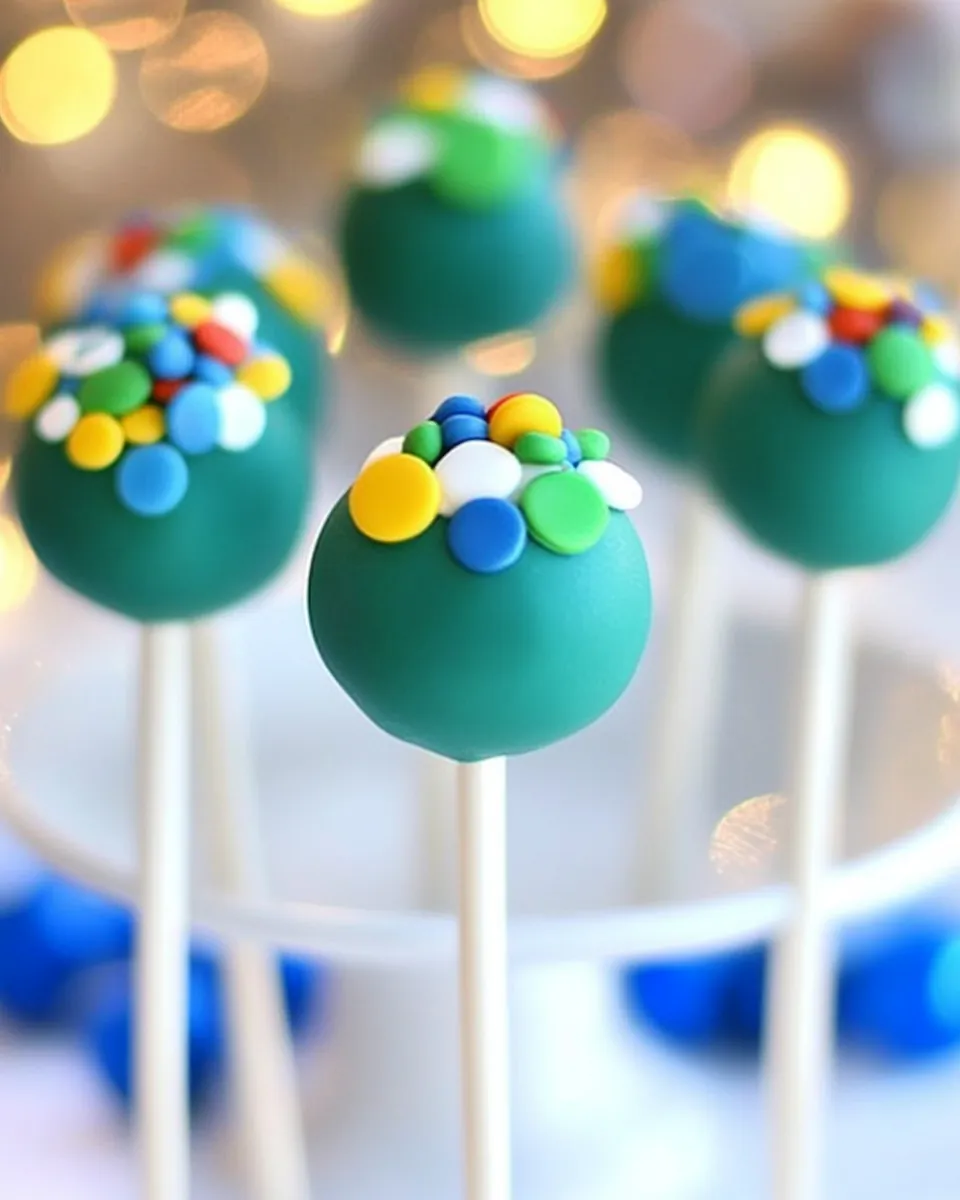
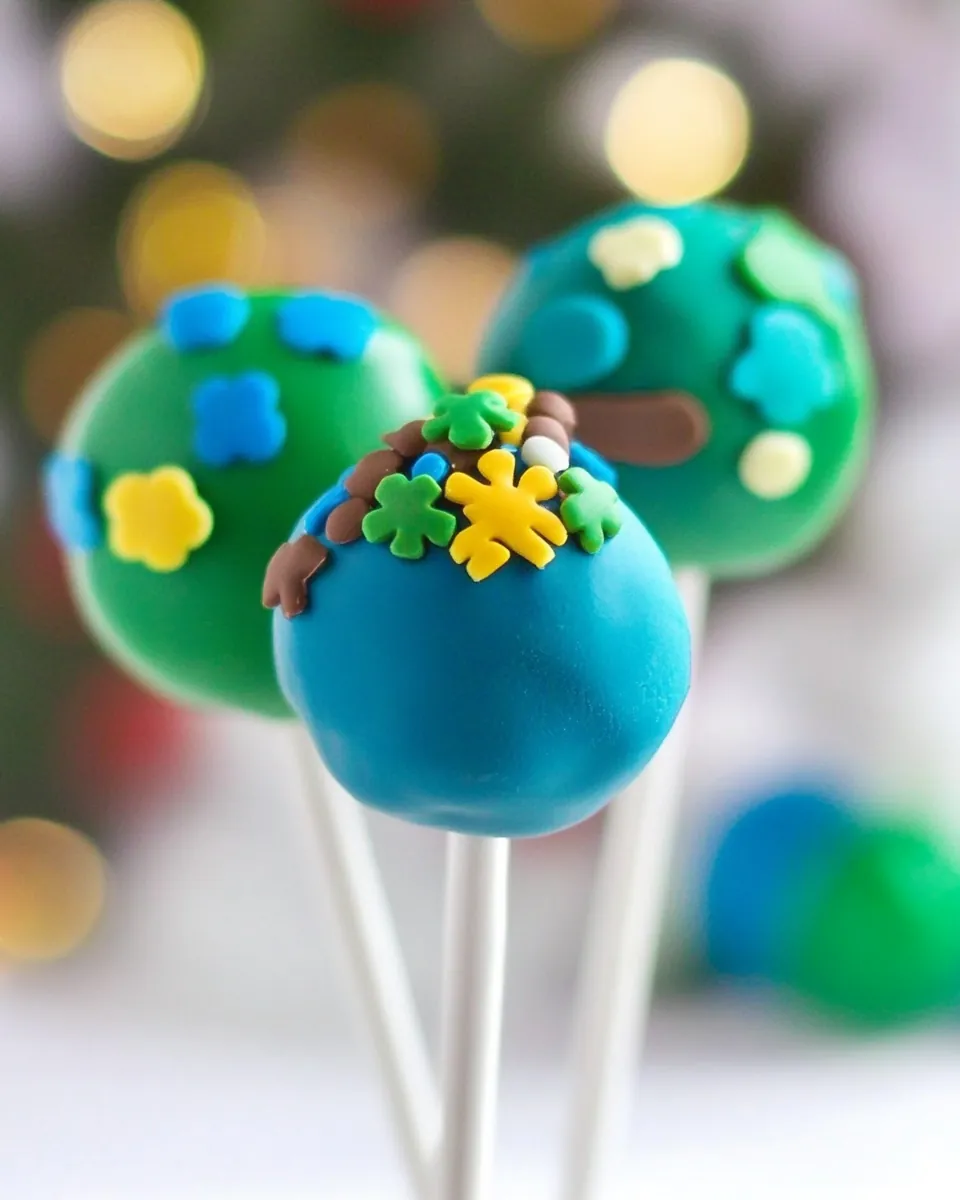
St Patricks Day Cake Pops
Every year, as St. Patrick’s Day approaches, I feel a surge of excitement to whip up something special. The vibrant greens and fun themes are impossible to ignore, and that’s when I turn to my favorite treat: St Patricks Day Cake Pops. These little bites of joy not only capture the festive spirit but also bring a sense of nostalgia, reminding me of the countless parties and gatherings where they were the star of the show. I remember the first time I made them; the kitchen was filled with laughter and anticipation as I dipped each cake pop into a sea of colorful chocolate. It wasn’t just about creating a sweet treat; it was about celebrating the joy of sharing delicious food with friends and family.
As I rolled the cake balls in my hands, I could feel the excitement build. With every sprinkle of fun toppings, they transformed into little works of art. Whether it was for a school party or a family gathering, these cake pops always garnered smiles and praises. The best part? They are incredibly easy to make and perfect for engaging little ones in the kitchen. You can get creative with decorations and flavors, which makes every batch unique. Just imagine the delight on everyone’s faces when they see these festive treats—you can’t help but share the joy that comes from making St Patricks Day Cake Pops. So, let’s get started on this fun culinary adventure together!
Recipe Snapshot
60 mins
60 mins
0 mins
Medium
120 kcal
3 g
Keto, Gluten-Free, Low FODMAP
4 g
Baking Sheet, Frying Pan, Mixing Bowl, Oven
Why This St Patricks Day Cake Pops Is So Good
They’re Perfect for Celebrations
There’s something about St Patricks Day Cake Pops that makes them a hit at any celebration. Their bite-sized nature makes them easy to serve and enjoy, whether you’re hosting a big party or a cozy family gathering. They not only taste great but also look fantastic. As guests pop these delightful treats in their mouths, you can almost hear the cheers of joy!
Easy to Make
Don’t be fooled by how fancy St Patricks Day Cake Pops look; they’re surprisingly easy to prepare. With just a few simple ingredients and steps, you can whip up a batch in no time. I love how they come together with minimal fuss, allowing me to focus more on the creative part—decorating!
Customizable Toppings
One of my favorite aspects of making St Patricks Day Cake Pops is the freedom to get creative with toppings. You can use rainbow sprinkles, edible glitter, or even themed candies. This recipe invites you to let your imagination run wild. Each pop can be a delightful surprise!
Fun for Kids
Making these cake pops is a fantastic family activity. Kids love getting involved, whether it’s mixing the batter or rolling the cake balls. I remember my little ones eagerly helping me sprinkle toppings as they giggled and shared their ideas. It’s a beautiful way to bond and create lasting memories.
Great for Any Occasion
While these cake pops are perfect for St. Patrick’s Day, they’re also versatile enough for any occasion. Birthdays, holidays, or even just a weekend treat—these pops can fit right in. Their festive appearance and delightful taste ensure they’ll be a crowd-pleaser no matter when you serve them!
Deliciously Fun
Lastly, let’s talk about flavor. St Patricks Day Cake Pops are not only visually appealing but also delicious. The combination of cake and chocolate creates a sweet sensation that’s hard to resist. Your guests will be coming back for more, and that’s a guarantee!
What to Gather for St Patricks Day Cake Pops
Creating the perfect St Patricks Day Cake Pops relies on the harmony of various ingredients. Each element plays a crucial role in ensuring the cake pops are moist, flavorful, and visually appealing. From the base cake mix to the colorful chocolate coating, these ingredients come together to create a delightful treat that will be the talk of any gathering. Let’s dive into what you’ll need!
- 16.5 oz package yellow cake mix: The foundation of our cake pop is this cake mix, which provides a light and fluffy texture. It’s easy to work with and gives a delicious base to build upon.
- 6 oz plain fat-free Greek yogurt: Adding Greek yogurt not only keeps the cake moist but also adds a protein boost, making the cake pops a bit more wholesome.
- 1 cup water: Necessary for mixing in with the cake ingredients, this helps in achieving the right batter consistency.
- 2 large egg whites: These provide the necessary binding and help give the cake pops their structure without the fat of the yolks.
- 1 tsp vanilla extract: While we’re avoiding artificial vanilla, a hint of real vanilla elevates the flavor of the cake mix, making your pops even more delicious.
- Baking spray: A light coat of baking spray ensures that your cake pops come out of the pan smoothly and without sticking.
- 48 oz Wilton blue chocolate candy melts: These vibrant melts are perfect for coating your cake pops, giving them a fun and festive look.
- M&M’s minis: These tiny candies add a pop of color and make a great topping for your cake pops, contributing to the rainbow theme.
- 48 mini marshmallows: Cut in half, these marshmallows add texture and fun, enhancing the overall experience of your treats.
- 48 lollipop sticks: Essential for holding your cake pops, these sticks make them easy to enjoy.
- Styrofoam block: A practical tool for setting your cake pops upright while they cool and dry. It serves as the perfect holder!
How to Prepare St Patricks Day Cake Pops
Preparing St Patricks Day Cake Pops is a delightful process that’s both simple and enjoyable. You’ll find yourself in the kitchen, measuring and mixing, ready to create something special. I love this part because it allows me to infuse a little love into every batch. Let’s get started!
- Begin by preheating your oven to 350 degrees Fahrenheit. This step is crucial as it prepares the environment for a perfectly baked cake.
- Next, lightly spray your cake pop pan with baking spray. This ensures that your cake pops won’t stick and will pop out easily once baked.
- In a large mixing bowl, combine the yellow cake mix, Greek yogurt, water, egg whites, and vanilla extract. Using a hand mixer, beat the mixture until it’s well combined and smooth—look for a thick, fluffy batter.
- Once the batter is ready, transfer it to a pastry bag or a large ziplock bag with the tip cut off. This makes it easier to pipe the batter into the pan.
- Pipe the batter into the prepared cake pop pan, filling each cavity about halfway. Don’t worry about being perfect; they’ll all bake evenly in the oven.
- Place the pan in the oven and bake for approximately 18 minutes. I like to rotate the pan halfway through to ensure even baking. You’ll know they’re done when they’re golden brown and a toothpick comes out clean.
- Let the cake pops rest for about five minutes in the pan before gently opening it. This helps them retain their shape.
- Carefully place the cake balls on a wire rack to cool completely. This step is essential as it allows for the right texture before dipping them in chocolate.
- Once cooled, use scissors to cut any seams off the cake balls gently. This little trick ensures a smooth surface for coating.
- Now, refrigerate the cake balls for about 45 minutes. Chilling them helps the chocolate adhere better later on.
- While they chill, it’s time to melt some of the blue chocolate candy melts. Follow the package instructions to avoid burning the chocolate. You want it smooth and ready for dipping.
- Once melted, take a lollipop stick and dip the tip into the melted chocolate before inserting it into a chilled cake ball. This helps secure the stick in place.
- In batches, melt the remaining chocolate. Once ready, dip each cake ball into the chocolate, ensuring they’re fully coated. Let any excess chocolate drip off.
- After dipping, place the cake pops stick-side down into a styrofoam block to set for about a minute.
- As a final touch, quickly add the M&M’s and mini marshmallows to create your festive rainbow look. Get creative!
Things Worth Knowing
- Chill the Cake Balls: It’s important to refrigerate your cake balls to help the chocolate stick. If they’re too warm, the chocolate may slide right off.
- Use Quality Chocolate: Investing in good quality chocolate for coating can make a world of difference in taste and texture.
- Don’t Skip the Baking Spray: Always remember to spray your cake pop pan. It’s a simple step that saves you from a lot of frustration later.
- Experiment with Flavors: Feel free to mix in different flavor extracts or ingredients to the cake batter for a personal twist.
- Store Carefully: Once set, store your cake pops in a cool, dry place to keep them fresh.
Helpful Hints

While making St Patricks Day Cake Pops, there are several handy tips to keep in mind for the best outcomes. These insights will enhance your baking experience and ensure delicious results!
- Storage: Keep your cake pops stored in an airtight container in the refrigerator. They can last up to a week if properly stored.
- Freezing: Yes, you can freeze these cake pops! Just make sure to wrap them individually in plastic wrap before placing them in a freezer-safe container.
- Pairing: These cake pops pair wonderfully with a hot cup of coffee or tea, especially during chilly spring days.
- Customization: Don’t hesitate to experiment with different colors of chocolate or toppings depending on the occasion!
- Serving Size: Each cake pop is a single serving, making them perfect for parties or gatherings where guests can grab and go!
Accompaniments for St Patricks Day Cake Pops
When it comes to serving St Patricks Day Cake Pops, having the right accompaniments can elevate the experience. Here are some delightful ideas:
- Rainbow Fruit Skewers: Pair your cake pops with colorful fruit skewers for a fresh, vibrant contrast. Use strawberries, grapes, and pineapple for a beautiful presentation.
- Green Smoothies: A refreshing green smoothie can be a perfect drink to serve alongside your cake pops, balancing the sweetness with healthy freshness.
- St. Patrick’s Day Punch: Create a festive punch with lime sherbet, lemon-lime soda, and green food coloring for a fun beverage option.
- Themed Plates: Use green and gold-themed plates or napkins to enhance the festive atmosphere of your gathering.
- Kids’ Parties: These cake pops are a huge hit at kids’ parties. Set up a decorating station where children can add their own toppings!
- Gift Treat Bags: Consider preparing treat bags with a few cake pops and other candies as a lovely parting favor for your guests.
FAQ
Conclusion
The fun and festive nature of St Patricks Day Cake Pops makes them a delightful treat that everyone will love. Not only are they visually stunning, but they also taste incredible! I encourage you to try this recipe and see how they bring joy to your celebrations. Whether you’re making them for a party or just for fun, these cake pops will surely be a hit!
St Patricks Day Cake Pops
Ingredients
Equipment
Method
- Preheat oven to 350°F. Lightly spray your cake pop pan with baking spray.
- Combine the cake ingredients in a large mixing bowl and beat until combined.
- Place the batter into a pastry bag or large ziplock bag with the tip cut off.
- Pipe the batter into the prepared cake pop pan and bake for about 18 minutes.
- Let it rest for 5 minutes before opening the pan.
- Place cake balls on a wire rack and repeat with remaining batter.
- Using scissors, cut the seam off the balls. Refrigerate the cake balls for about 45 minutes.
- Melt some of the chocolate in the microwave according to package directions.
- Insert the tip of the stick into the melted chocolate, then into the cake ball.
- In batches, melt remaining chocolate. Dip the cake pops into the chocolate.
- Place stick on a styrofoam block for about a minute and quickly add the M&Ms and marshmallows.
Notes
- Marshmallows and M&M's not calculated: These were not included in the total weight for the recipe.
- Chocolate Weight: I weighed the chocolate on each ball to calculate the nutritional info. Although the recipe calls for 48 oz of chocolate, not all of it will be used, but you will still need to buy extra to coat the cake balls.